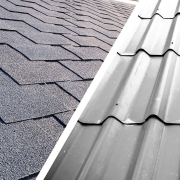
Metal Roof vs Asphalt Shingle Roof: Which Is Better for Your Home?
When it’s time to replace your roof, one of the biggest decisions you’ll face is material selection. For many Mid-Atlantic homeowners, the choice comes down to a metal roof vs asphalt shingle roof. These are popular options for many homeowners due to their affordability and widespread use. When selecting a new roof, it’s important to consider your specific roof type, as different materials may be better suited to certain designs. Your material choice will significantly impact the initial cost, long-term value, and performance of your roof. Additionally, personal preferences—such as color, style, and texture—play a major role in the final decision. The roofing material you choose can also greatly influence your home’s aesthetic, enhancing or complementing the overall exterior design.
This guide breaks down the key differences to help you make an informed choice.
Key Takeaways
- Asphalt shingles are more affordable and easier to install.
- Metal roofs offer superior longevity and weather resistance.
- Owens Corning shingles provide enhanced protection and curb appeal.
- Mid-Atlantic climates influence roofing lifespan and performance.
- Installation quality and roof design should guide your decision.
Cost Comparison: Metal vs Asphalt
If upfront price is a deciding factor, asphalt shingles are the clear winner. A traditional asphalt roof costs significantly less than a metal roof—often half as much—depending on the complexity of the structure and installation. Asphalt shingles cost less per square foot, making them an affordable option for homeowners on a budget.
Average Installed Cost:
- Asphalt Shingles: $4.00–$7.00 per square foot
- Metal Roofing: $8.00–$14.00 per square foot
Keep in mind that the typical metal roof cost for a standard home is around $11,000, which is a higher initial cost compared to asphalt shingles. However, this higher initial cost can be offset by long-term savings in maintenance and energy efficiency. The installation process for metal roofs is generally more complex and labor-intensive, which also impacts the overall cost. Certain metal roof styles, such as those with exposed fasteners, can affect the final price due to differences in materials and installation requirements. While metal roofing is more expensive upfront, it may reduce long-term costs due to its extended lifespan and lower maintenance. In contrast, asphalt shingle roofs may require more maintenance over time, which can add to their long-term cost.
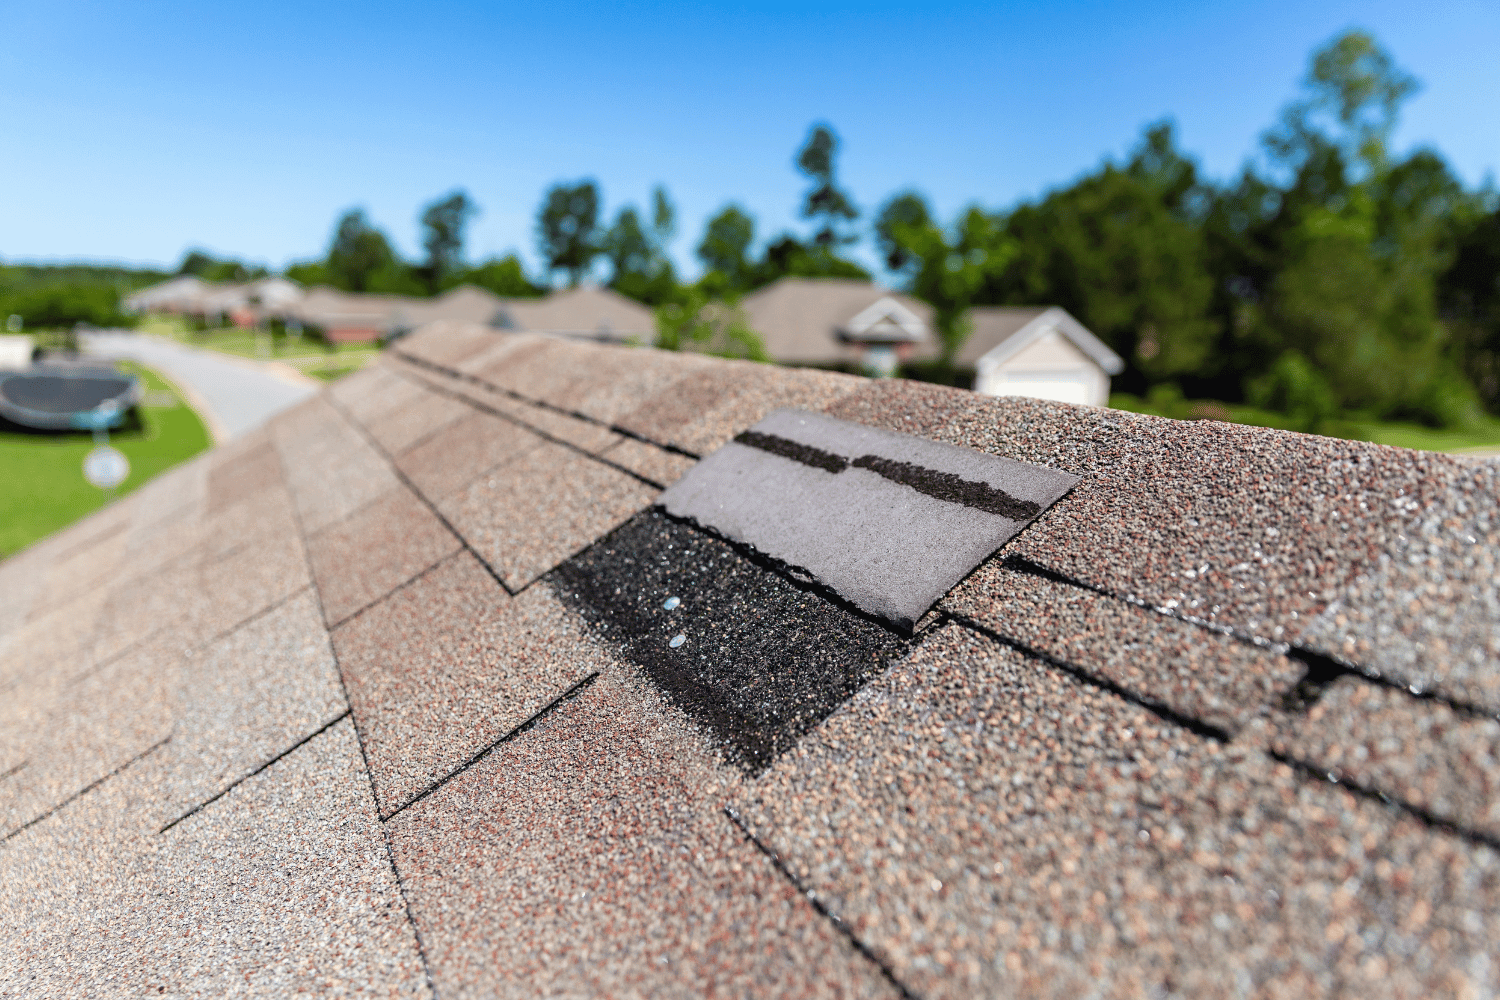
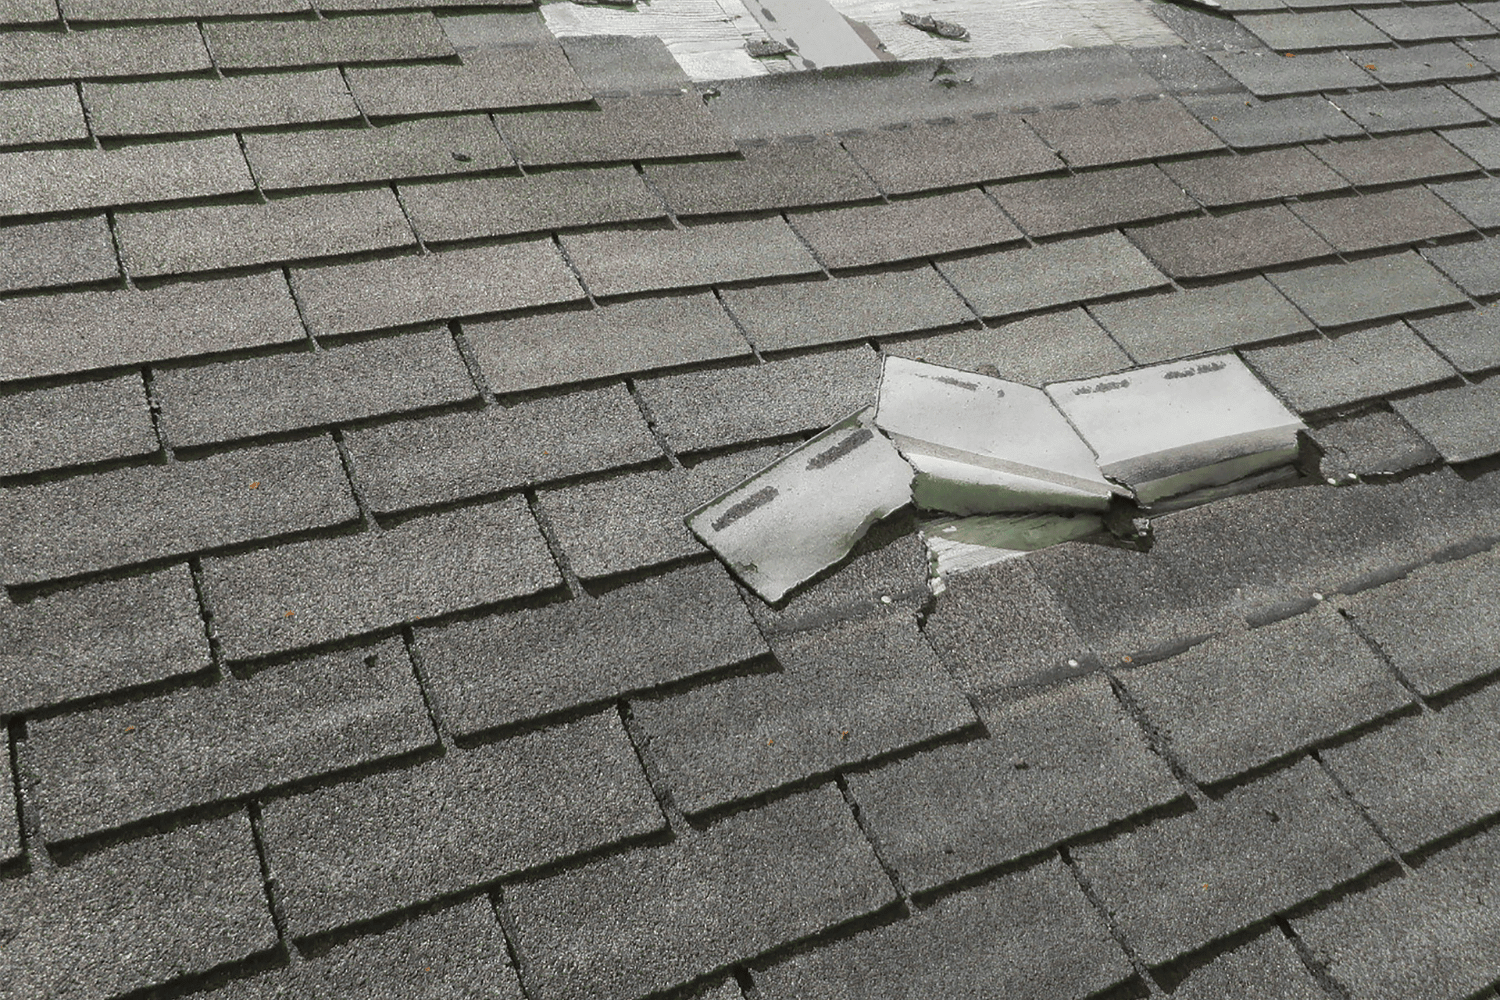
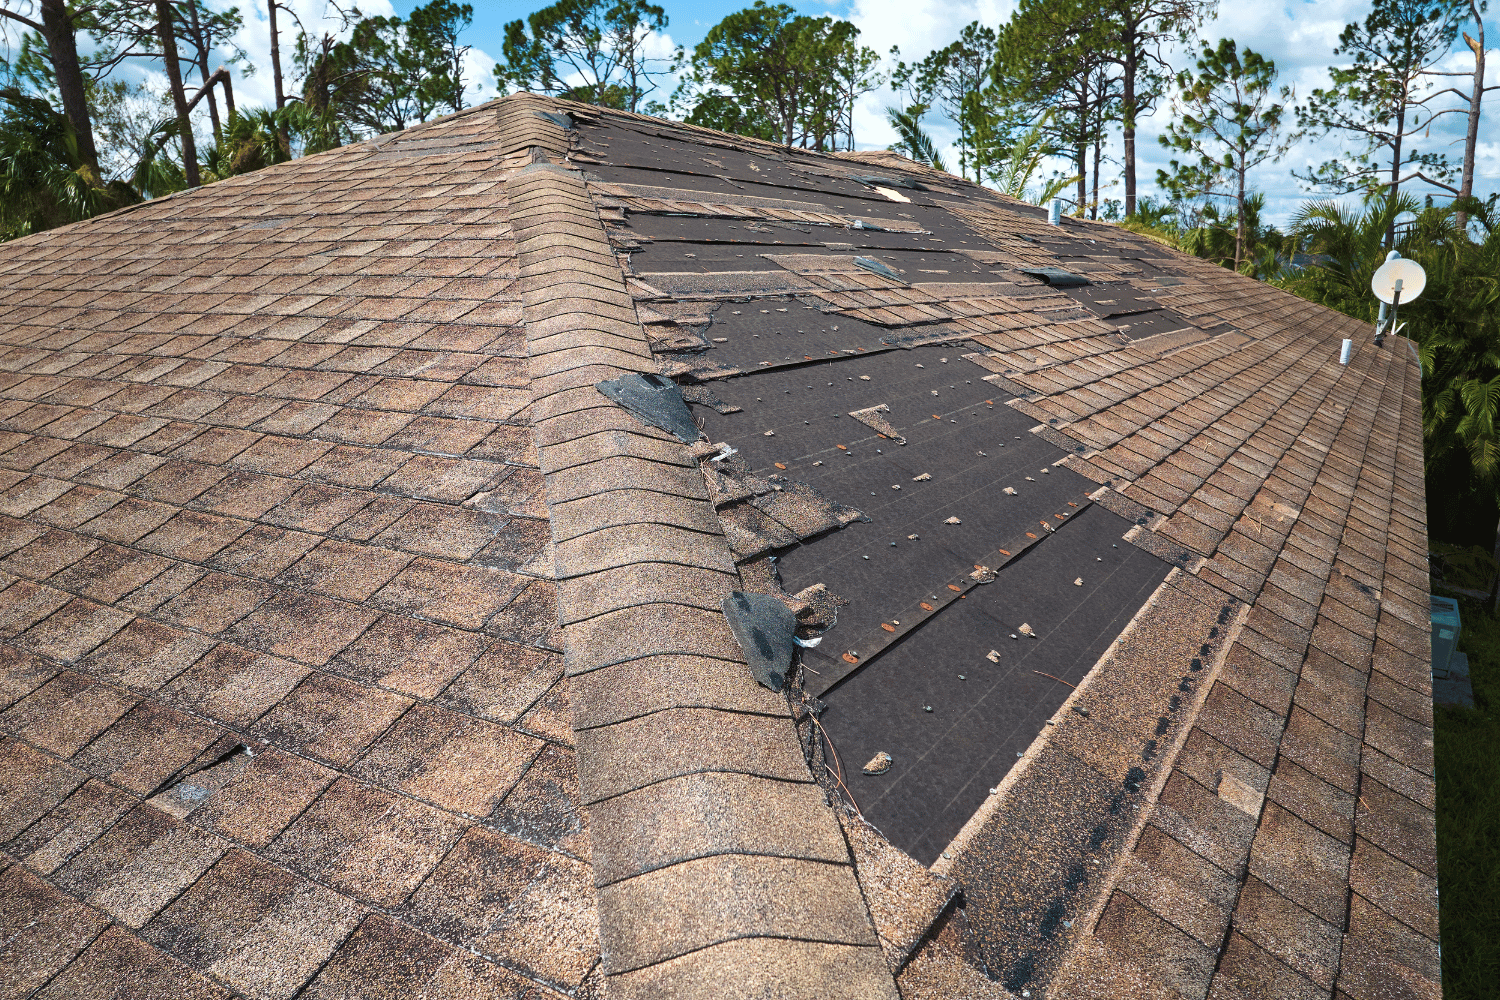
Lifespan and Durability
When it comes to longevity, metal roofs lead the way. A properly installed metal system can last 40 to 70 years, while most asphalt roofs need replacement after 15 to 30 years, depending on the quality of materials and exposure to extreme weather.
Mid-Atlantic winters, hailstorms, and temperature swings can stress both materials, but metal roofs hold up better against wind and ice damming. Still, Owens Corning asphalt shingles installed by a certified contractor can provide excellent durability—especially with proper attic ventilation and flashing. To maximize the lifespan of both metal and asphalt roofs, regular maintenance such as inspections, cleaning, and timely repairs is essential.
Energy Efficiency and Insulation
Metal roofs reflect sunlight, reducing heat absorption and helping keep attics cooler in the summer—particularly helpful in southern parts of the region like Maryland and Virginia. Some metal systems are coated with energy-efficient finishes for enhanced thermal performance.
However, asphalt shingles paired with proper insulation and attic ventilation can also deliver solid energy performance, especially in colder climates where heat retention is critical. Additionally, having sufficient attic space provides an extra layer of sound insulation, making both metal and asphalt roofs quieter, and helps regulate indoor temperatures more effectively.
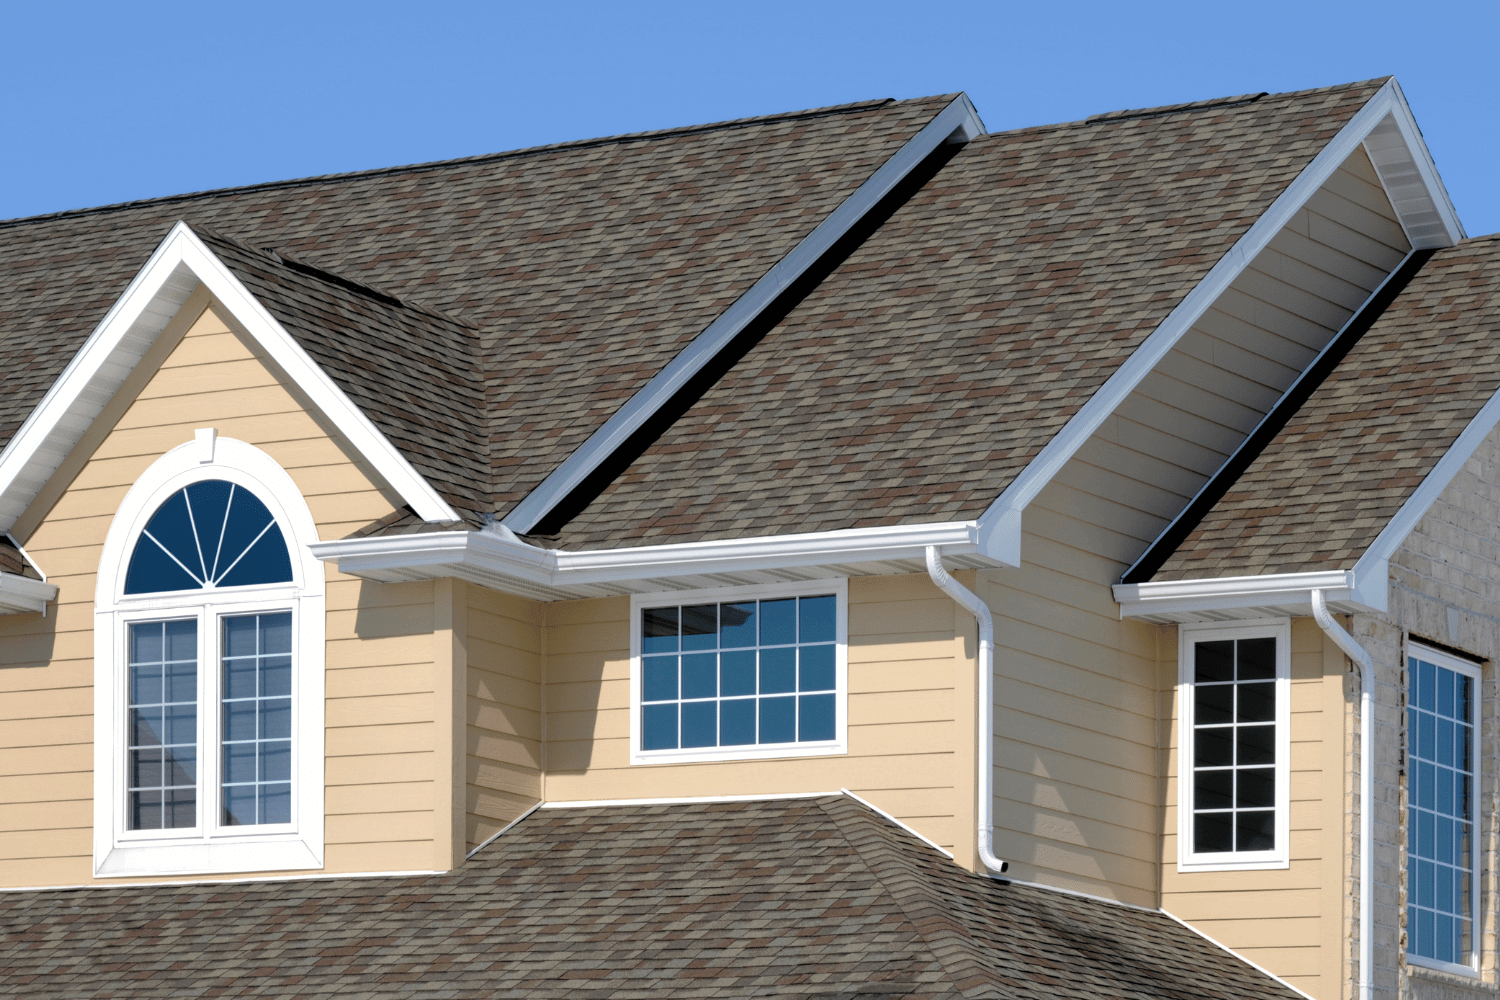
Appearance and Curb Appeal
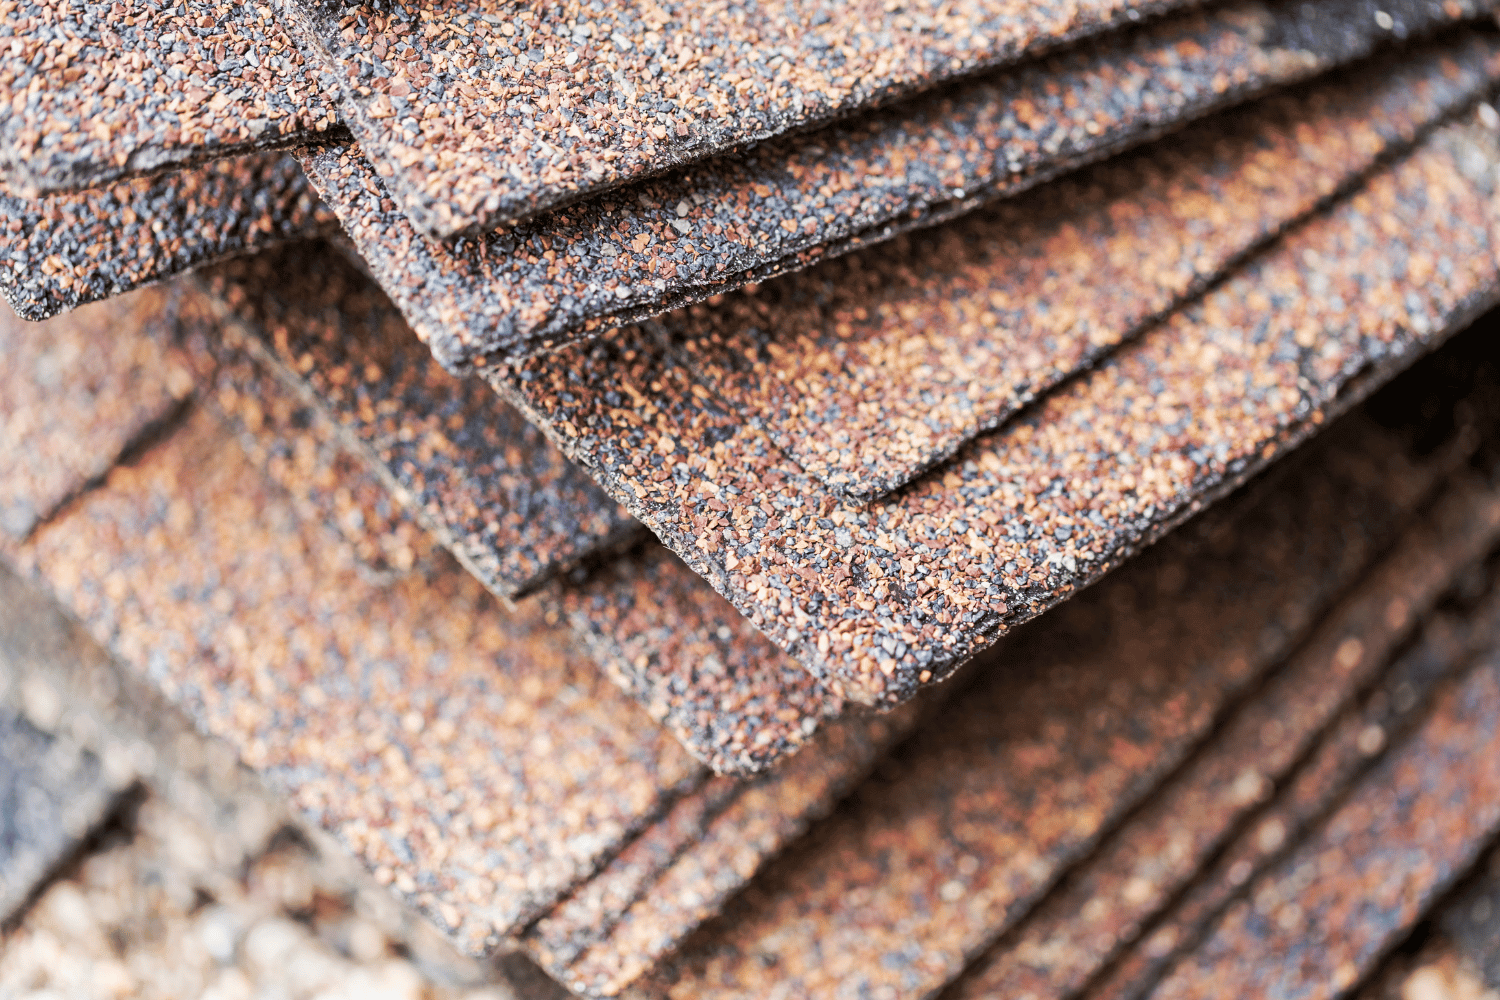
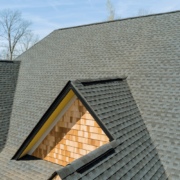
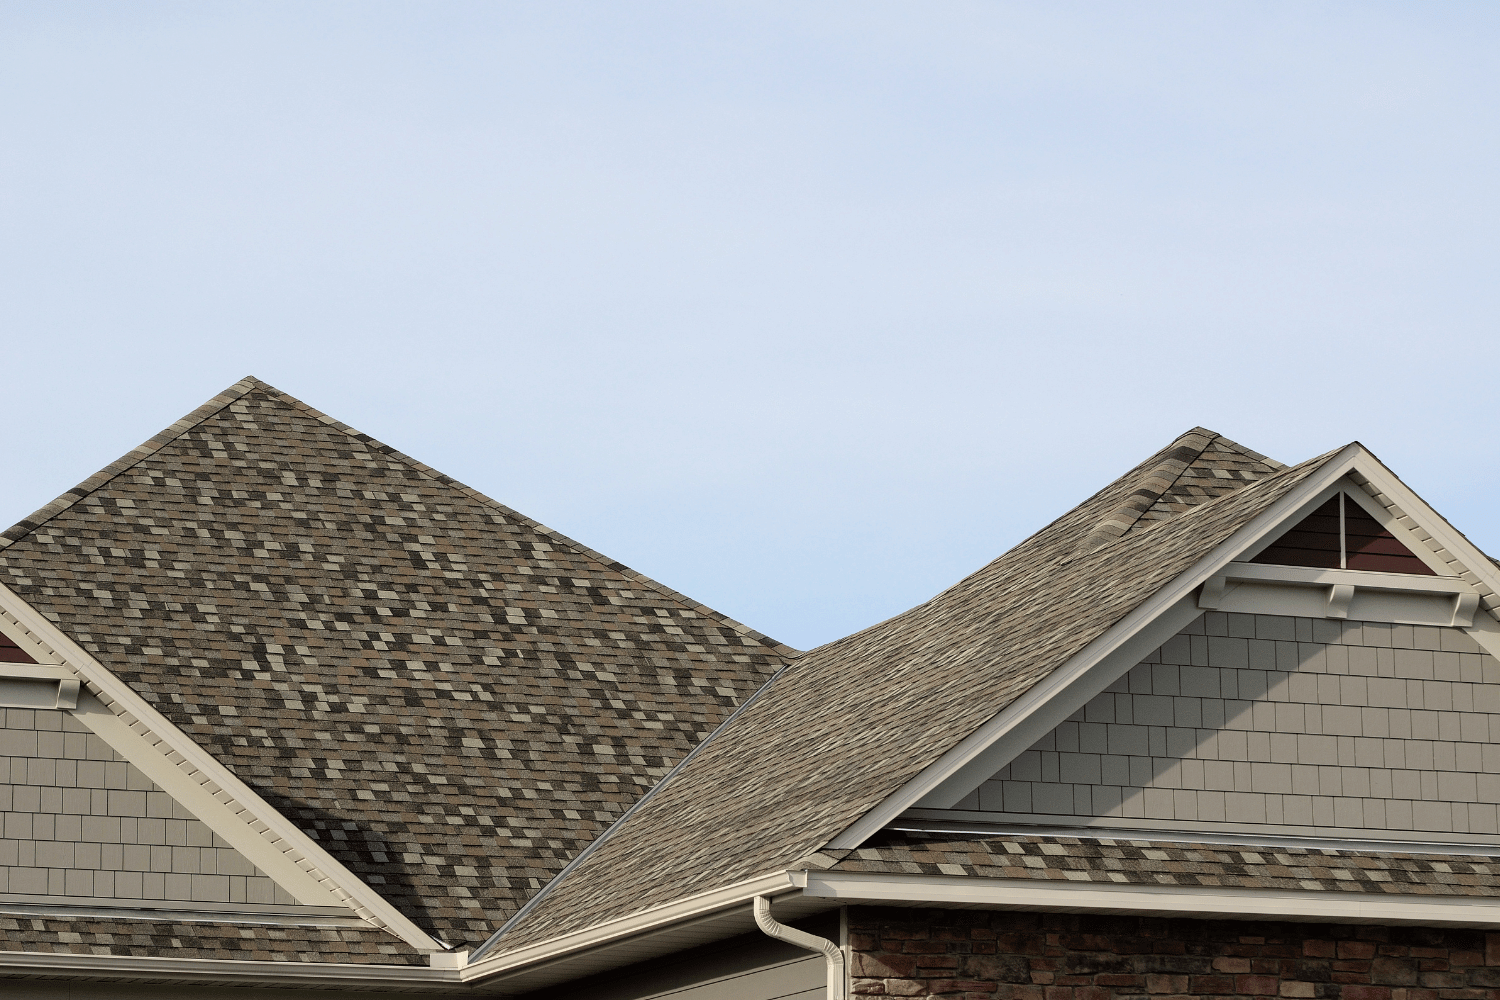
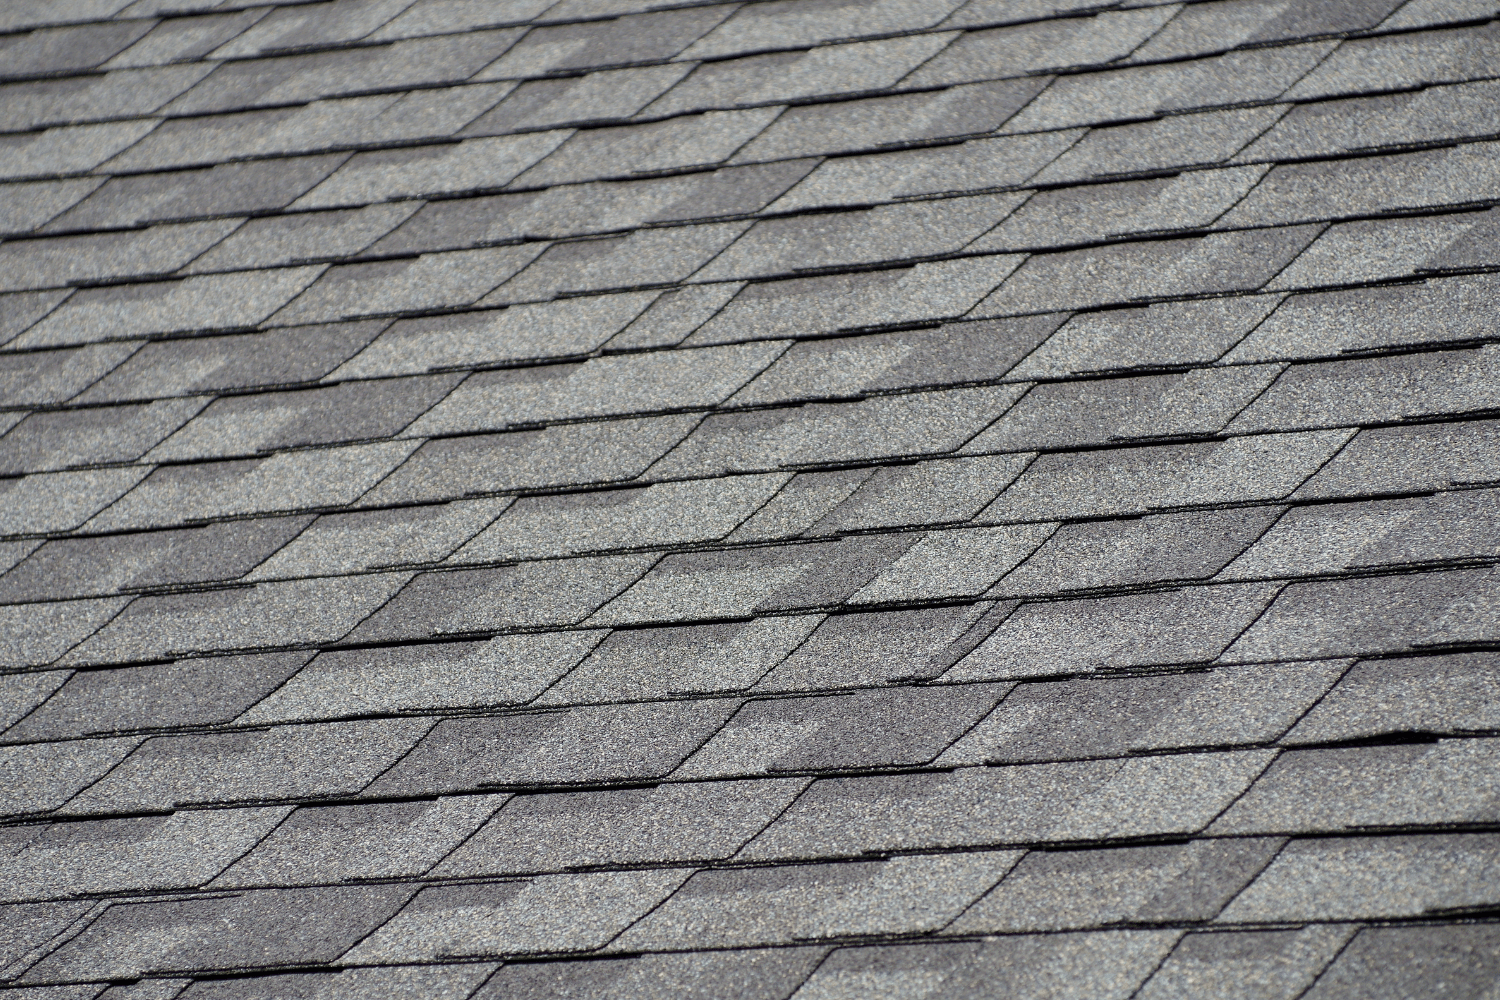
Asphalt shingles offer a wide range of colors, styles, and textures. They are considered aesthetically pleasing and highly customizable, making them a popular choice for homeowners seeking visual appeal. With Owens Corning architectural shingles, you can achieve the look of wood shake or slate at a fraction of the cost. Premium options like slate tiles and natural-looking wood shingles are also available, and many asphalt and metal products are designed to mimic these high-end materials.
Metal roofs, by contrast, have a sleek, modern profile that suits certain home designs. Some styles mimic traditional shingles, tiles, or standing seam patterns. Metal shingles are an option that combines the classic look of traditional shingles with the durability and benefits of metal roofing.
Visual preference, home architecture, and neighborhood guidelines often determine which material fits best.
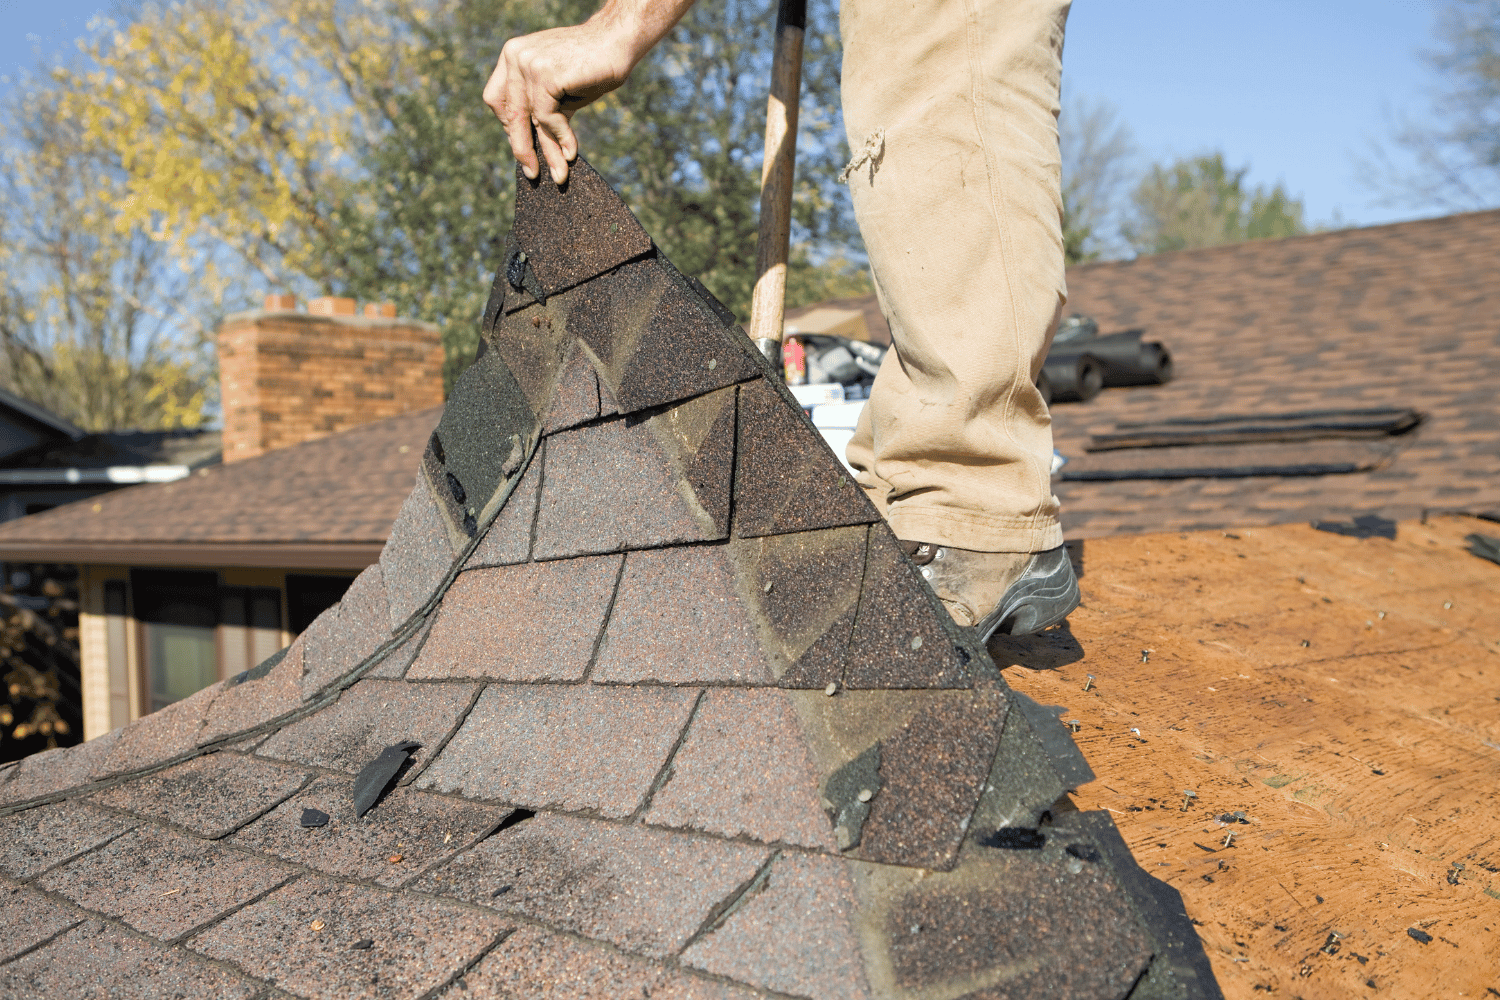
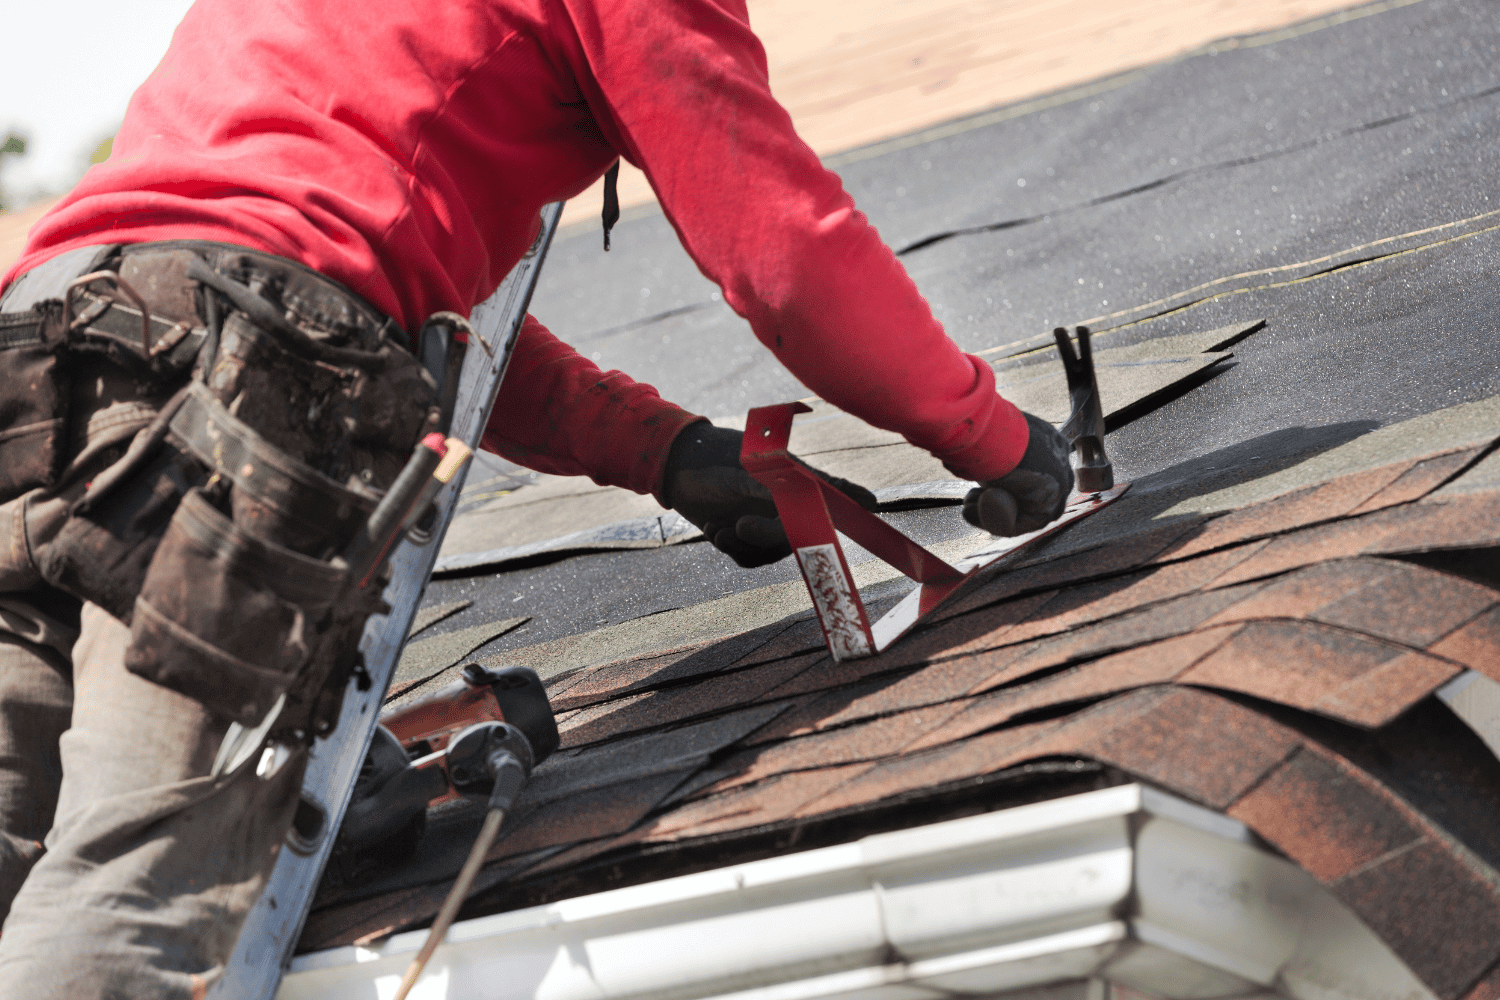
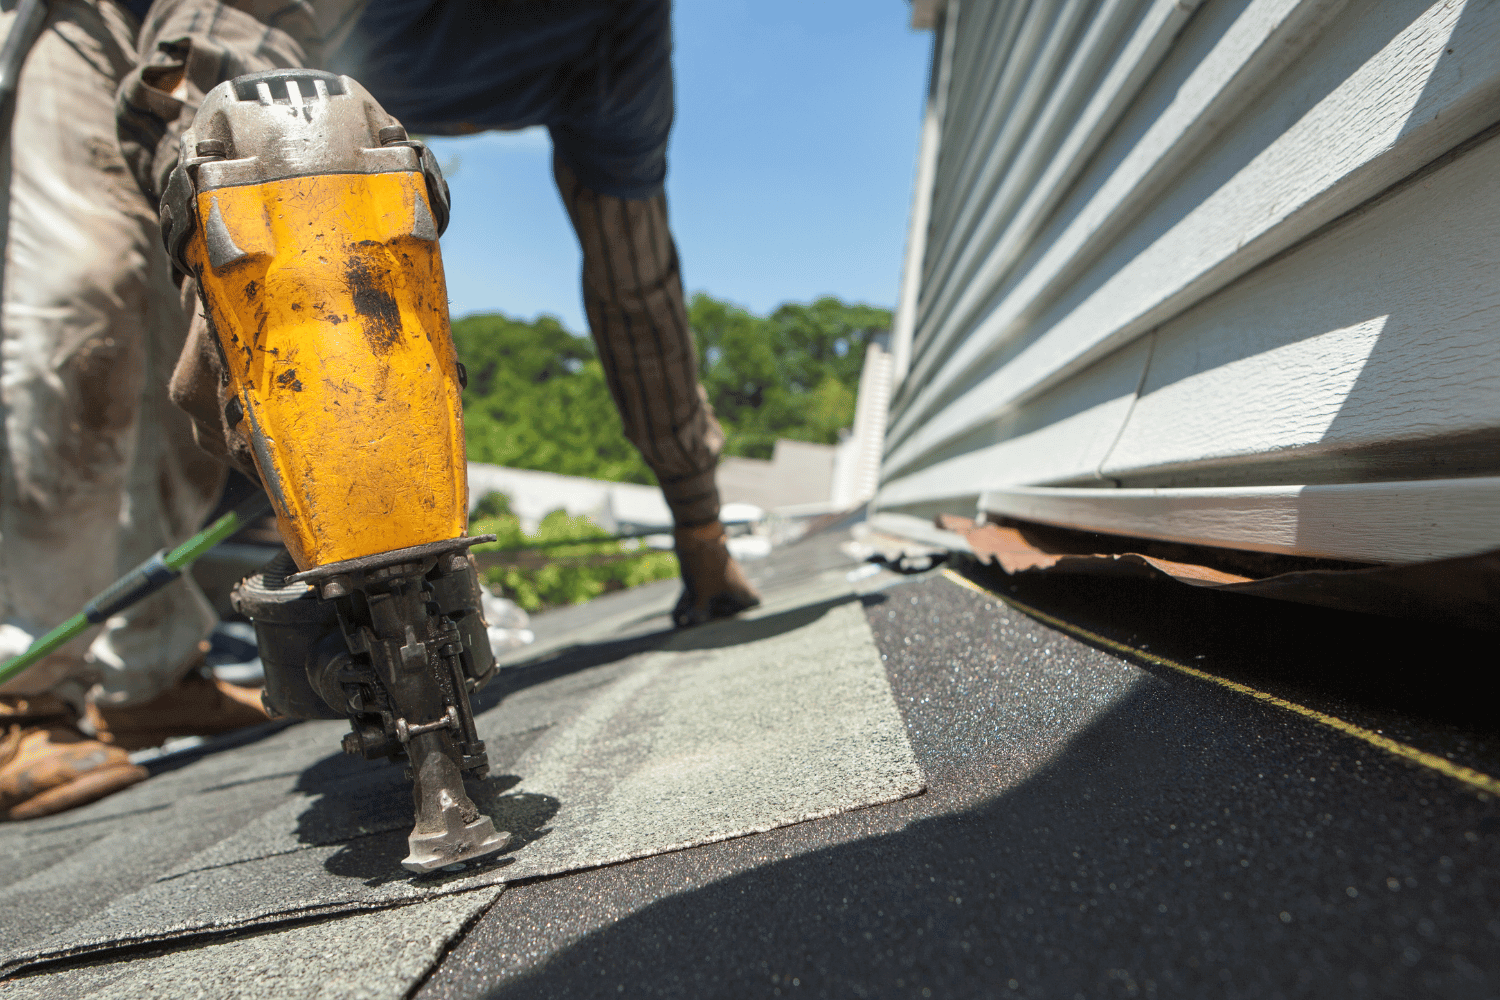
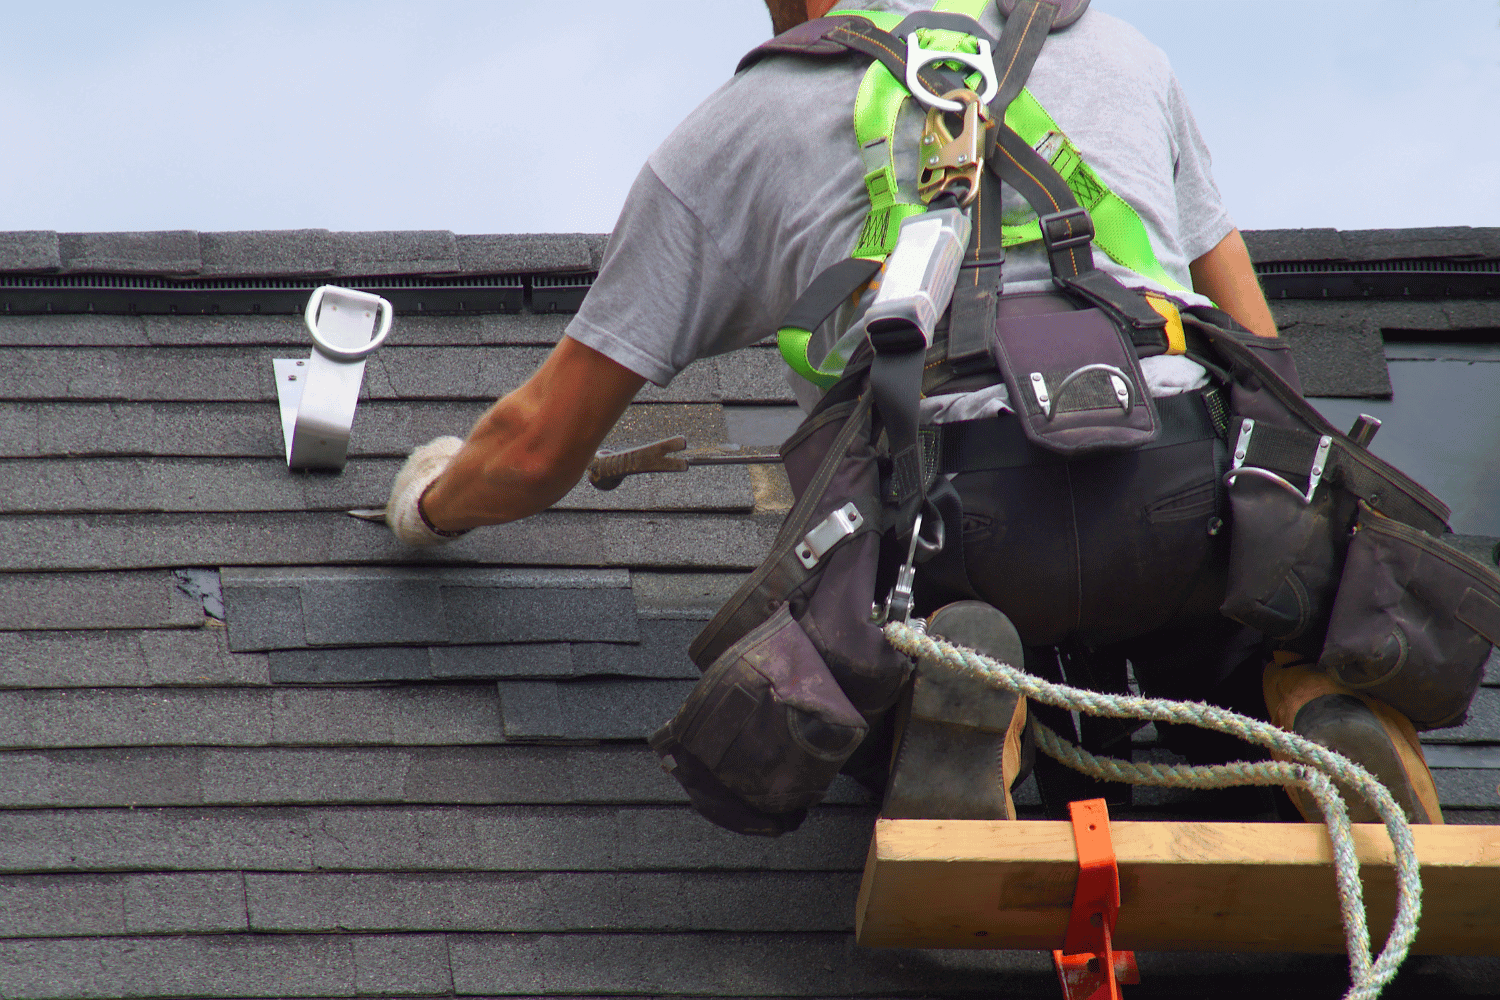
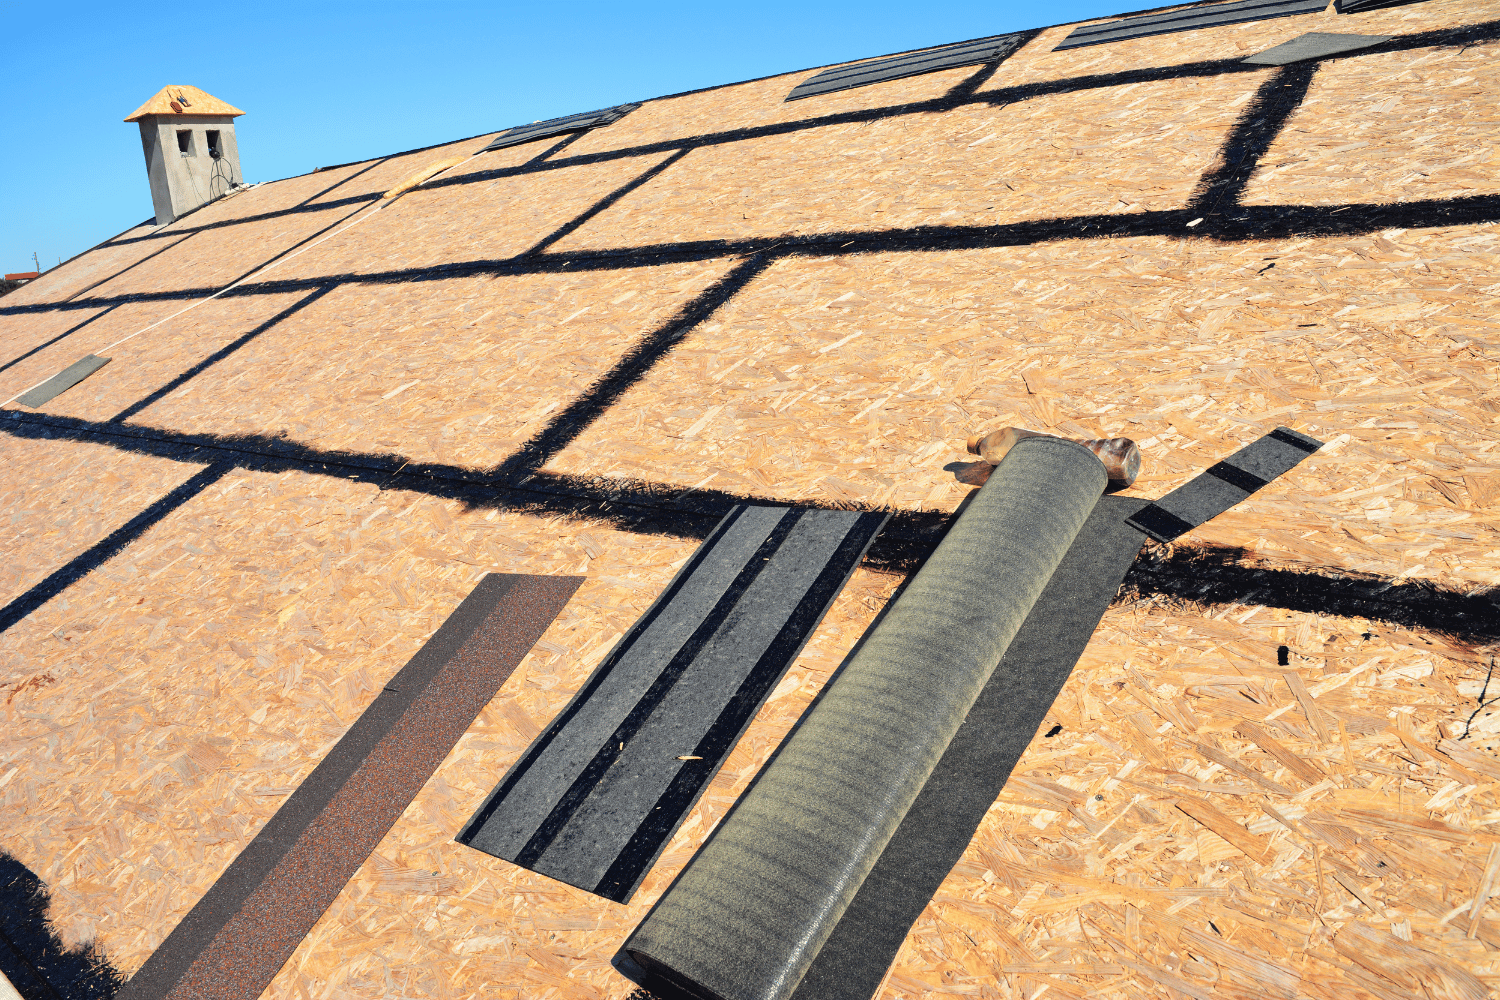
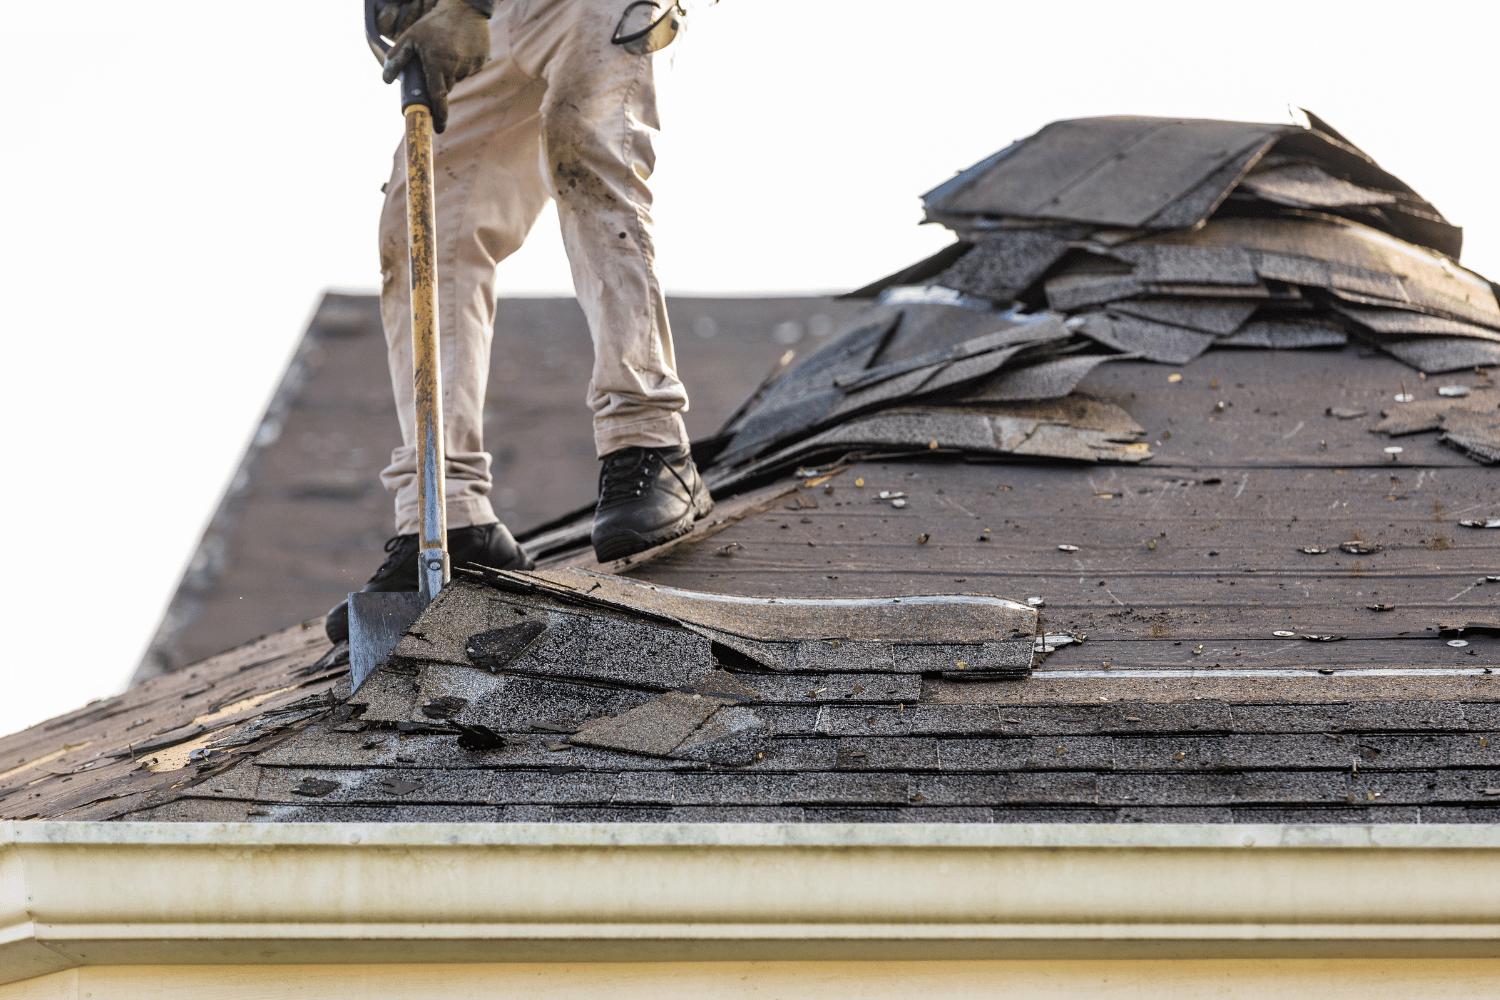
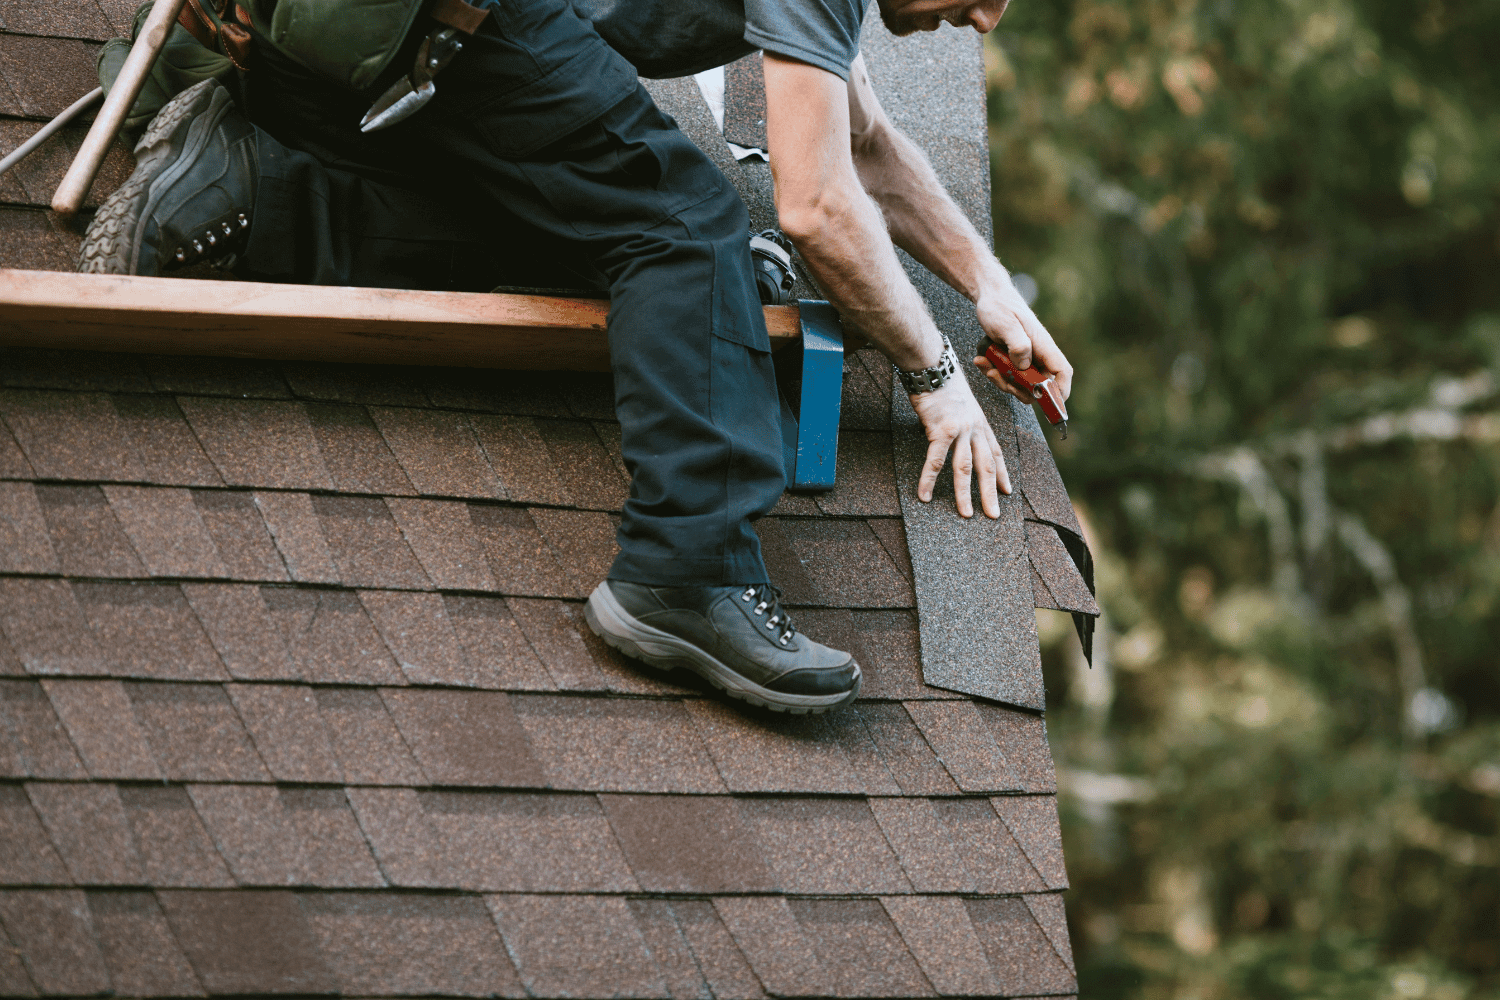
Installation and Repair Considerations
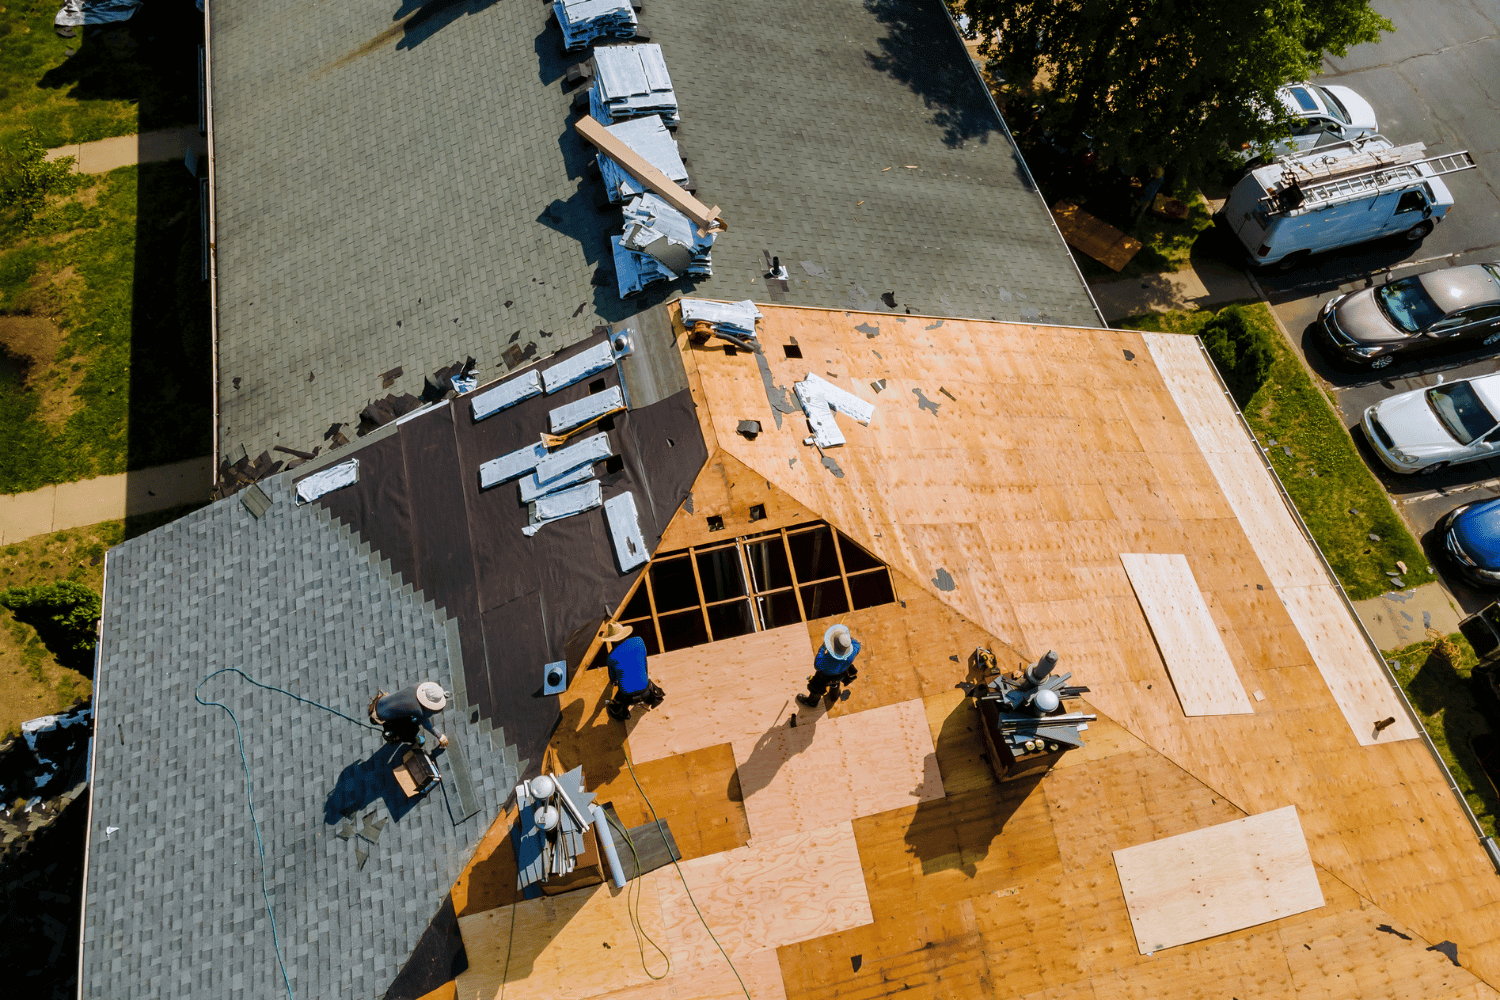
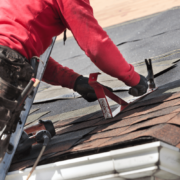
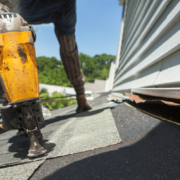
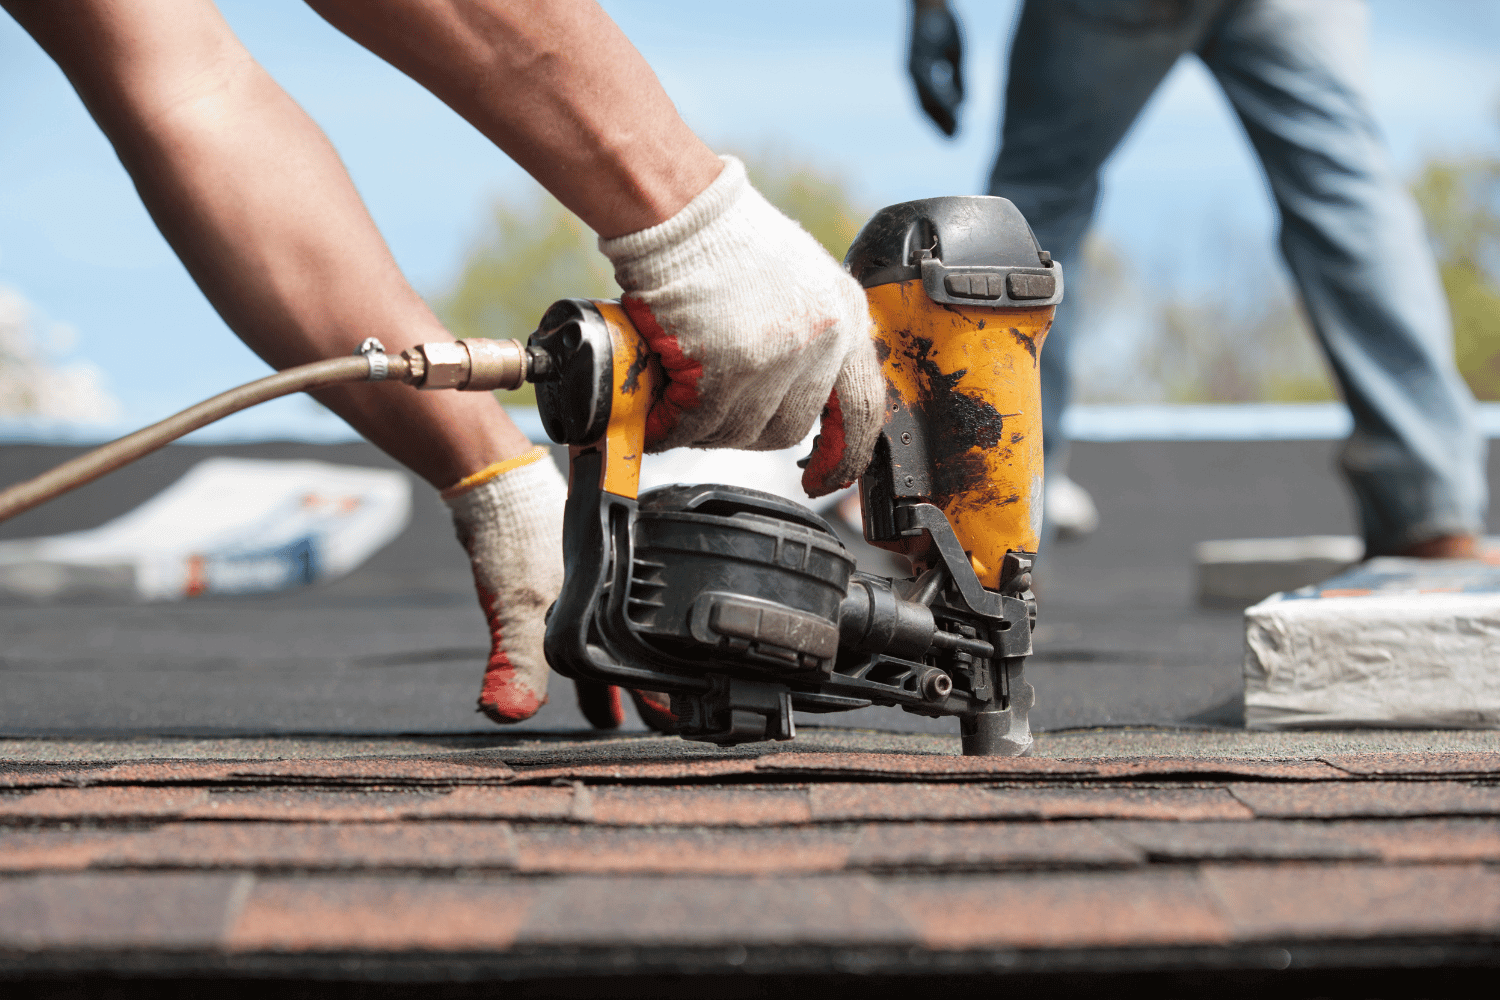
Asphalt shingle roofs are faster and simpler to install. Most replacements can be completed within 1–3 days, depending on roof size and weather. Repairs are also more straightforward and less costly.
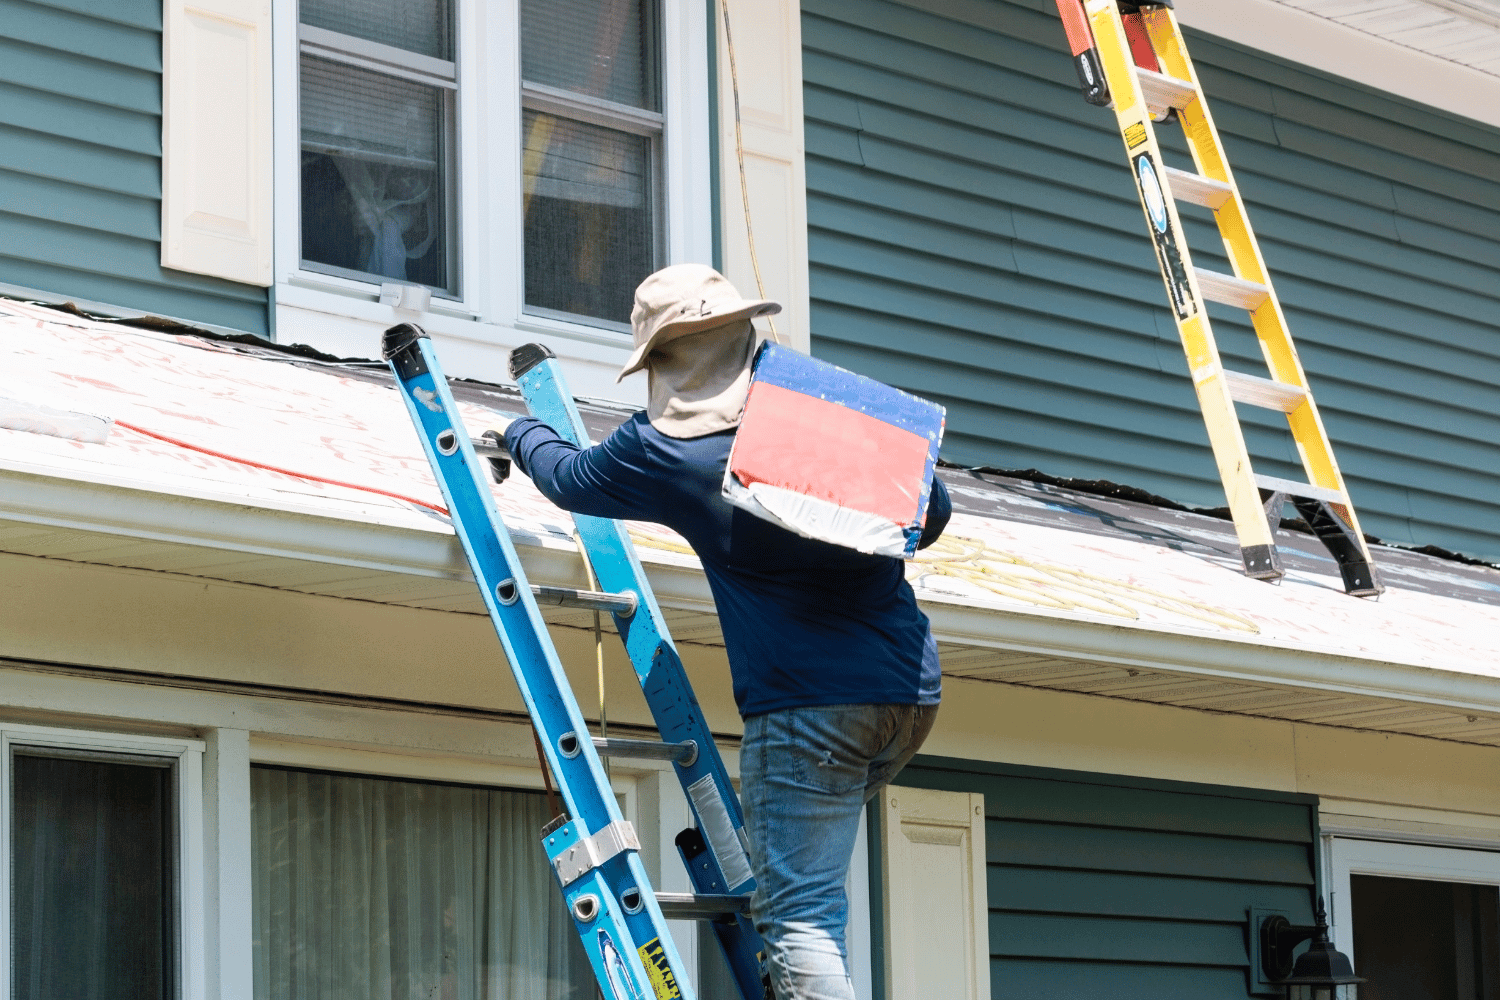
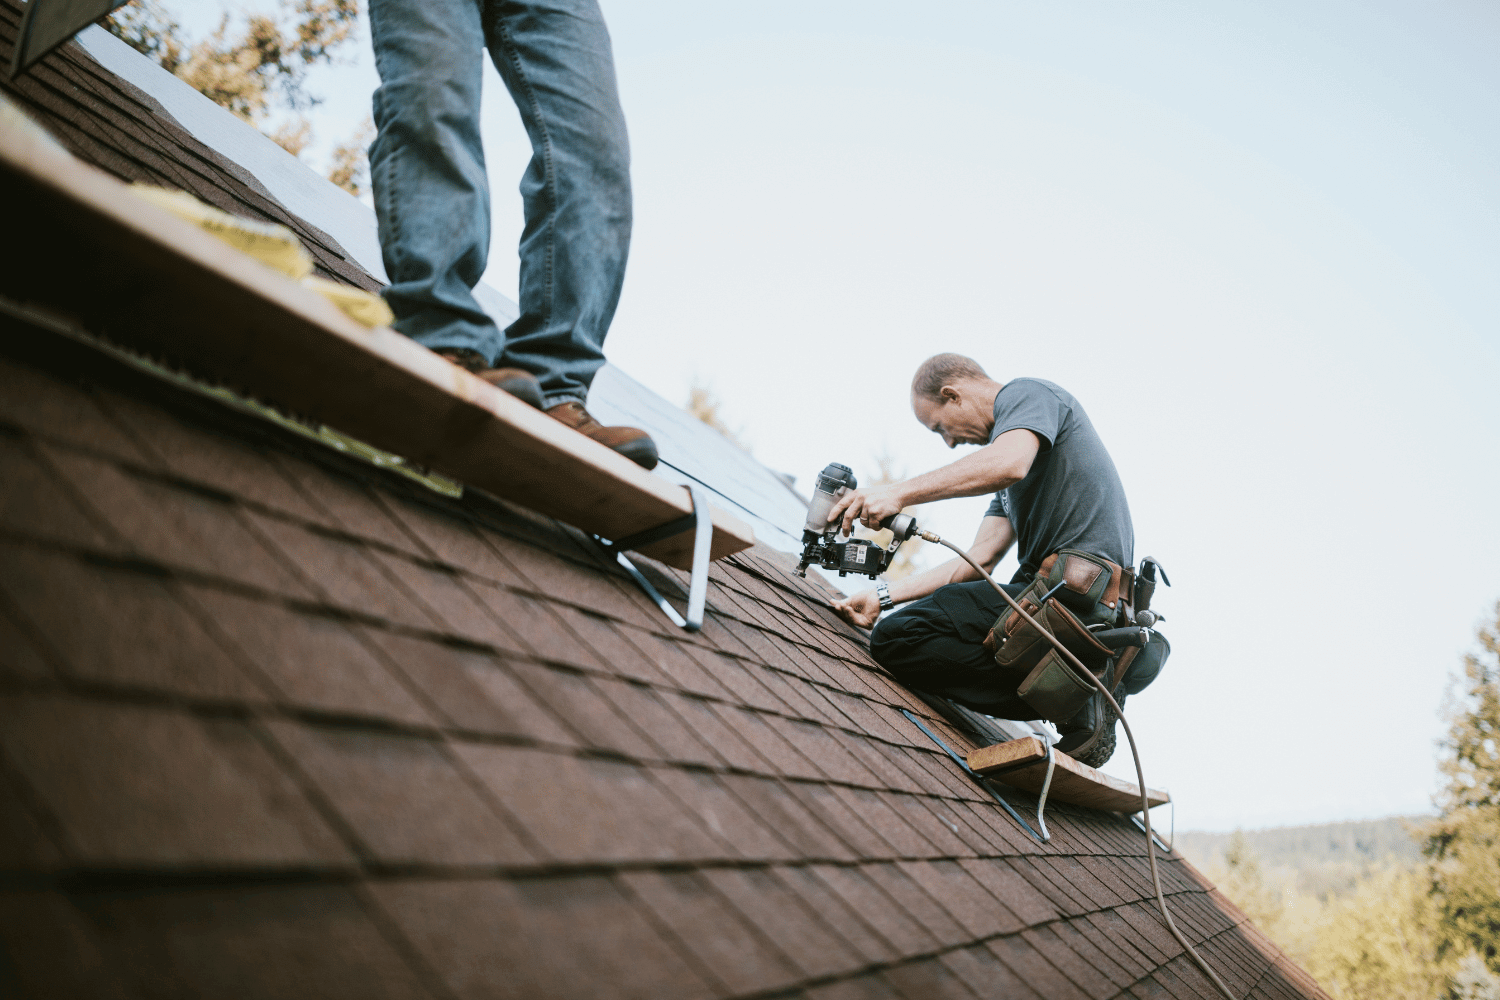
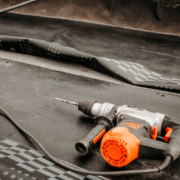
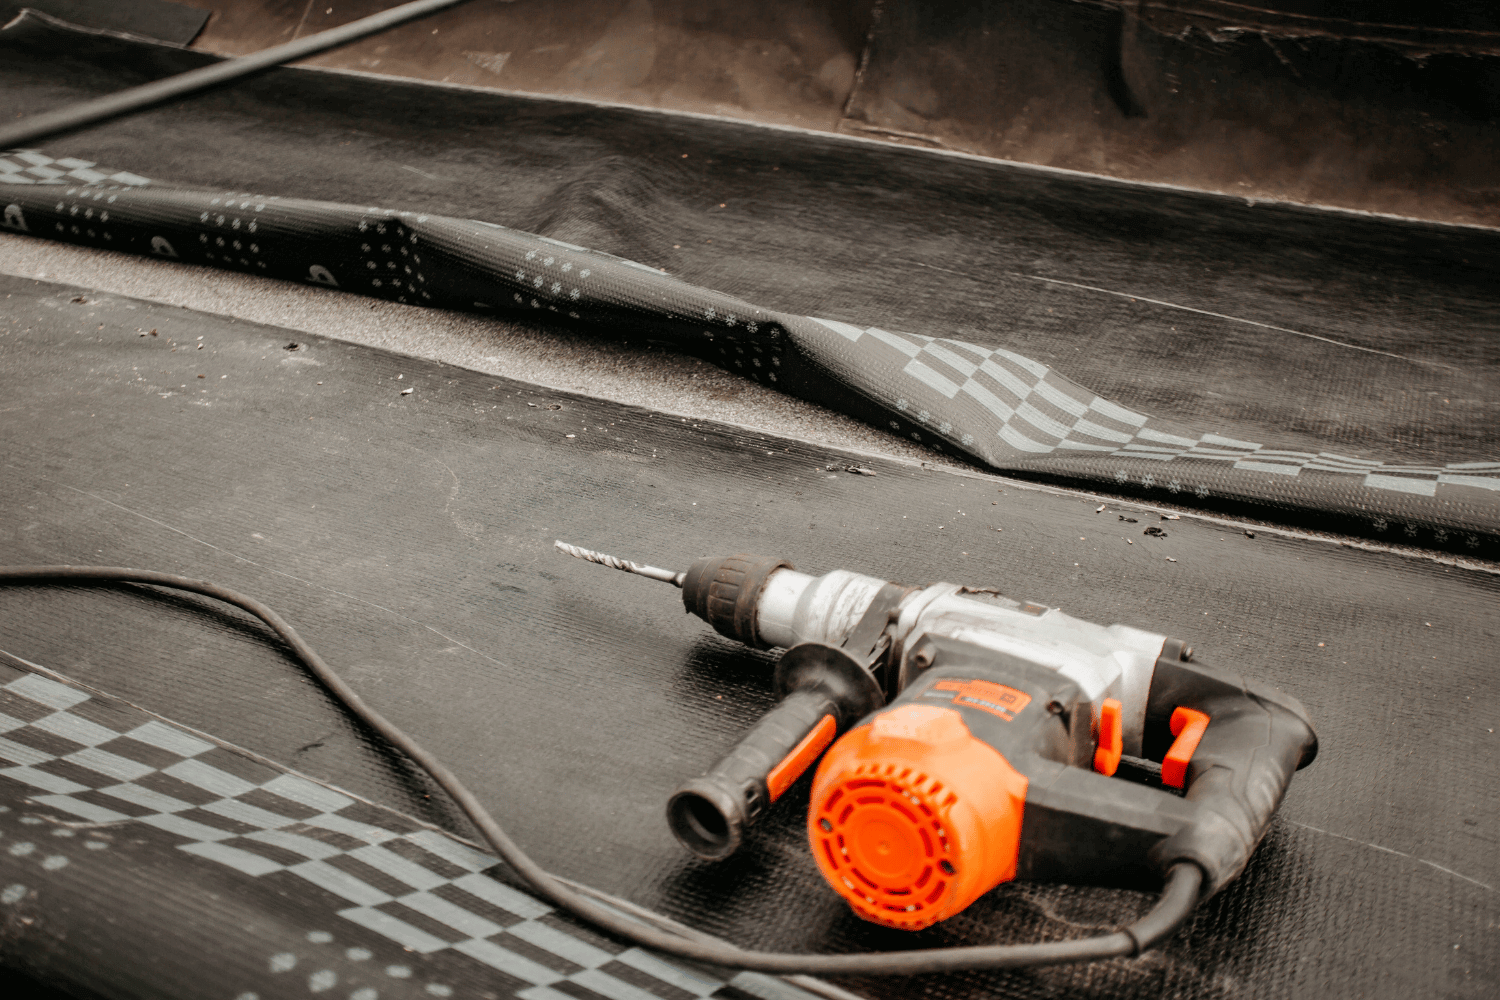
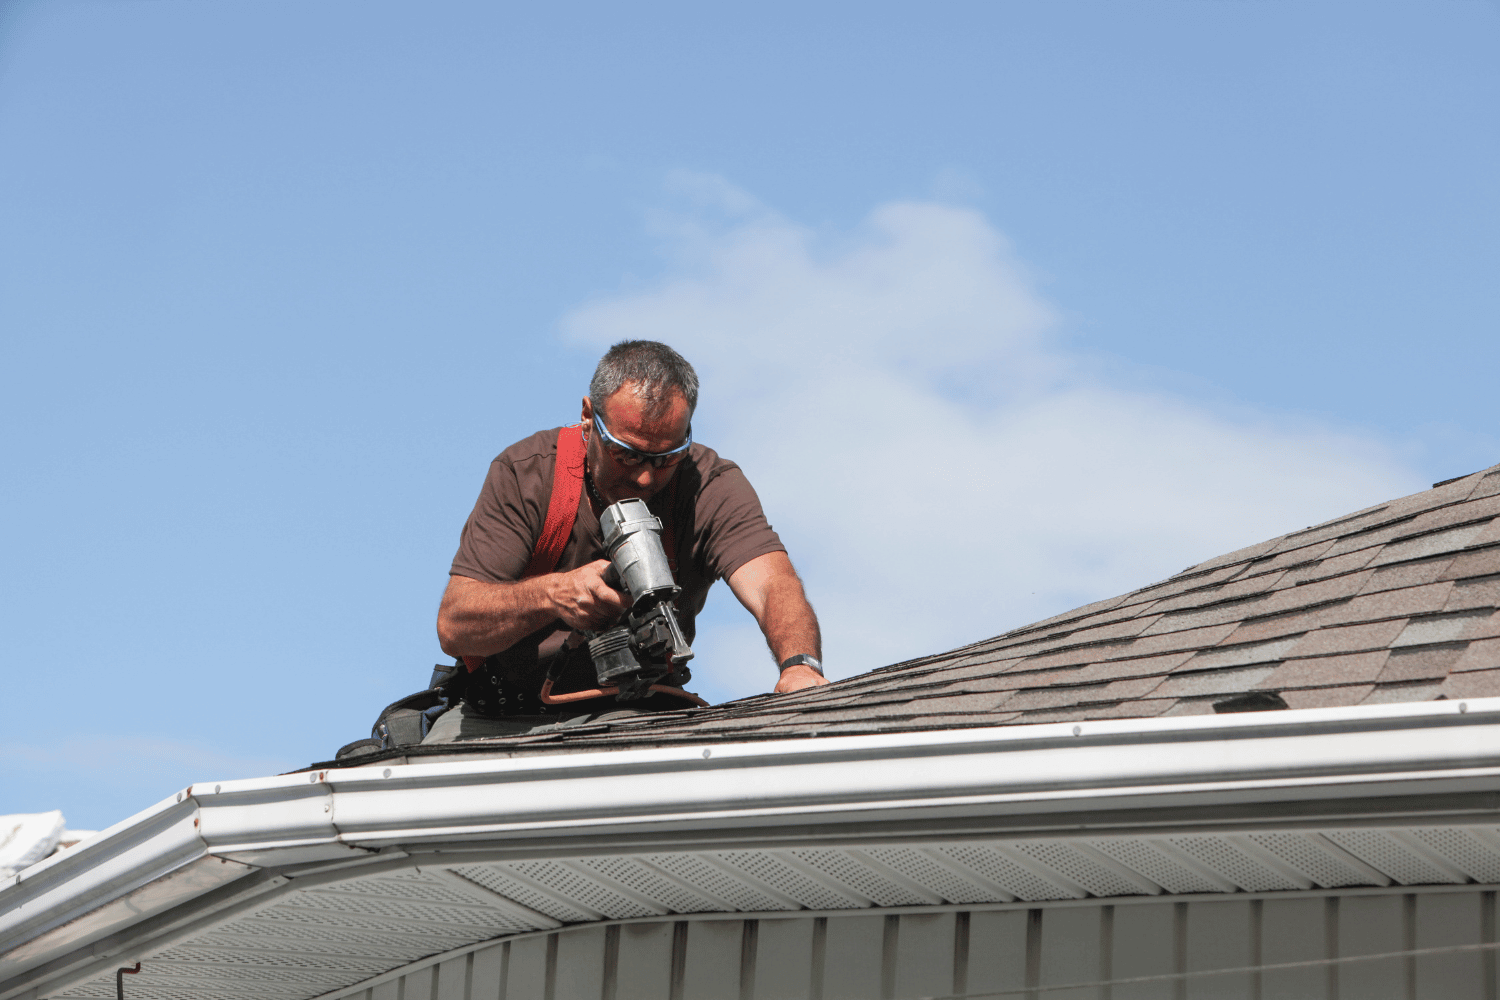
Metal roofs require specialized tools, flashing techniques, and underlayment systems. Metal roof installation is a more complex process that should be handled by professionals to ensure durability and long-term value. Installation mistakes—such as improper fastening or thermal expansion gaps—can lead to long-term problems, so always choose an experienced roofing contractor. Standing seam metal roofs, a popular style, require precise installation to achieve their renowned durability, energy efficiency, and low maintenance.
Explore certified roof replacement services
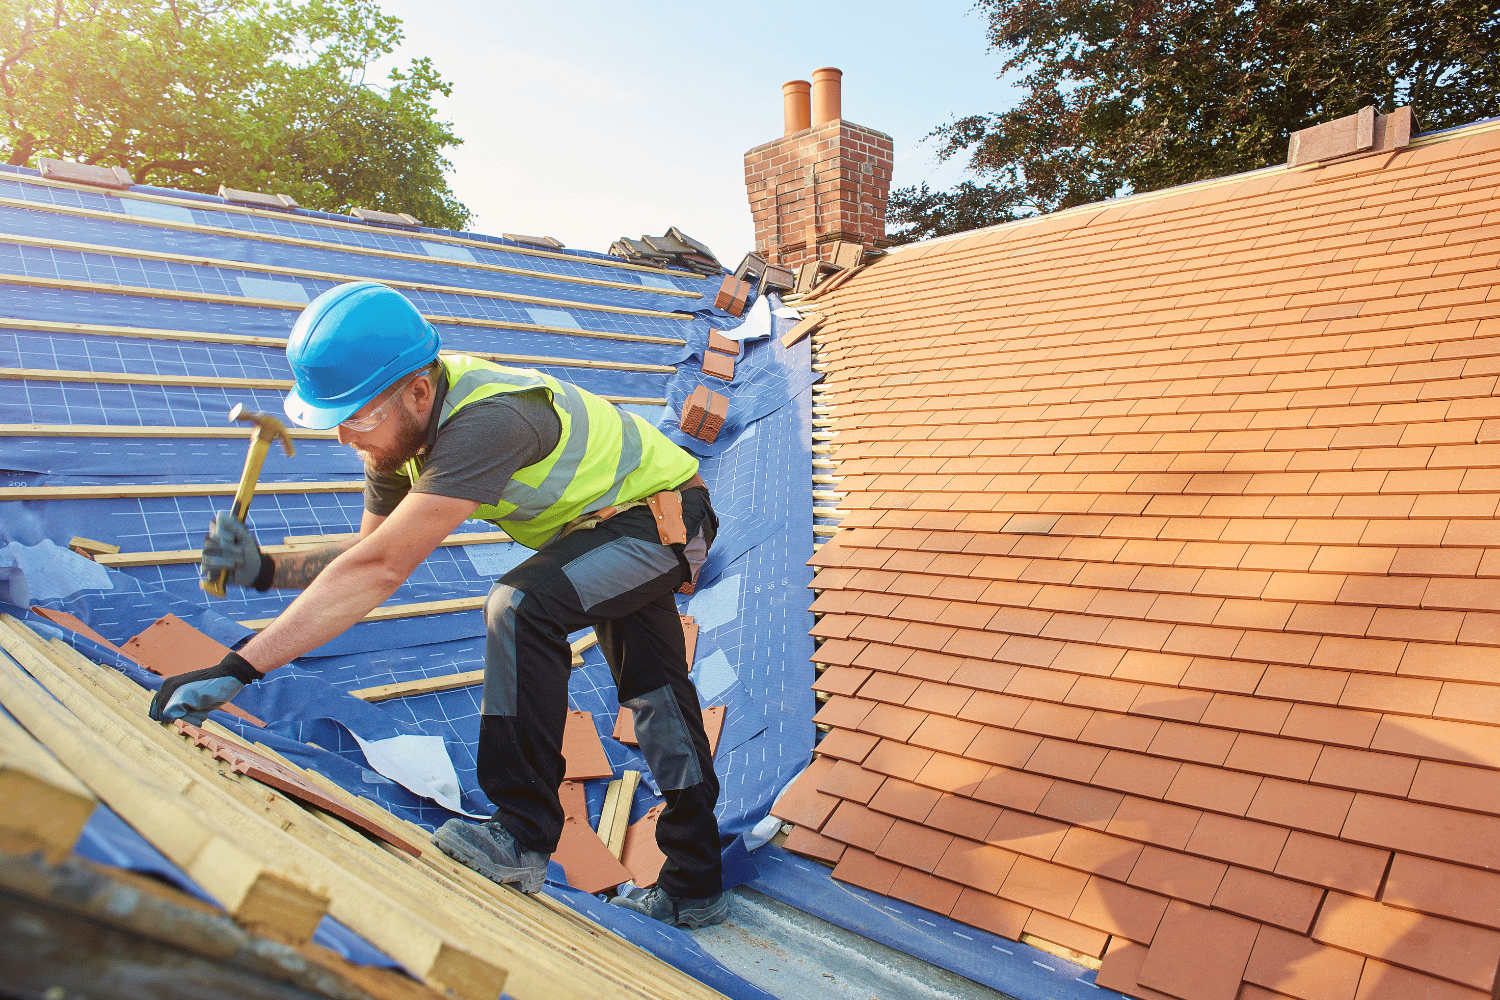
DIY vs Professional Installation: What to Know
When considering a new roof, homeowners often weigh the option of tackling the installation themselves versus hiring a professional roofing contractor. While DIY installation might seem like a cost-effective way to save on labor costs, it’s important to recognize the complexities involved—especially with metal roofing. Metal roofs require precise measurements, specialized tools, and expert knowledge to ensure proper installation. Mistakes during installation can lead to costly issues such as leaks, reduced energy efficiency, and even structural problems down the line.
Professional roofing contractors bring years of experience and training to the job, ensuring your new roof is installed correctly and safely. This is particularly crucial for metal roofing, as many manufacturers require professional installation to maintain warranty coverage. While the material cost may be higher for metal roofs, investing in professional installation can help protect that investment and extend the lifespan of your roof. Ultimately, while DIY might lower upfront costs, hiring a qualified roofing contractor is often the most cost-effective choice in the long run, providing peace of mind and lasting performance for your home.
Storm and Weather Resistance
Both metal and asphalt systems can be engineered to resist severe weather. Owens Corning shingles, for example, come with high wind ratings and reinforced nailing zones that protect against uplift.
Metal roofing is naturally fire-resistant, impervious to rot, and sheds snow efficiently, making it ideal for homes in snow-heavy regions like northern Pennsylvania and New Jersey.
For coastal or storm-prone areas, consider impact-rated shingles or rust-resistant metal alloys. To prevent rust on metal roofs, it is important to apply proper protective coatings and perform regular maintenance.
Schedule a storm damage roof inspection!
Local Climate and Roofing Considerations
Your local climate should play a major role in choosing the right roofing material for your home. In regions that experience heavy rain, strong winds, or dramatic temperature changes, metal roofing stands out for its exceptional durability and weather resistance. For example, aluminum metal roofs are highly resistant to corrosion, making them an excellent choice for coastal areas where salt and humidity can quickly degrade other materials. Metal roofs also perform well in areas prone to high winds and severe storms, offering reliable protection year after year.
On the other hand, asphalt shingles may be a practical and affordable option in areas with milder weather and fewer extreme conditions. They provide solid protection and energy efficiency when paired with proper insulation and ventilation. Regardless of your choice, it’s essential to select a roofing material that meets local building codes and is suited to your region’s unique weather patterns. By factoring in your local climate, you can ensure your new roof delivers long-term performance, energy efficiency, and peace of mind.
Environmental Impact and Sustainability
For homeowners concerned about sustainability, the environmental impact of roofing materials is a key consideration. Metal roofing is a standout choice for those seeking an environmentally friendly option. Many metal roofing materials are manufactured from recycled content and can be fully recycled at the end of their long lifespan, reducing landfill waste. Metal roofs are also highly energy efficient, reflecting sunlight to help keep your home cooler and lower your energy bills. Plus, their minimal maintenance requirements mean fewer resources are needed over time.
Traditional asphalt shingles, while popular and affordable, are typically made from non-renewable resources and contribute significantly to landfill waste when replaced. If you’re looking to further reduce your environmental footprint, metal roofs offer the added benefit of being an ideal platform for installing solar panels, helping you generate clean energy and save even more on utility costs. By choosing a sustainable roofing material, you’re not only protecting your home but also making a positive impact on the environment.
Home Insurance and Resale Value
The roofing material you choose can have a significant effect on both your home insurance premiums and its resale value. Metal roofs are often favored by insurance companies because of their durability and resistance to weather damage, such as hail, fire, and high winds. As a result, homeowners with metal roofing may qualify for lower insurance premiums, helping to offset the higher initial installation costs.
When it comes to resale value, metal roofs are seen as a premium upgrade and can make your home more attractive to potential buyers. Studies have shown that homes with metal roofs can recoup up to 95% of their installation cost at resale, thanks to their long lifespan and low maintenance requirements. In contrast, while asphalt shingles remain a popular and cost-effective choice, they may not offer the same boost in resale value due to their shorter lifespan and more common appearance. Considering the long-term financial benefits, investing in a metal roof can be a smart move for homeowners looking to maximize both protection and property value.
Warranty and Maintenance
Owens Corning shingles installed by Dream Home Roofers come with limited lifetime warranties, plus extended system coverage when combined with matching underlayment, ventilation, and flashing products.
Metal roof warranties vary—some last 30–50 years but may cover only specific parts like paint finish or fasteners. Metal roofs require less maintenance compared to other roofing options, as their durability and resistance to moisture reduce the need for frequent inspections, cleaning, and repairs. One of the key benefits of metal roofs is that they need little maintenance, which contributes to their longevity and results in long-term cost savings. Maintenance for both systems includes seasonal inspections and prompt repair of any leaks or flashing failures.
Ready to Compare Roof Options for Your Home?
Ready to Compare Roof Options for Your Home? Be sure to explore all available roofing options to find the best fit for your needs.
Choosing between a metal or asphalt roof depends on your priorities—budget, longevity, style, and local climate. If you’re in the Mid-Atlantic and want expert advice, schedule a consultation with Dream Home Roofers today.
Get a Free Roof Consultation
FAQs
Which roof lasts longer: metal or asphalt? Metal roofs can last 40–70 years, while asphalt shingles typically last 15–30 years depending on quality and climate. Most homeowners choose asphalt shingles for their affordability and ease of installation, even though metal roofs offer greater longevity.
Are metal roofs louder during storms? Not when properly installed with underlayment. Sound levels are comparable to asphalt roofs in most residential settings.
Can you install a metal roof over shingles? Yes, in some cases. A roof inspection is required to verify if the structure supports the added weight and code compliance.
Is asphalt roofing better for resale value? Architectural shingles often provide high ROI due to their appearance and cost-efficiency, especially in neighborhoods where metal roofs aren’t common.
Which is easier to repair? Asphalt shingle roofs are generally easier and less expensive to repair than metal systems.
Are there other roofing materials to consider? Yes, other roofing materials such as tile, slate, and wood shakes are available. These options vary in cost, durability, and maintenance needs, offering different advantages and drawbacks compared to metal and asphalt.