Understanding How to Shingle a Gambrel Roof
Are you considering shingling a gambrel roof? Gambrel roofs, with their distinctive double-sloped design, have a sense of traditional charm and elegance. However, the unique shape of a gambrel roof can present a challenge when it comes to shingling. With the right knowledge and guidance, it is possible to tackle this project yourself and achieve stunning results, however, it is best to let a roofing professional such as Dream Home complete the task correctly and put your mind at ease.
Understanding Gambrel Roofs
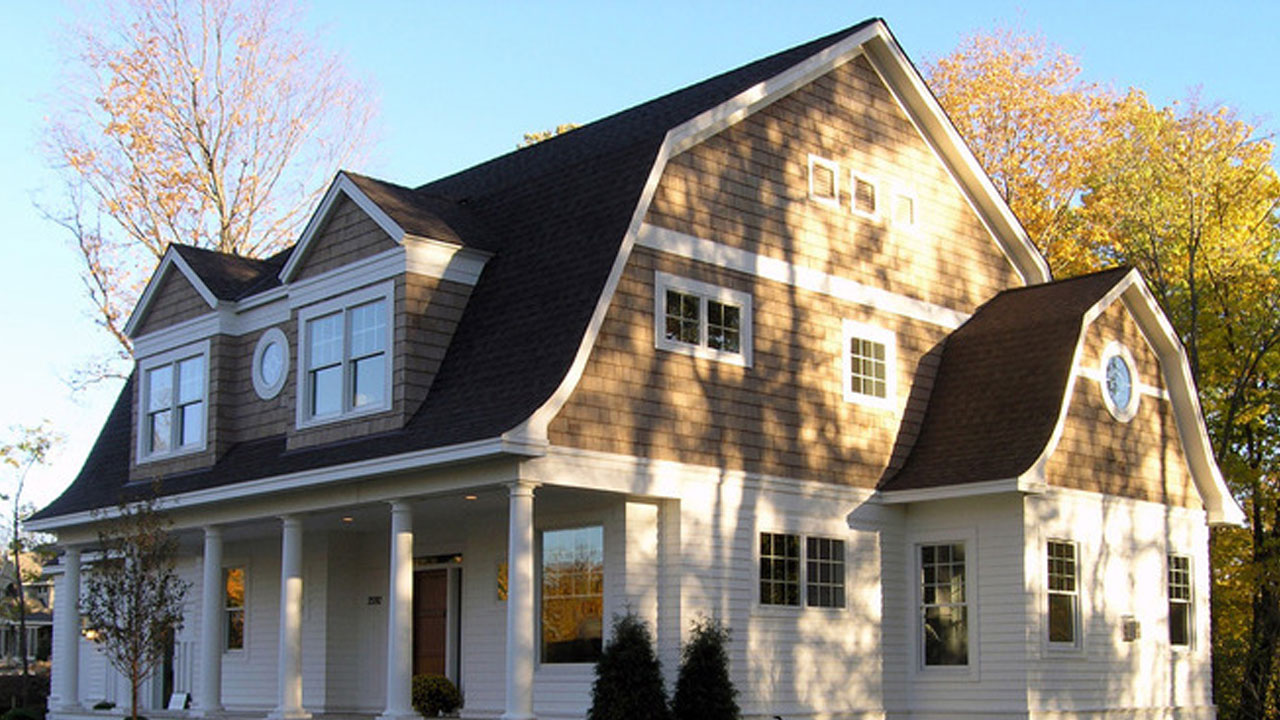
Before diving into the process of how to shingle a gambrel roof, it’s essential to grasp the fundamentals of a gambrel roof. Unlike conventional roofs with single slopes, gambrel roofs feature two slopes on each side. The lower slope is steeper than the upper slope, creating a distinctive barn-like appearance. This design maximizes interior space, making gambrel roofs popular for both residential and commercial buildings.
Preparing for the Project
Preparation is key to a successful shingling project. Here’s what you’ll need:
- Materials: Gather high-quality asphalt roofing shingles, roofing felt, nails, flashing, and other necessary supplies.
- Safety Gear: Invest in safety gear such as gloves, goggles, and sturdy footwear to protect yourself during the project.
- Tools: Equip yourself with essential tools like a hammer, roofing nails, utility knife, ladder, and chalk line.
Steps to Shingle a Gambrel Roof
Now, let’s walk through the steps to shingle your gambrel roof:
- Prepare the Surface: Ensure the roof deck is clean, dry, and free of debris. Install roofing felt as an underlayment, starting from the bottom and working your way up.
- Install Starter Shingles: Begin at the eaves and install starter shingles along the lower edge of the roof. These provide a secure base for the first row of shingles and help prevent water penetration.
- Lay the Shingles: Working from the bottom up, lay the first row of shingles along the eaves, following the manufacturer’s instructions for proper alignment and spacing. Use chalk lines to maintain straight rows.
- Overlap and Nail: As you work your way up the roof, overlap each row of shingles to ensure proper water runoff. Nail the shingles in place, driving nails just below the tar strip to avoid damaging the shingles.
- Cutting Shingles: Use a utility knife to cut shingles as needed to fit around vents, chimneys, and other roof protrusions. Take care to maintain proper alignment and ensure a tight seal.
- Install Flashing: Install flashing around roof penetrations and in valleys to prevent water leakage. Secure the flashing in place using roofing cement or nails, ensuring a watertight seal.
- Complete Ridge and Hip Lines: Finish the project by installing ridge caps along the ridges and hips of the roof. These specialized shingles provide extra protection and a finished look.
Leave the Job to The Roofing Experts
While shingling a gambrel roof can be a rewarding DIY project, it’s essential to recognize when to call in the experts. Dream Home offers professional roofing services backed by years of experience and expertise. Leave the job to the pros at Dream Home, as we understand the complexities of gambrel roofs and all other architectural styles.
Contact the Gambrel Roof Professionals at Dream Home Today
Learning how to shingle a gambrel roof requires careful planning, precision, and attention to detail. By following the steps outlined above and trusting the experts at Dream Home, you can achieve a beautiful and long-lasting roof that enhances the beauty and functionality of your home. Contact us online today to learn more about our roofing services and how we can help bring your dream roof to life.


