Roofing for new construction involves unique considerations and steps that differ from roof replacements. This guide explains the essentials, including material choices, planning, and benefits, to help you make informed decisions for your new home.
Key Takeaways
- New construction roofing allows for customization, enhancing both aesthetics and energy efficiency, which can increase property value.
- Choosing the right materials and skilled contractors is essential for successful roofing projects, impacting costs, durability, and overall satisfaction.
- Routine maintenance and inspections are crucial for extending the lifespan of a roof, preventing small issues from escalating into significant problems.
Understanding New Construction Roofing
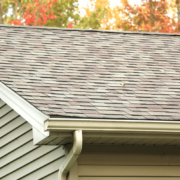
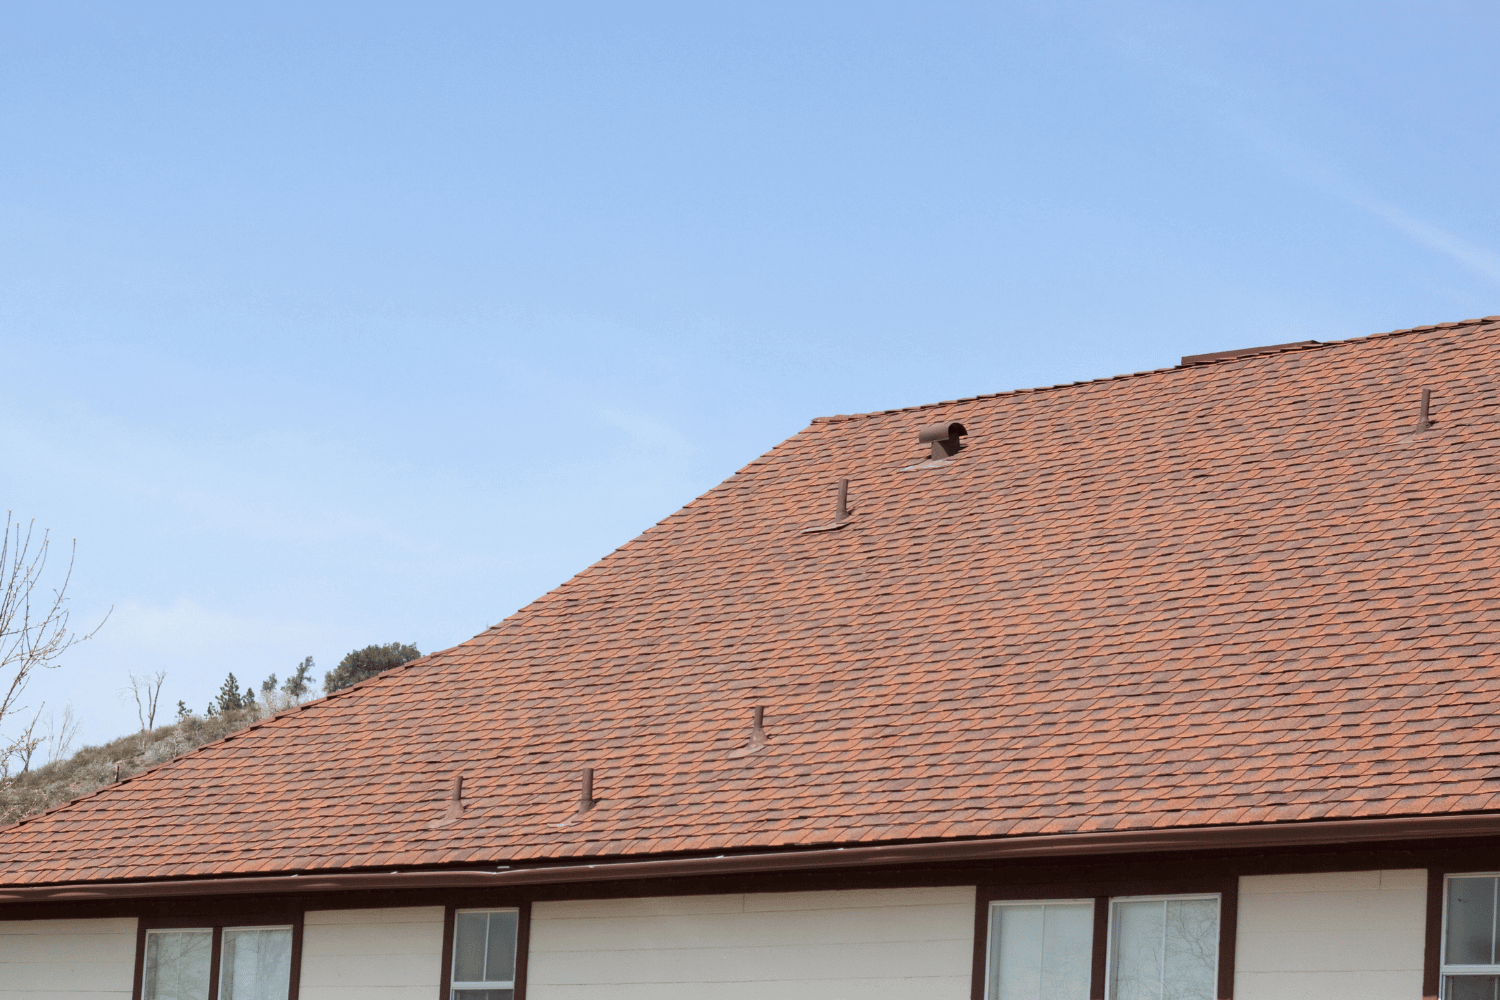
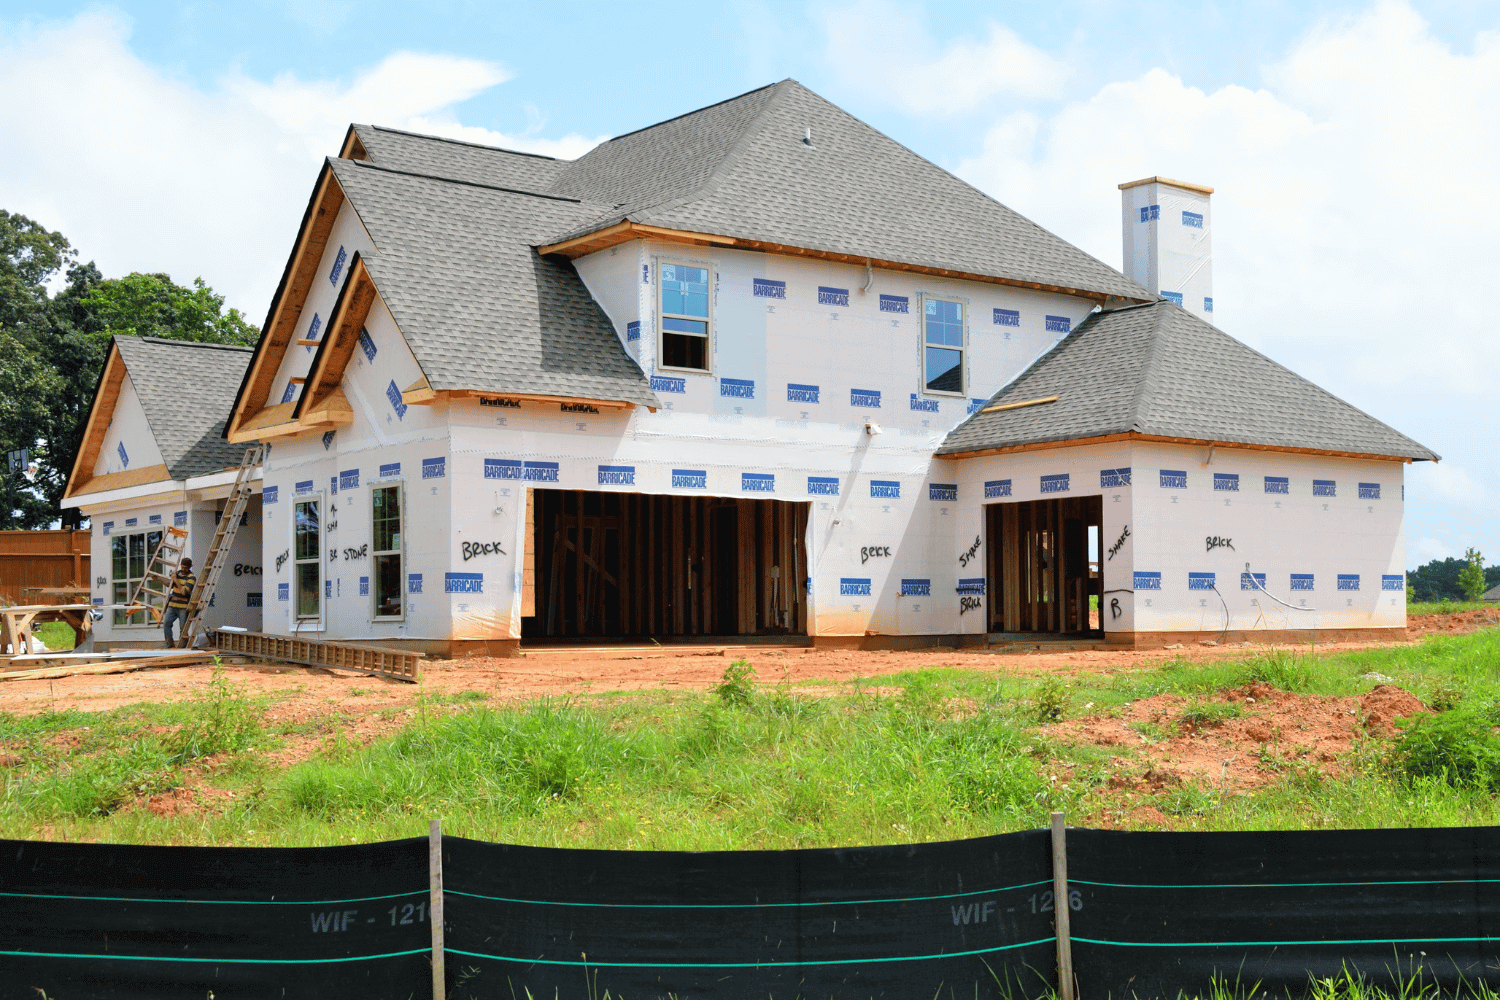
New construction roofing involves the installation of a roof on newly built houses or additions. Unlike roof replacements, which involve removing and replacing an existing roof, new construction roofing starts from scratch, allowing for more customization and integration with the building’s design and specifications. This process is tailored to meet the specific needs of the new structure and the homeowner’s vision for their property.
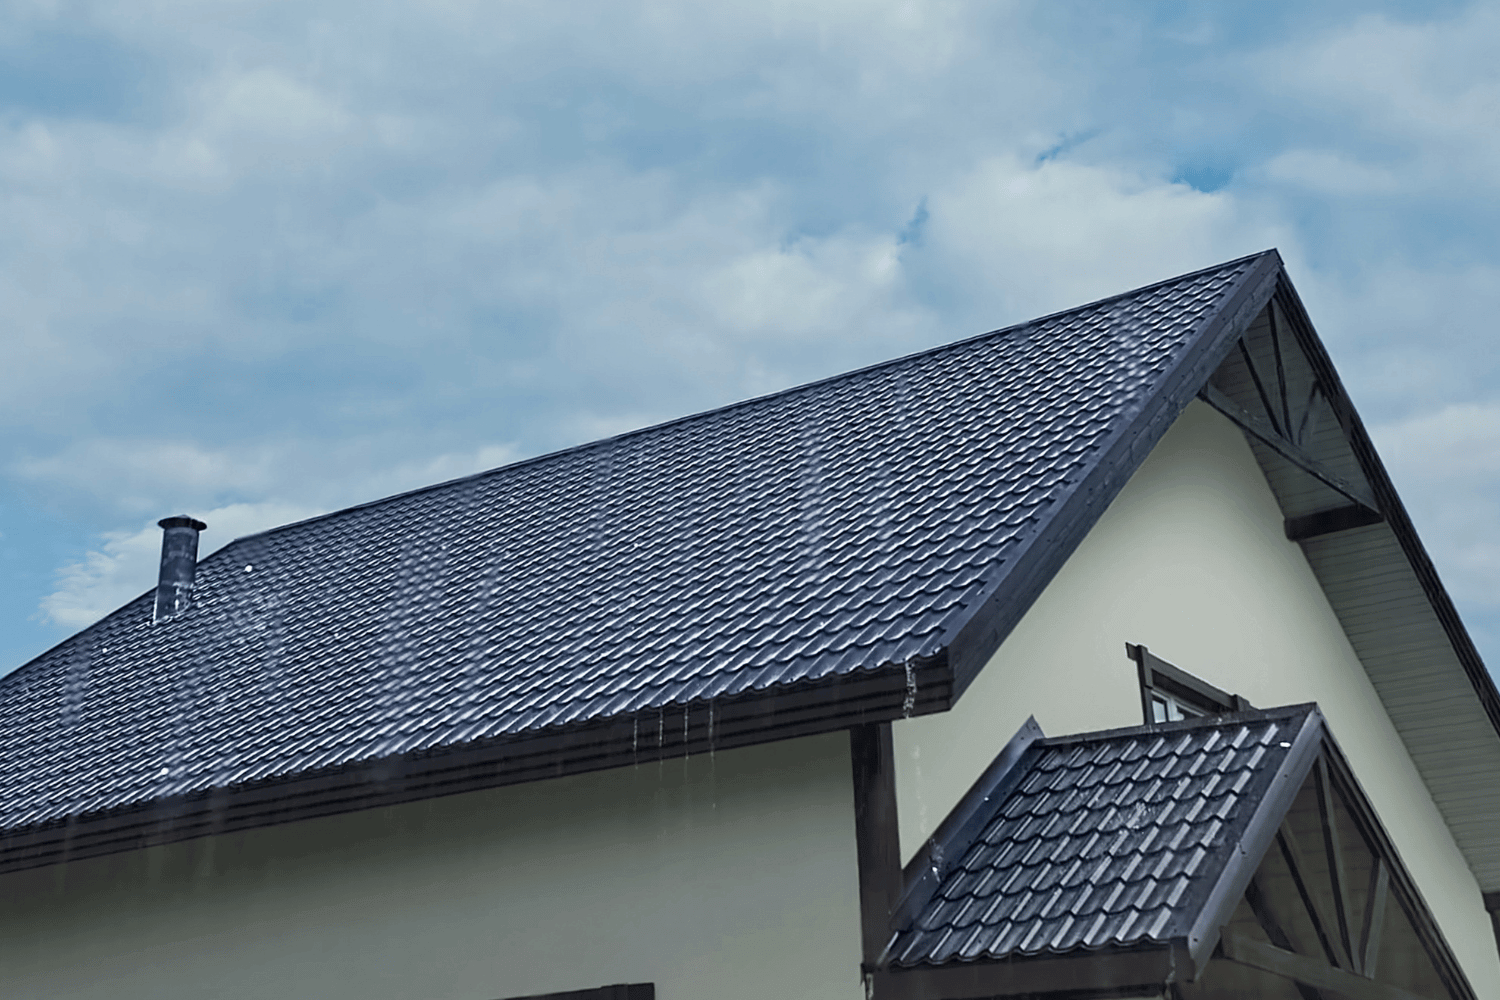
One of the major benefits of new construction roofing is the wide range of styles, designs, and materials available. Whether you prefer the traditional look of wood shingles or the modern appeal of metal roofs, there’s a solution to match your aesthetic and functional requirements. These comprehensive solutions ensure that every aspect of your new roof, from material to color, complements the architectural style of your home, enhancing both its appearance and functionality.
Additionally, investing in a new roof can significantly boost your home’s energy efficiency, potentially lowering energy costs by reducing the workload on heating and cooling systems. A well-designed and properly installed roof can also increase your property’s value, making it more appealing to potential buyers and ensuring a higher return on investment.
This transformation turns your house into a dream home, aligning perfectly with your vision and providing long-term benefits.
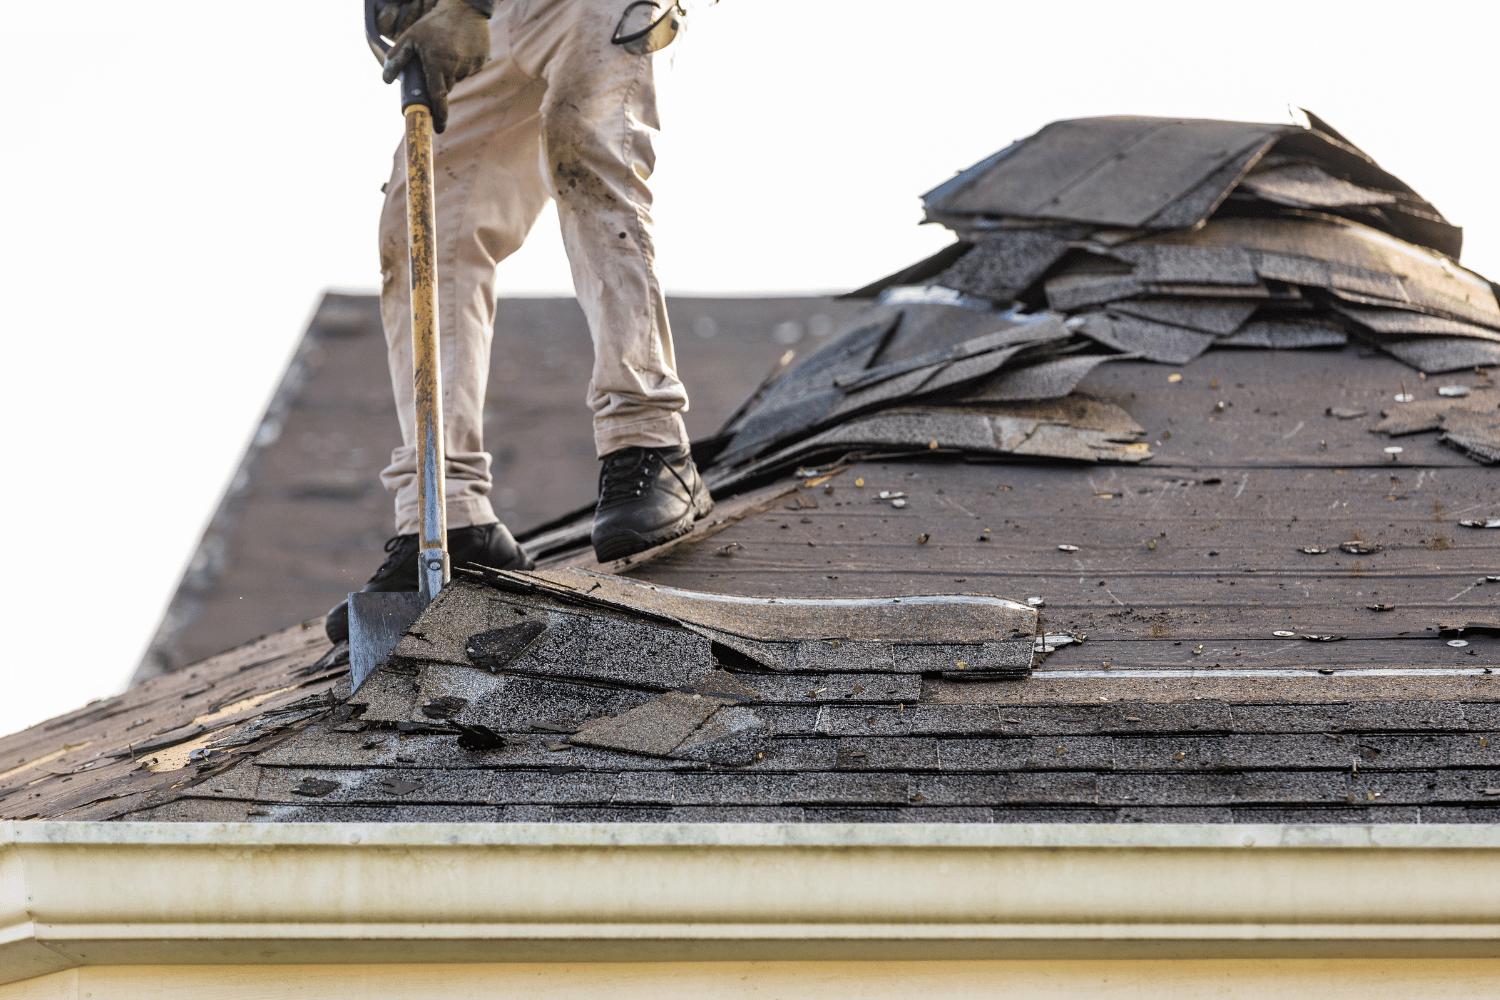
Key Differences from Roof Replacement
New construction roofing and roof replacement might seem similar at first glance, but they have distinct differences in their processes. New construction roofing involves installing a roof on a newly built structure, which means that there is no need to remove an existing roof. This allows for a seamless integration of the roofing system with the building’s design and requirements, ensuring optimal performance and aesthetics from the start.
On the other hand, roof replacement involves removing the existing roofing materials, addressing any underlying issues, and then installing new materials as part of the roof replacement project. This process can be more complex and time-consuming, as it often includes dealing with potential damage or structural issues that may have developed over time.
Understanding these differences is crucial when planning your roofing project, as it impacts the overall approach, timeline, and costs involved.
Benefits of New Construction Roofing
New construction roofing offers numerous benefits that go beyond just providing a protective cover for your home. One of the most significant advantages is the improvement in energy efficiency. New roofing systems are designed to enhance overall energy performance, which can lead to substantial savings on utility bills. Energy-efficient roofs reduce the workload on your heating and cooling systems, making your home more comfortable and environmentally friendly.
Moreover, a new roof can significantly increase your property’s value. Potential buyers are often willing to pay a premium for homes with new, high-quality roofs, as it means they won’t have to worry about roof repairs or replacements for many years. This investment not only makes your home more appealing in the market but also ensures long-term protection and aesthetic appeal.
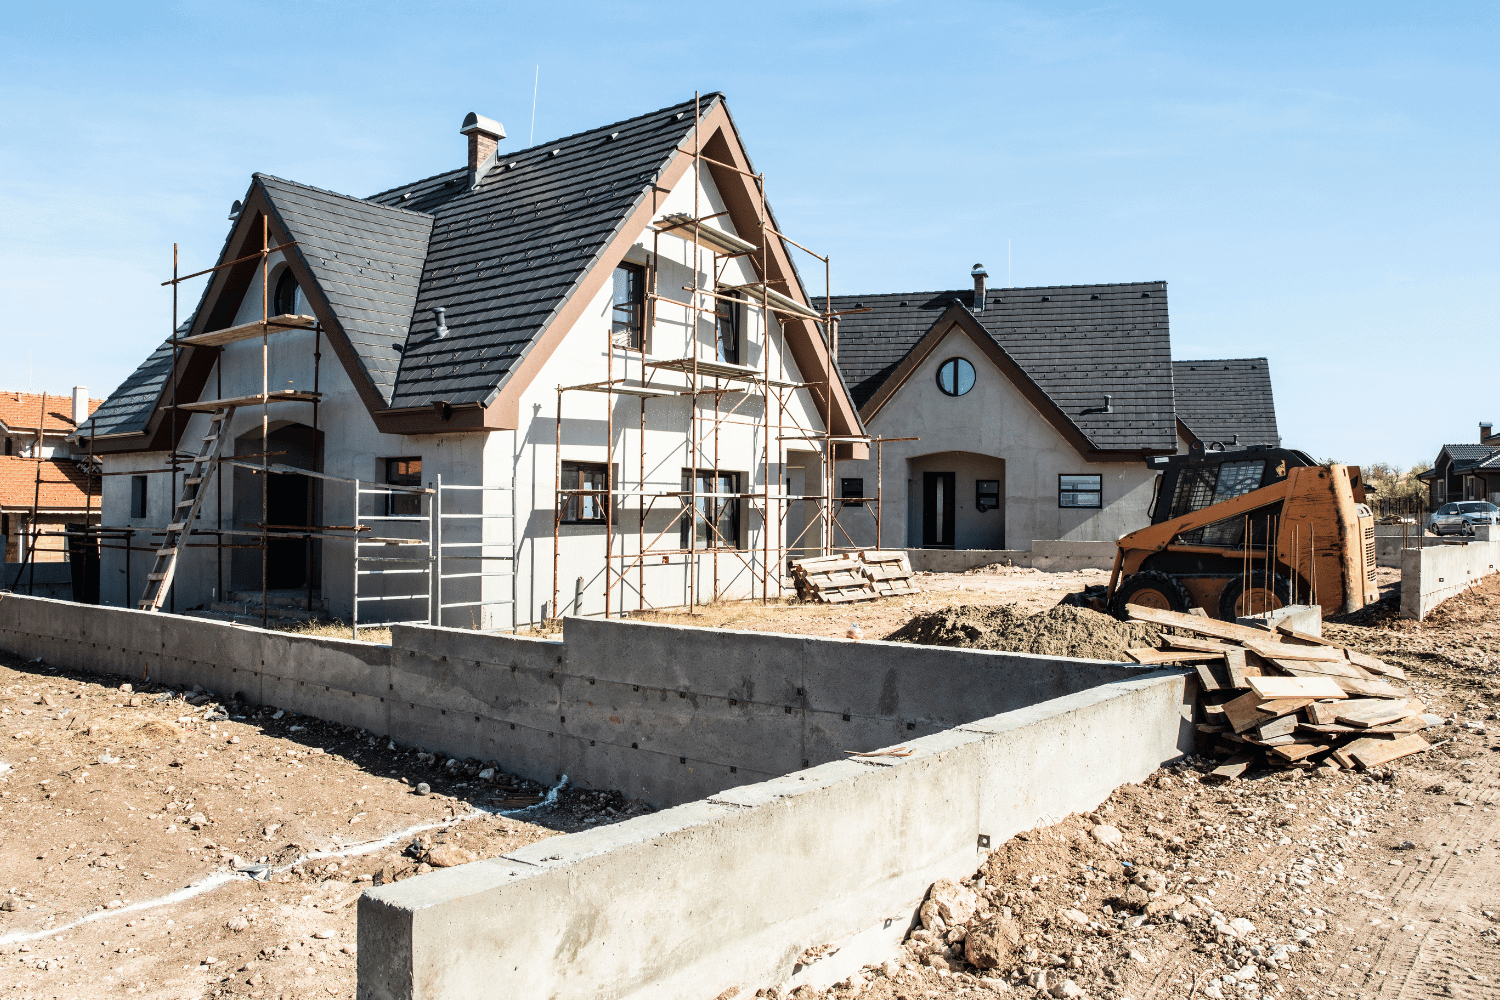
Essential Steps in New Construction Roofing

Embarking on a new construction roofing project involves several crucial steps that ensure the success and longevity of your new roof. From the initial planning and design to the final installation, each phase plays a vital role in achieving a roof that is both functional and aesthetically pleasing.
The process begins with meticulous planning and design, where the specific needs of the project are assessed and the best roofing system is chosen. Material selection follows, with options tailored to the homeowner’s preferences and the local climate.
Finally, the installation process brings everything together, with skilled roofers ensuring that every detail meets the highest standards of craftsmanship and quality.
Planning and Design
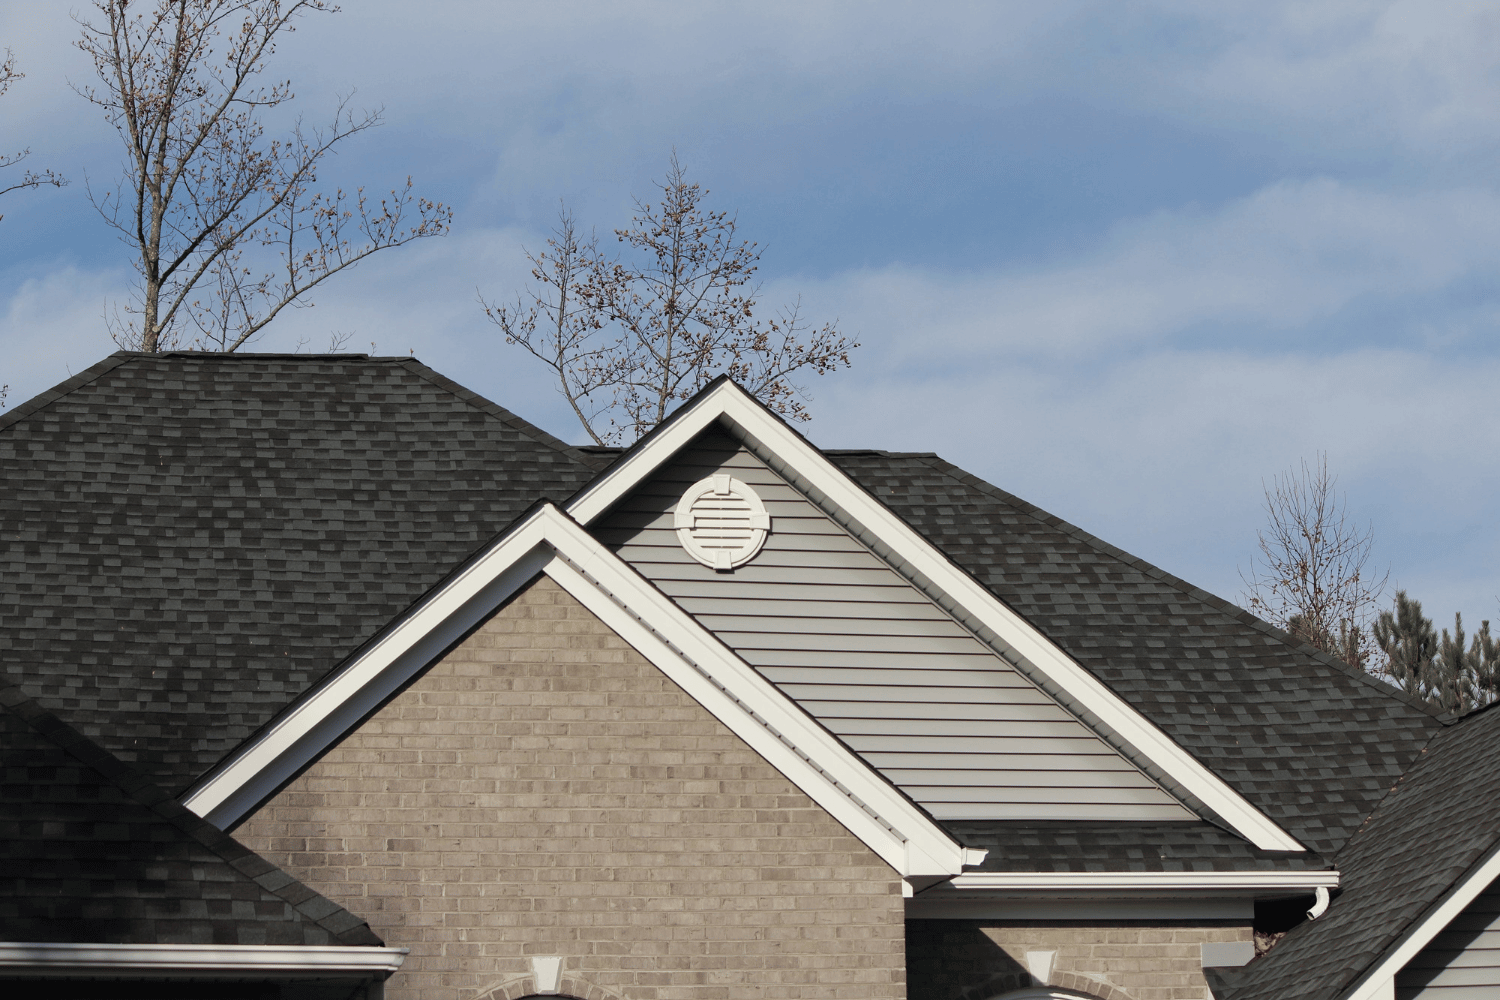
The planning and design phase is critical for the success of any new construction roofing project. This phase starts with a detailed inspection of the building envelope to determine the most suitable roofing type based on the climate, architectural style, and specific needs of the home. During this phase, a thorough consultation takes place where homeowners can discuss their preferences, including the optimal roofing material choices and color schemes that best complement the home’s overall design.
Choosing the right roofing material and color can greatly enhance the visual harmony and curb appeal of the home. Coordinating the roof color with the home’s siding and architectural style creates a cohesive and attractive exterior that reflects the homeowner’s personal style. This careful planning ensures that the new roof not only protects the home but also adds significant aesthetic value.
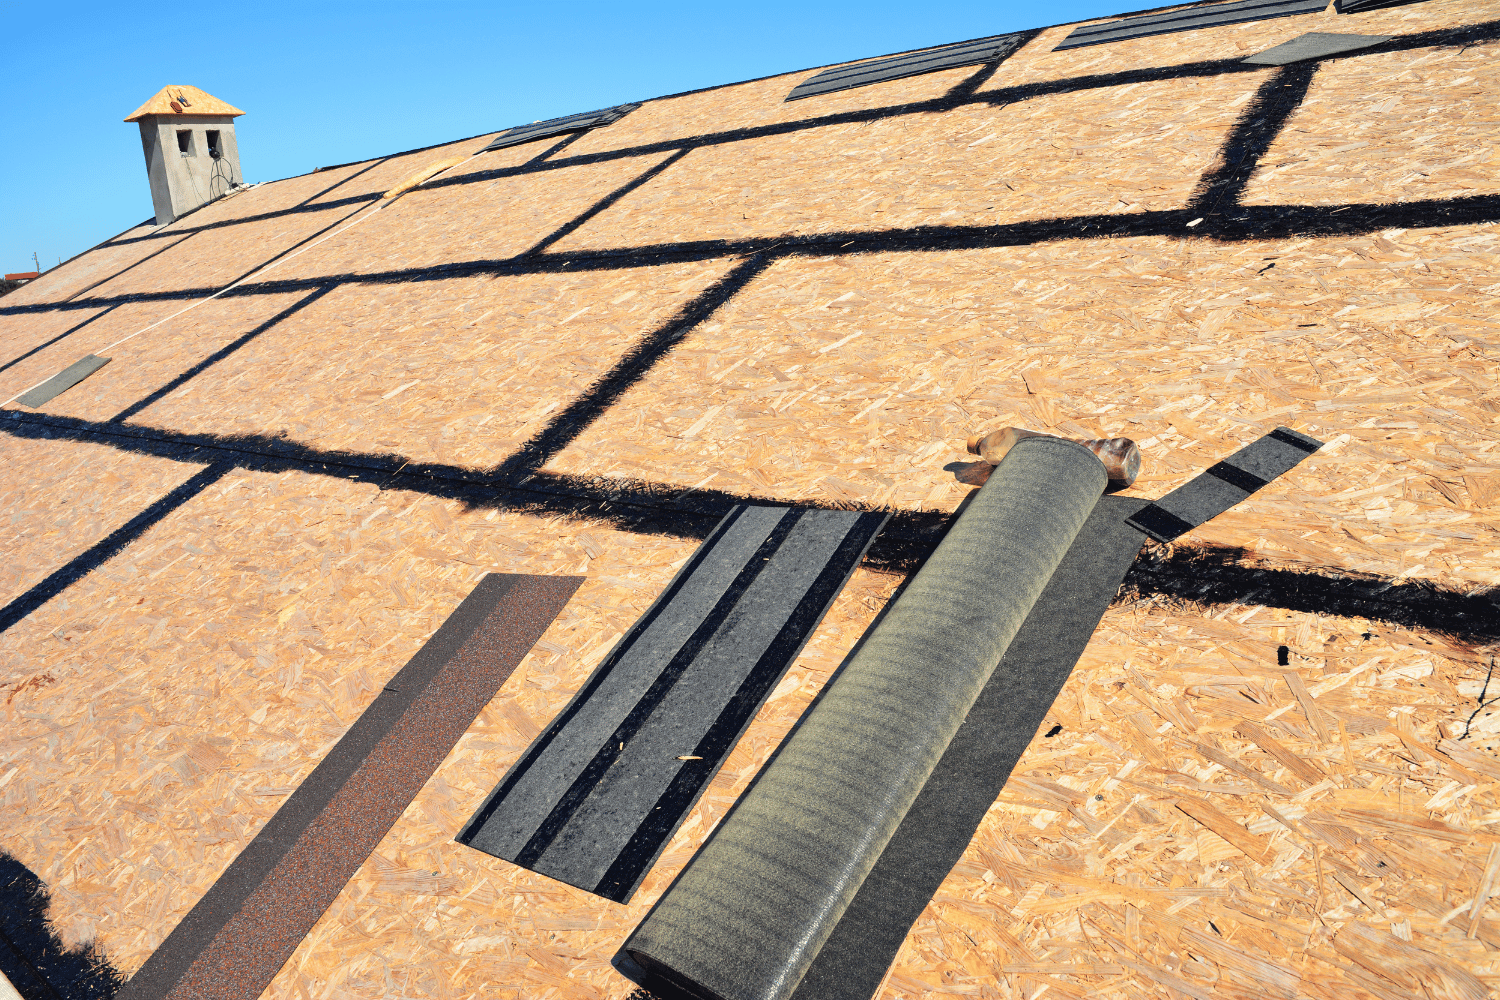
Material Selection
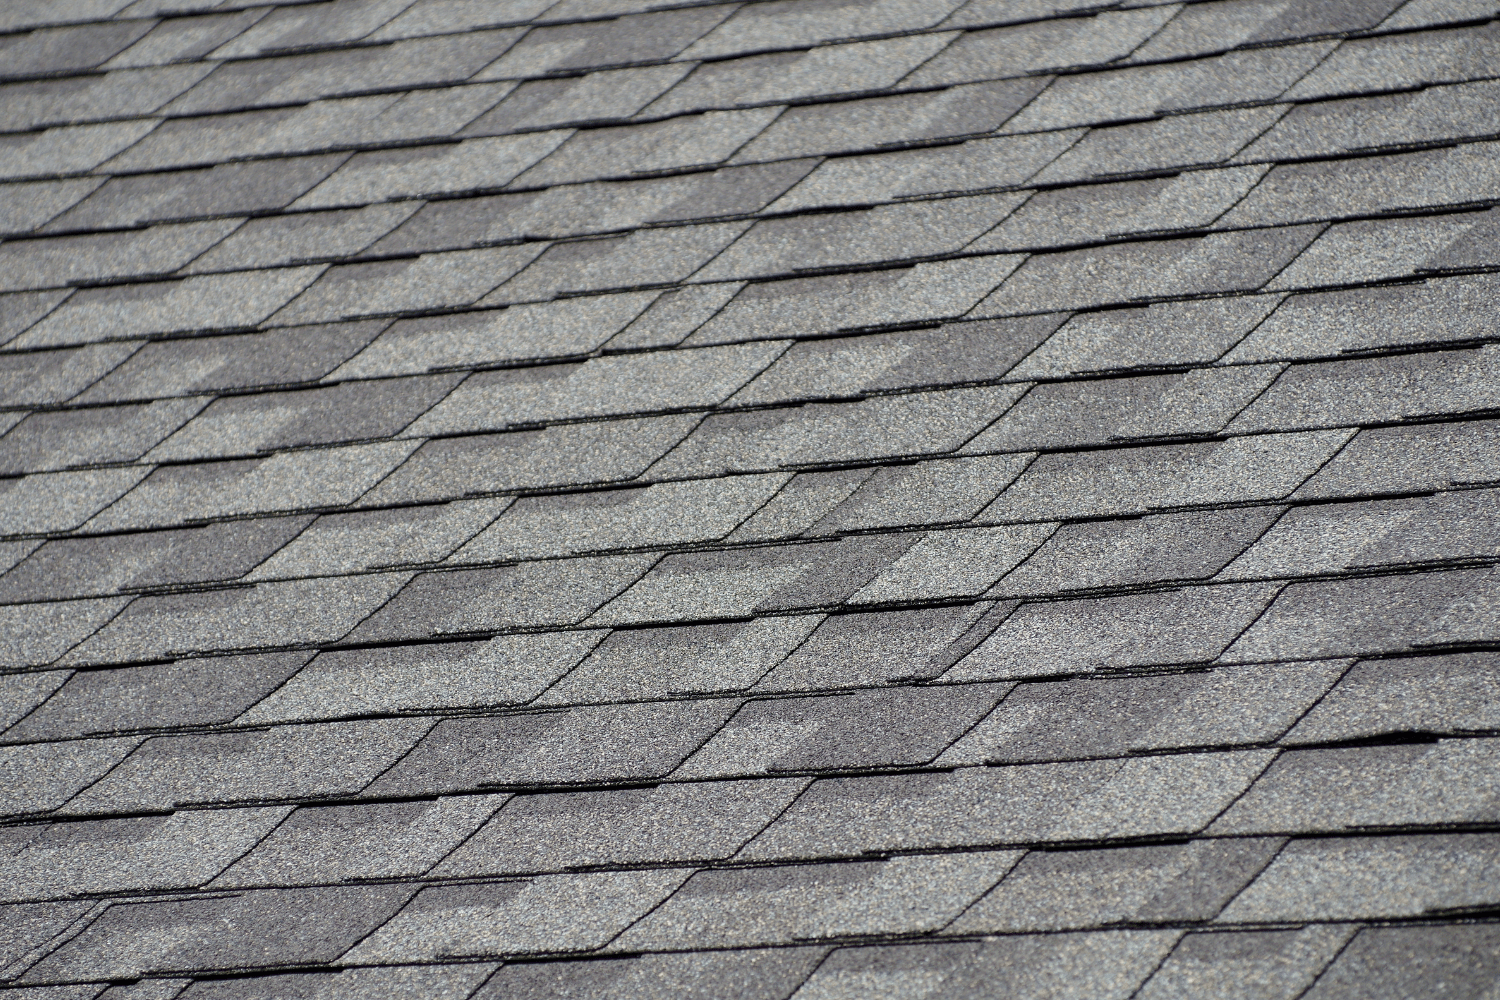
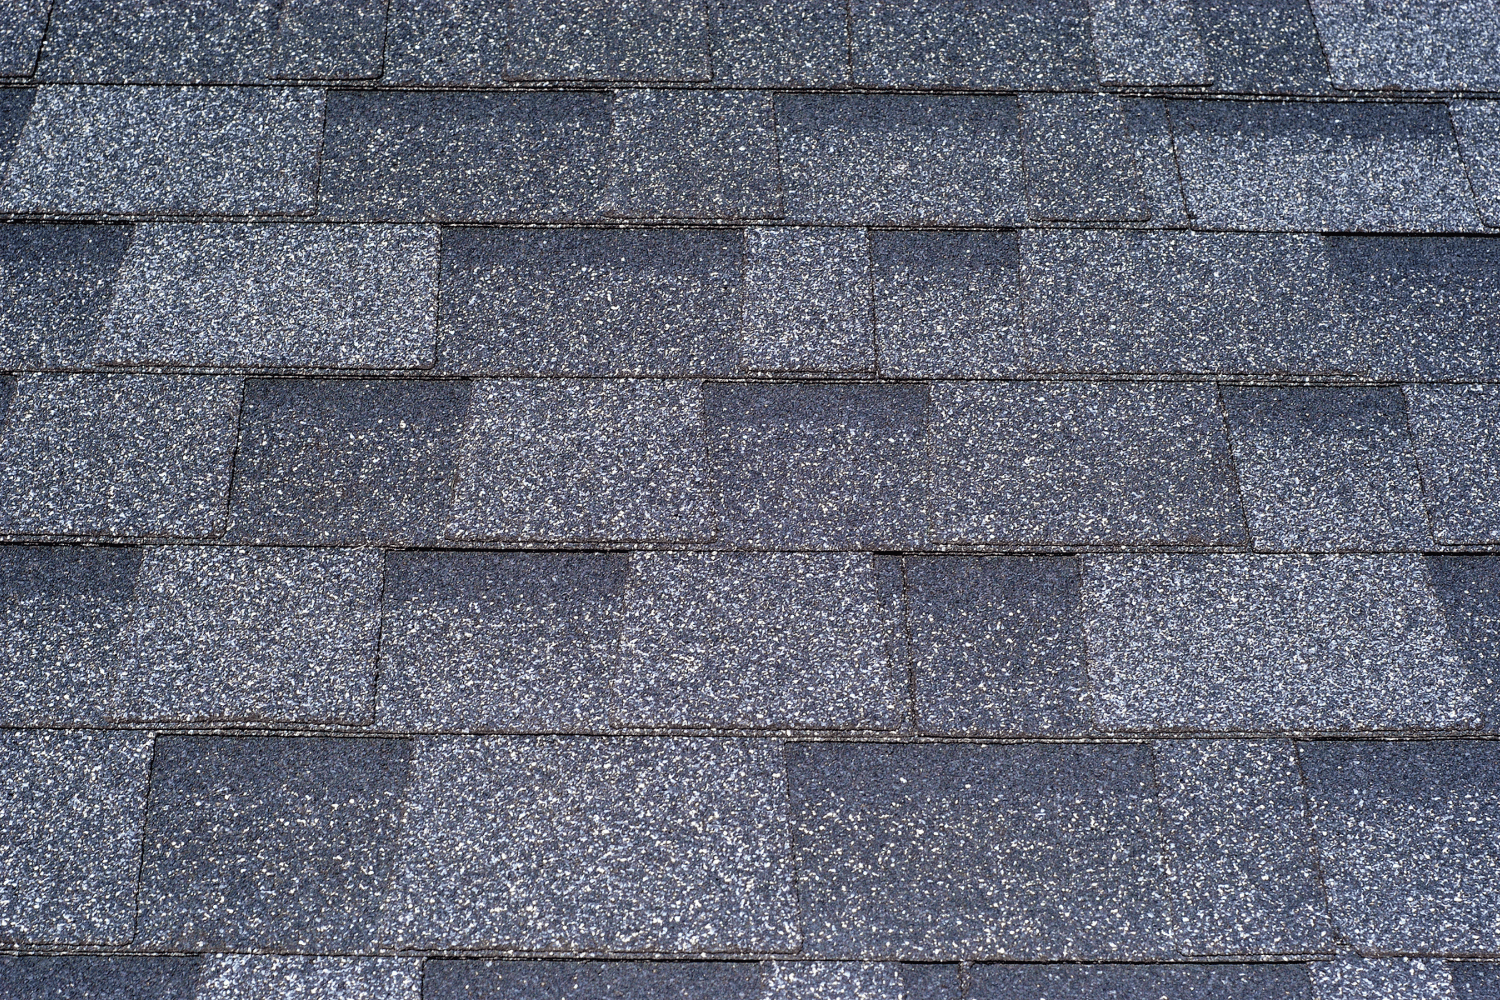
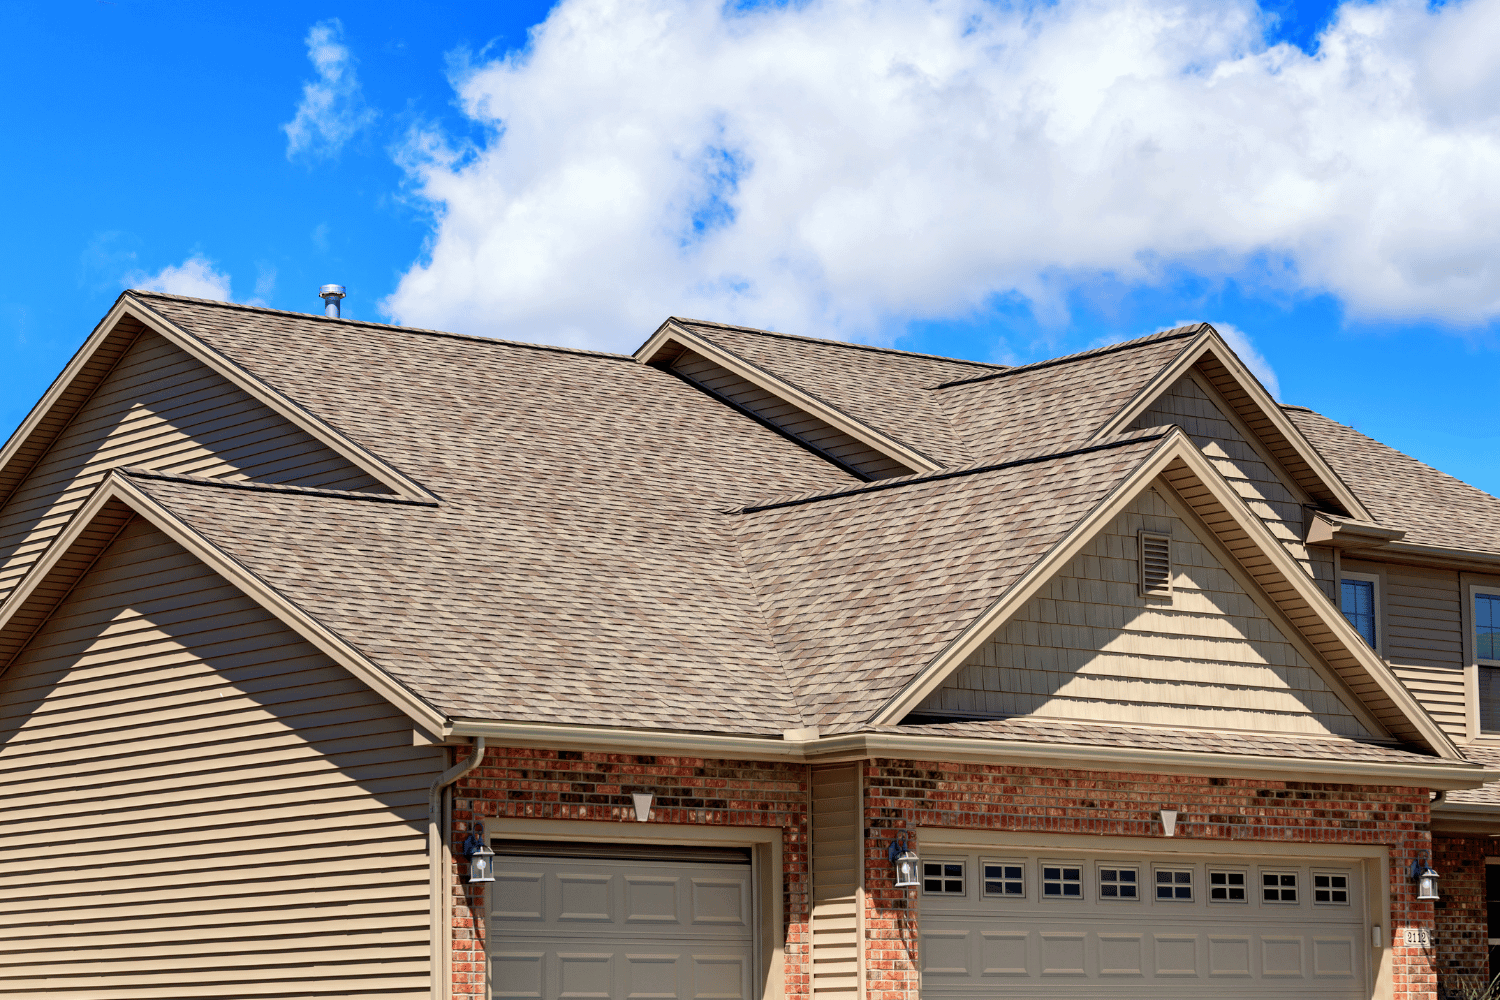
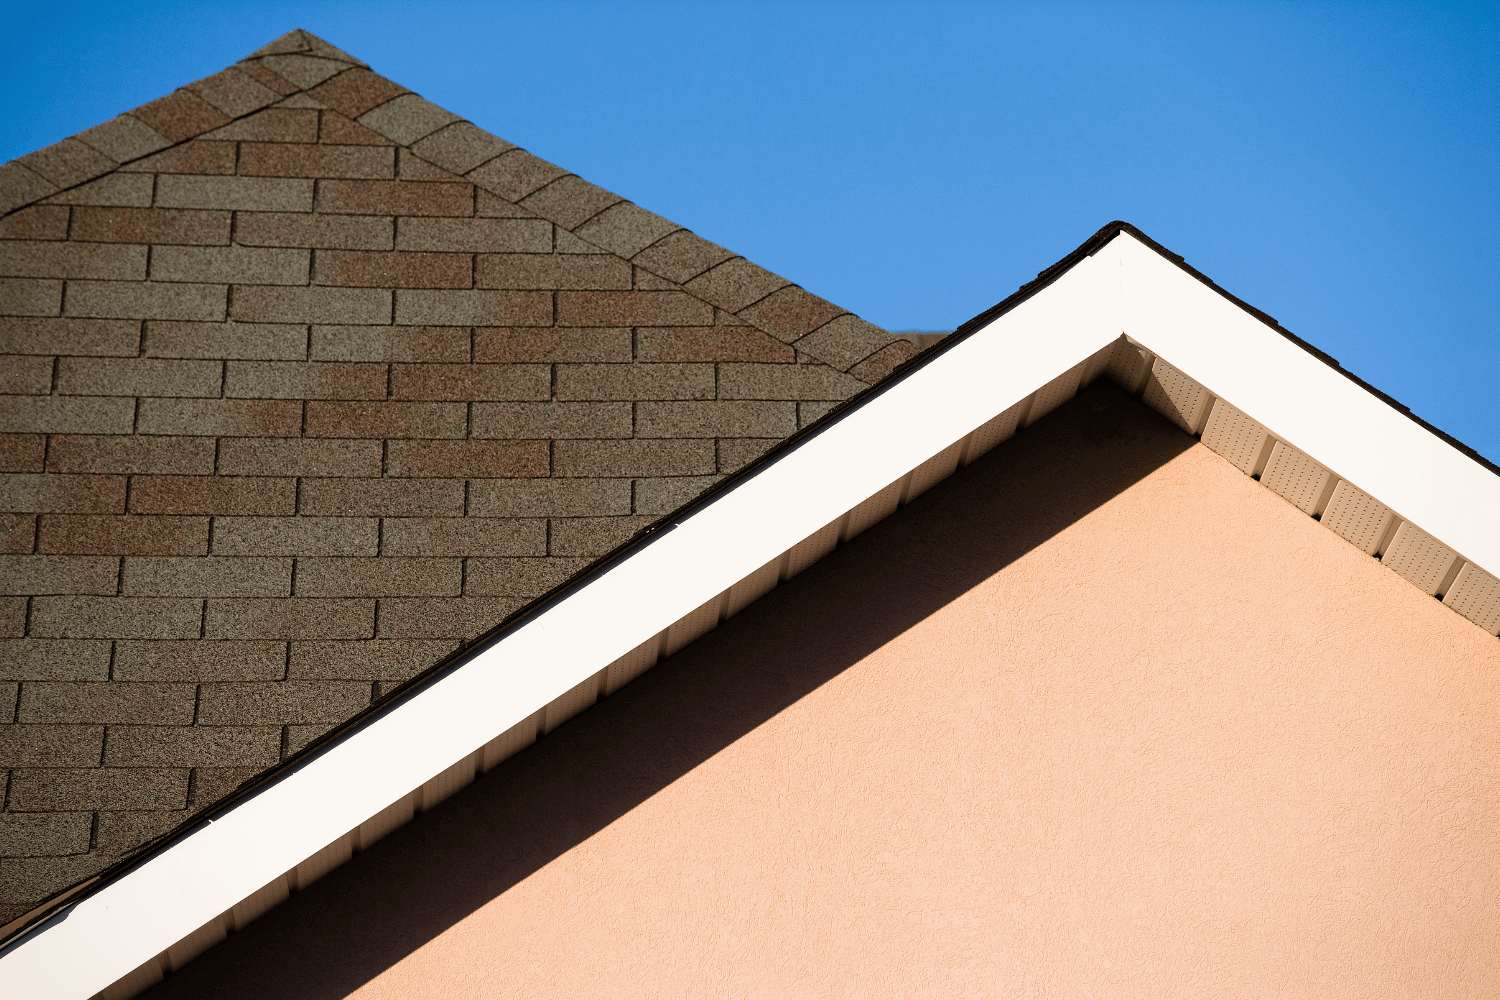
Selecting the right roofing materials is a crucial step in ensuring the durability and appearance of your new roof. Common materials for new roofs include asphalt shingles, metal roofs, and dimensional shingles, each offering distinct benefits and characteristics. An asphalt shingle roof is the most commonly used roofing material in American homes due to its affordability, ease of maintenance, and variety of colors and finishes.
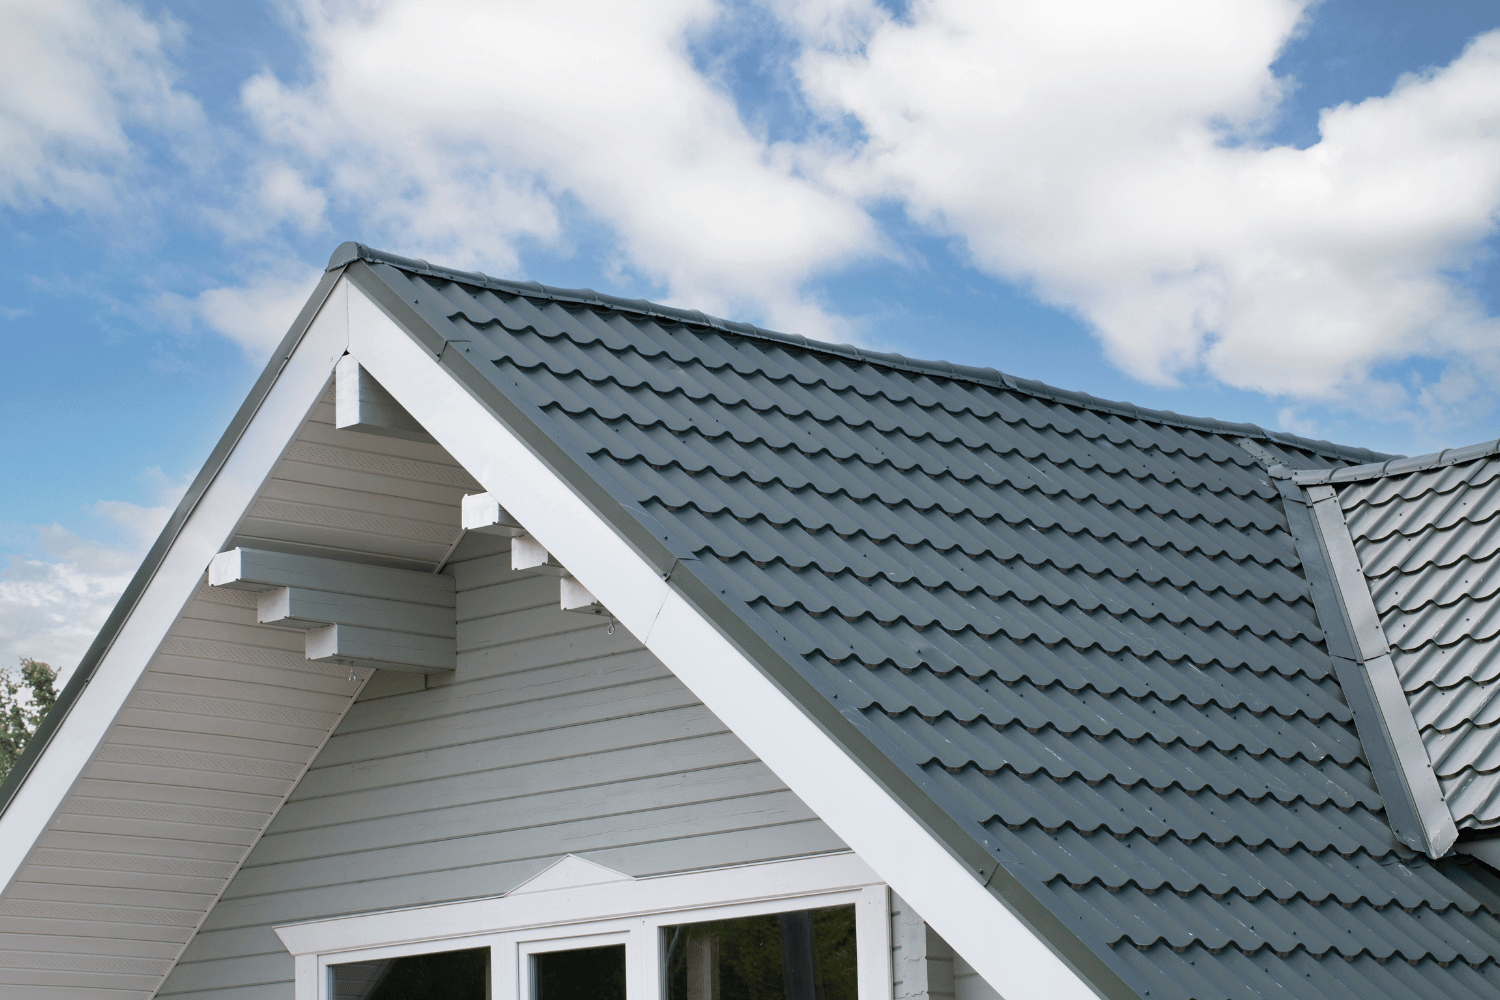
Metal roofing is known for its strength, durability, and longevity, often lasting over 50 years. Its reflective properties also contribute to energy efficiency by keeping the house cooler in the summer.
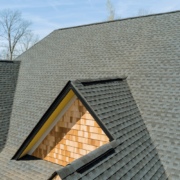
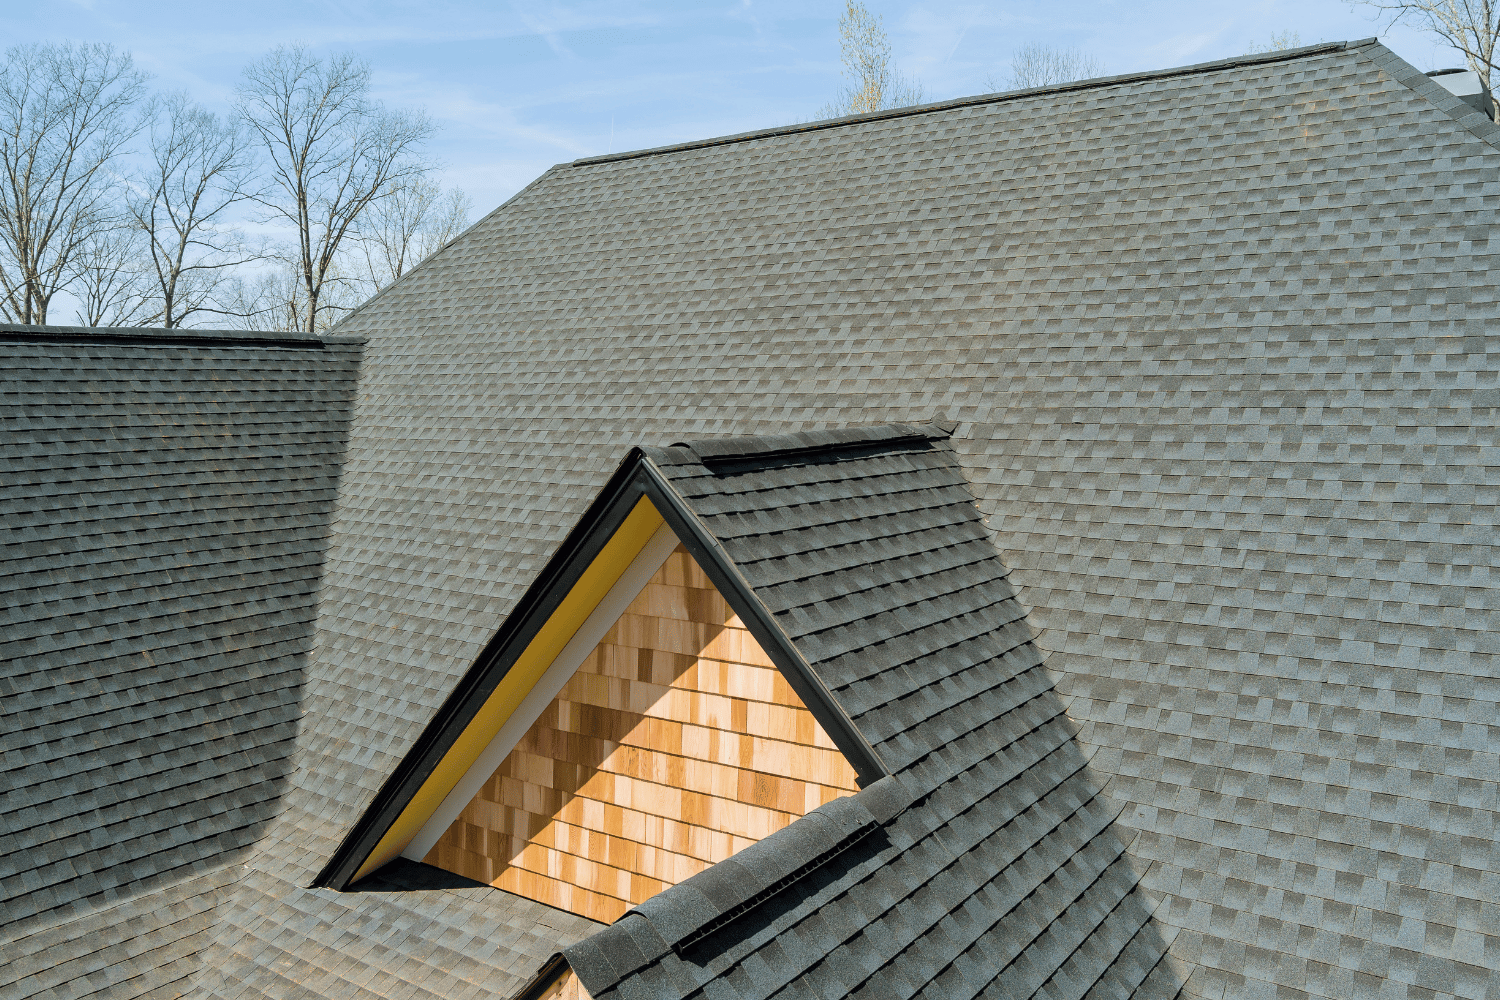
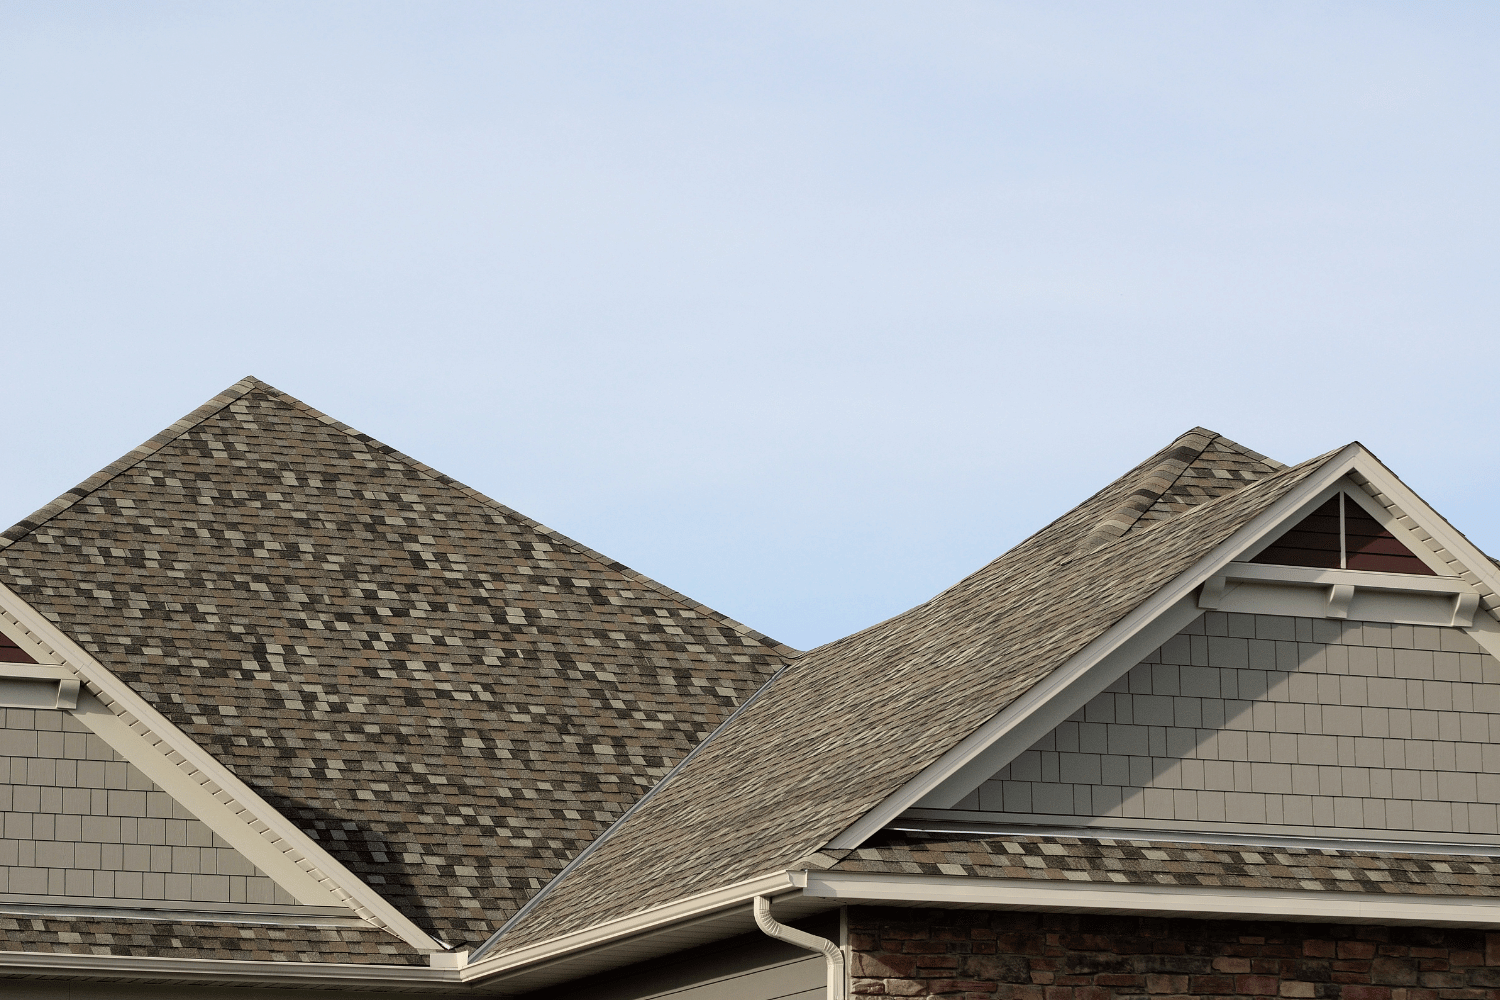
Dimensional shingles, also known as architectural shingles, provide a textured appearance and add depth and sophistication to the roof. The choice of material should consider factors like durability, aesthetics, maintenance requirements, and local climate conditions.
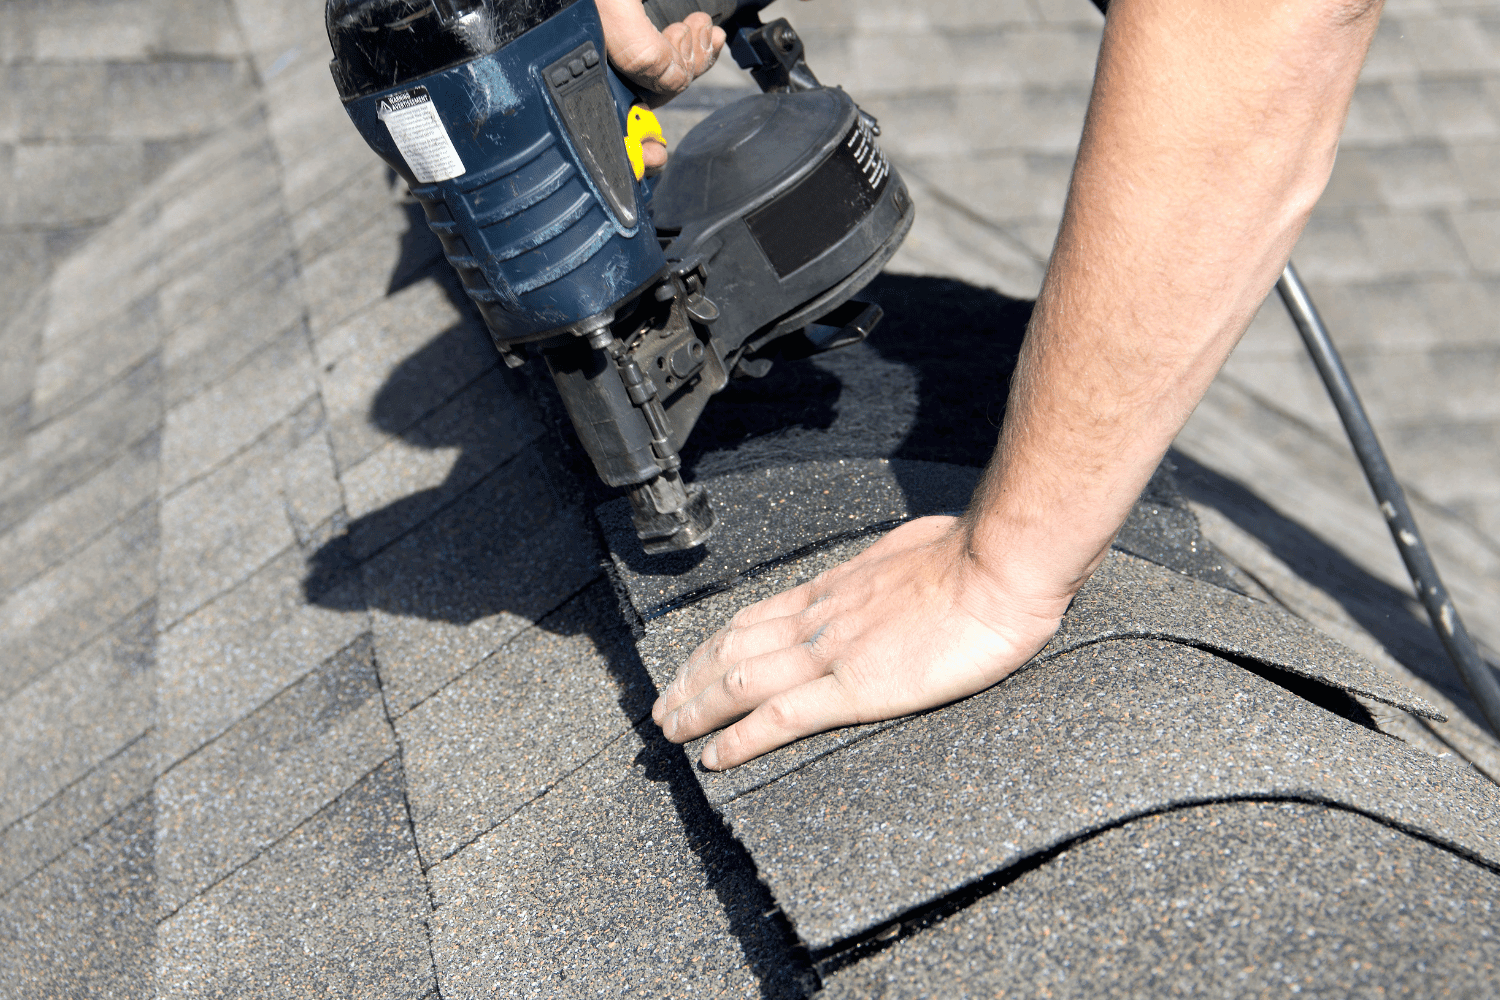
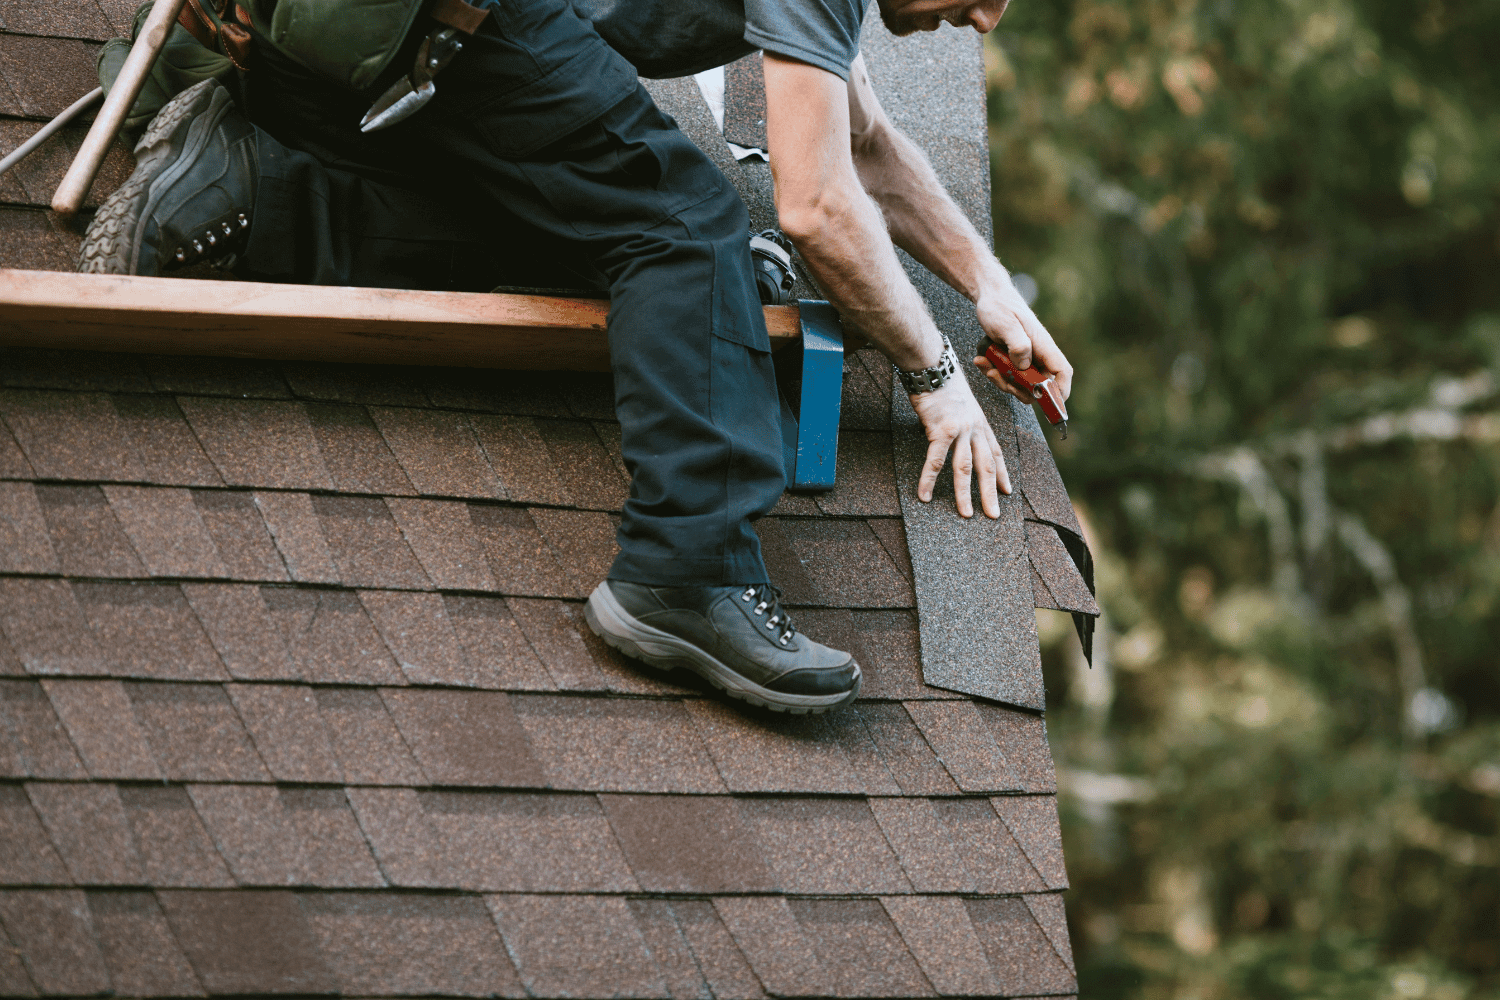
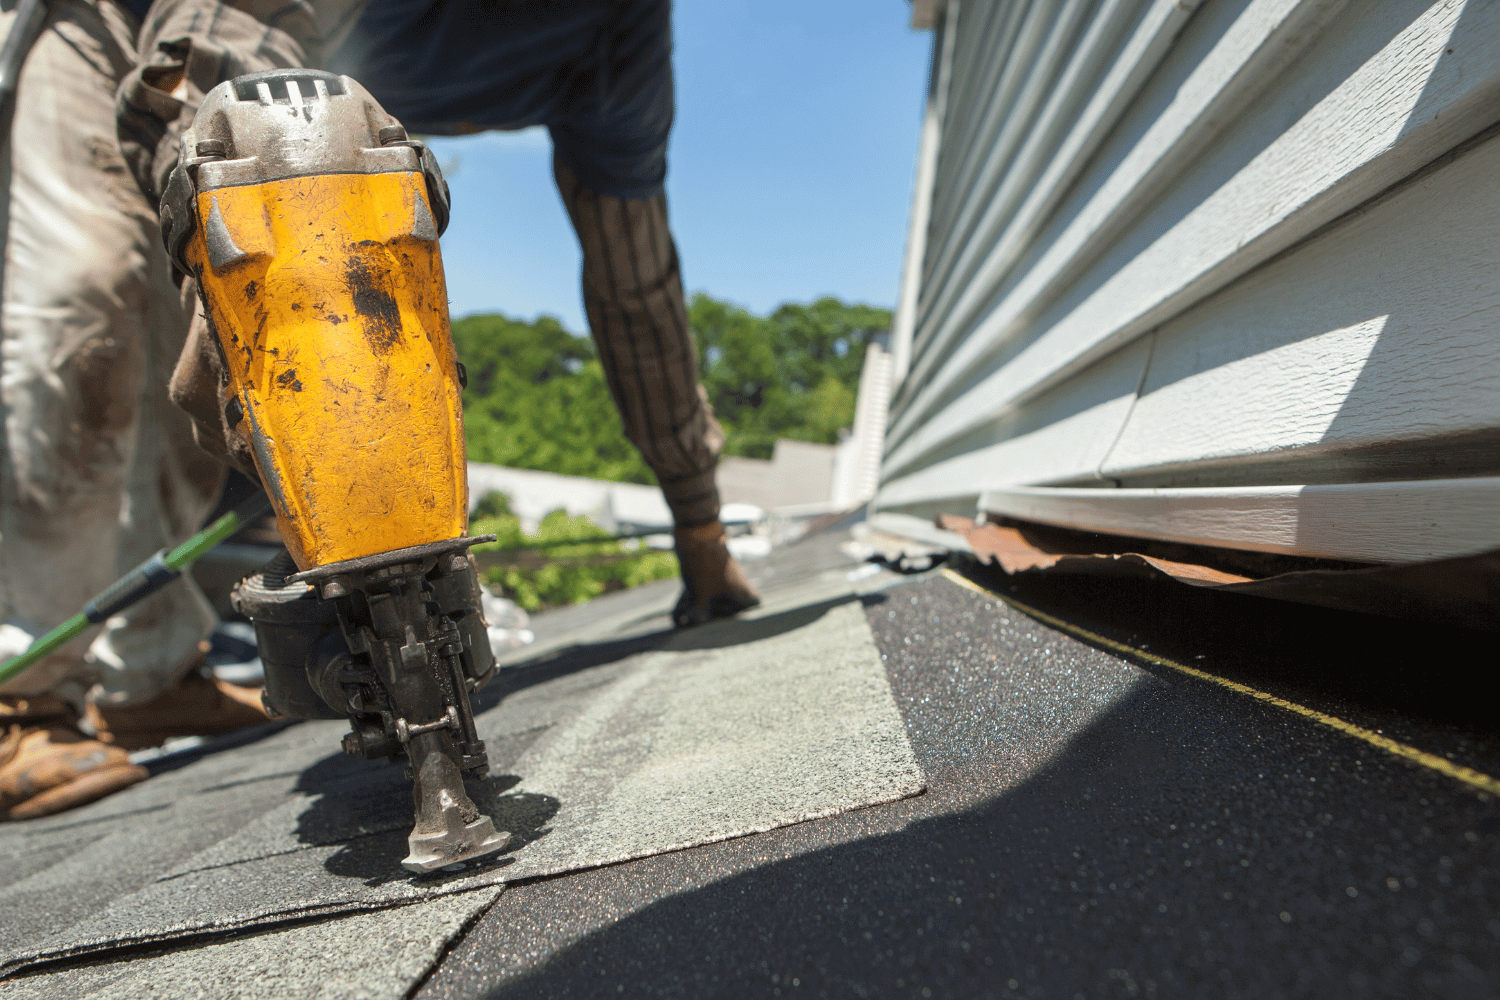
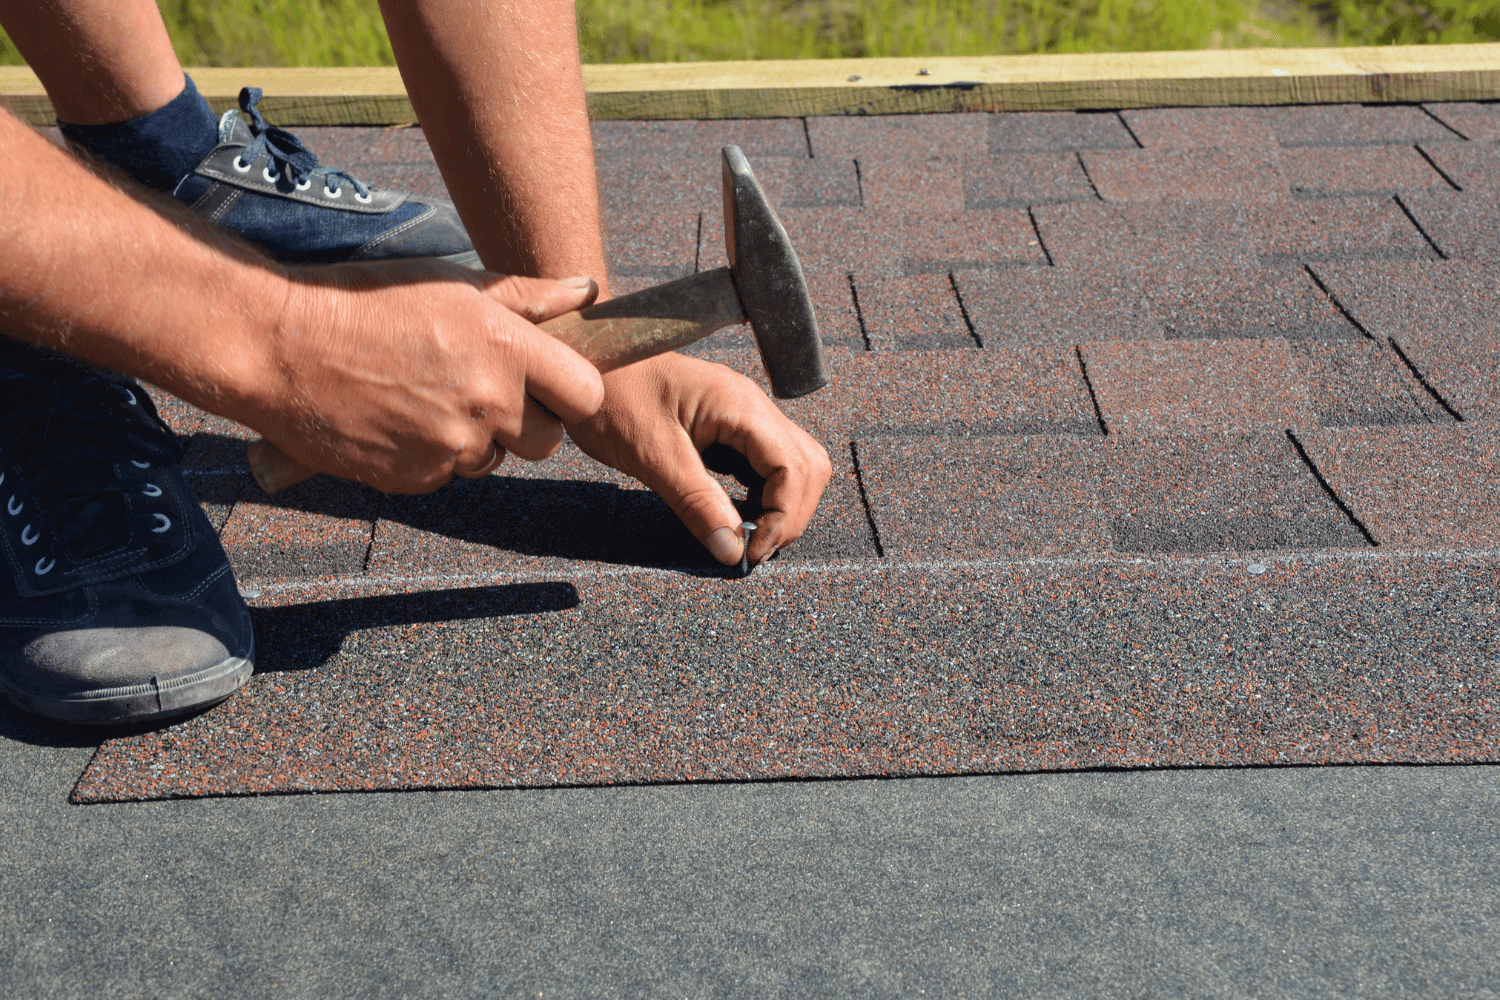
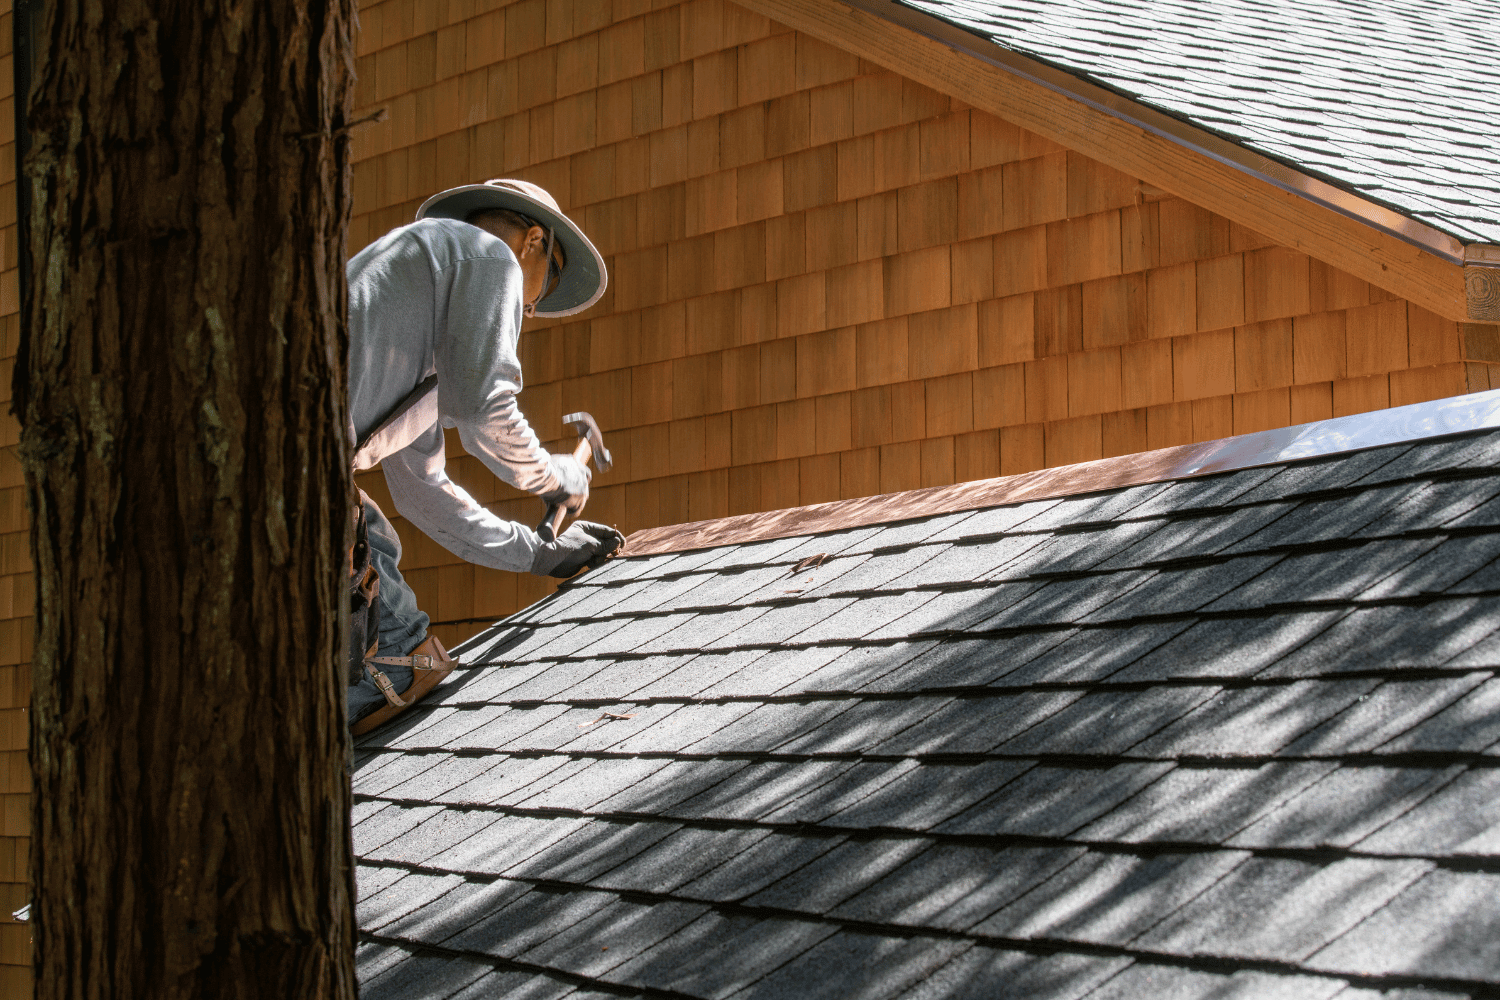
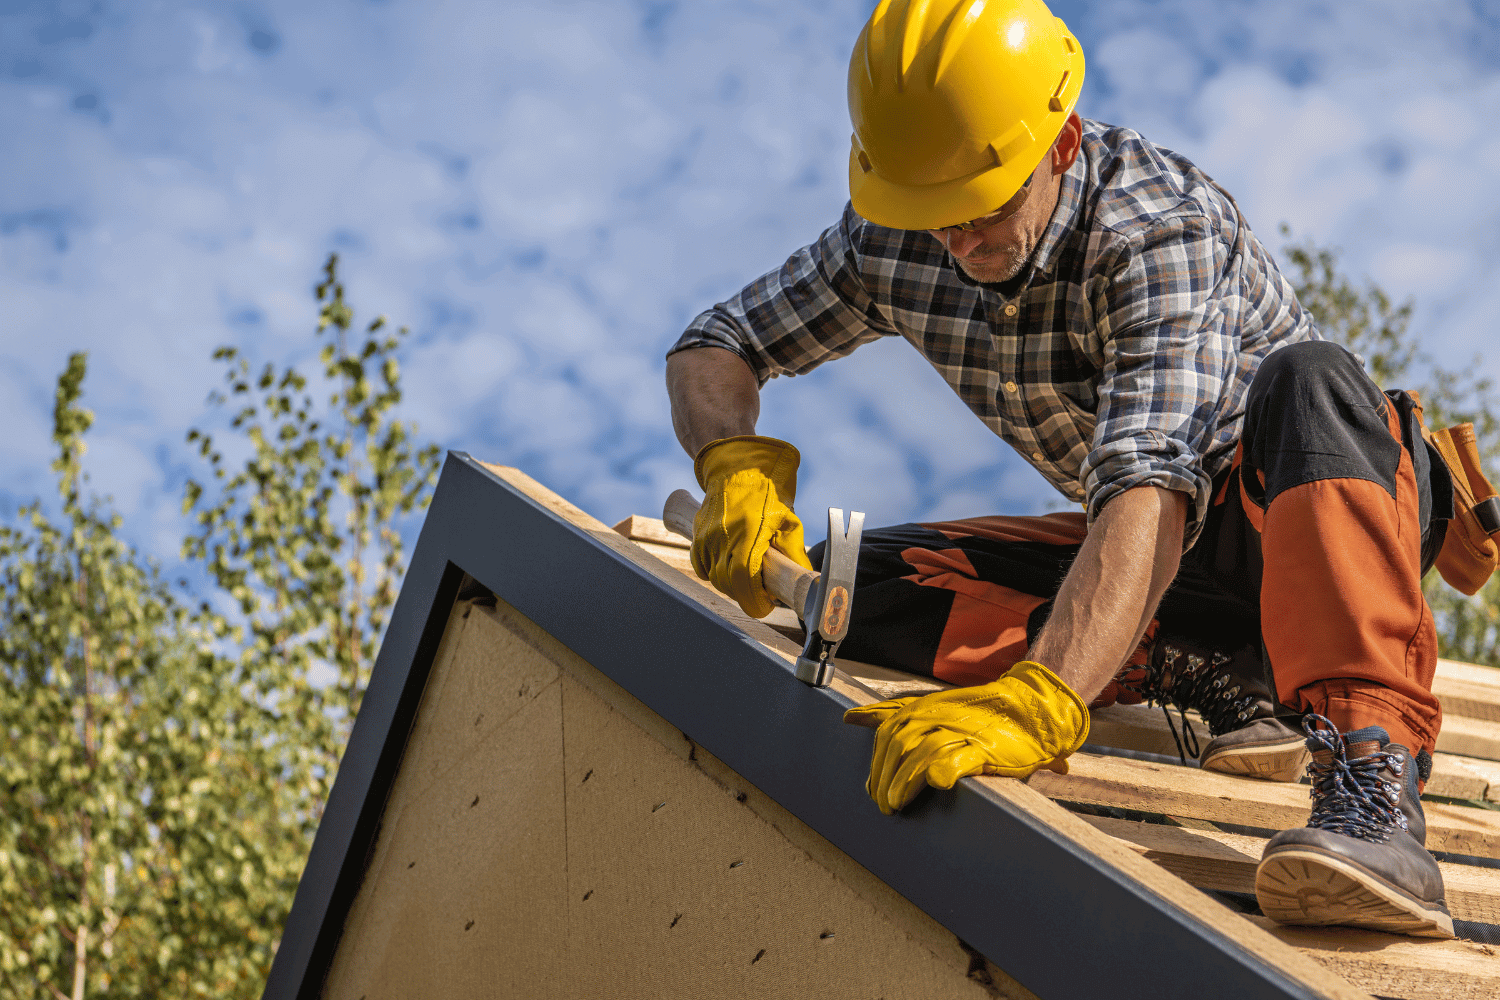
Installation Process
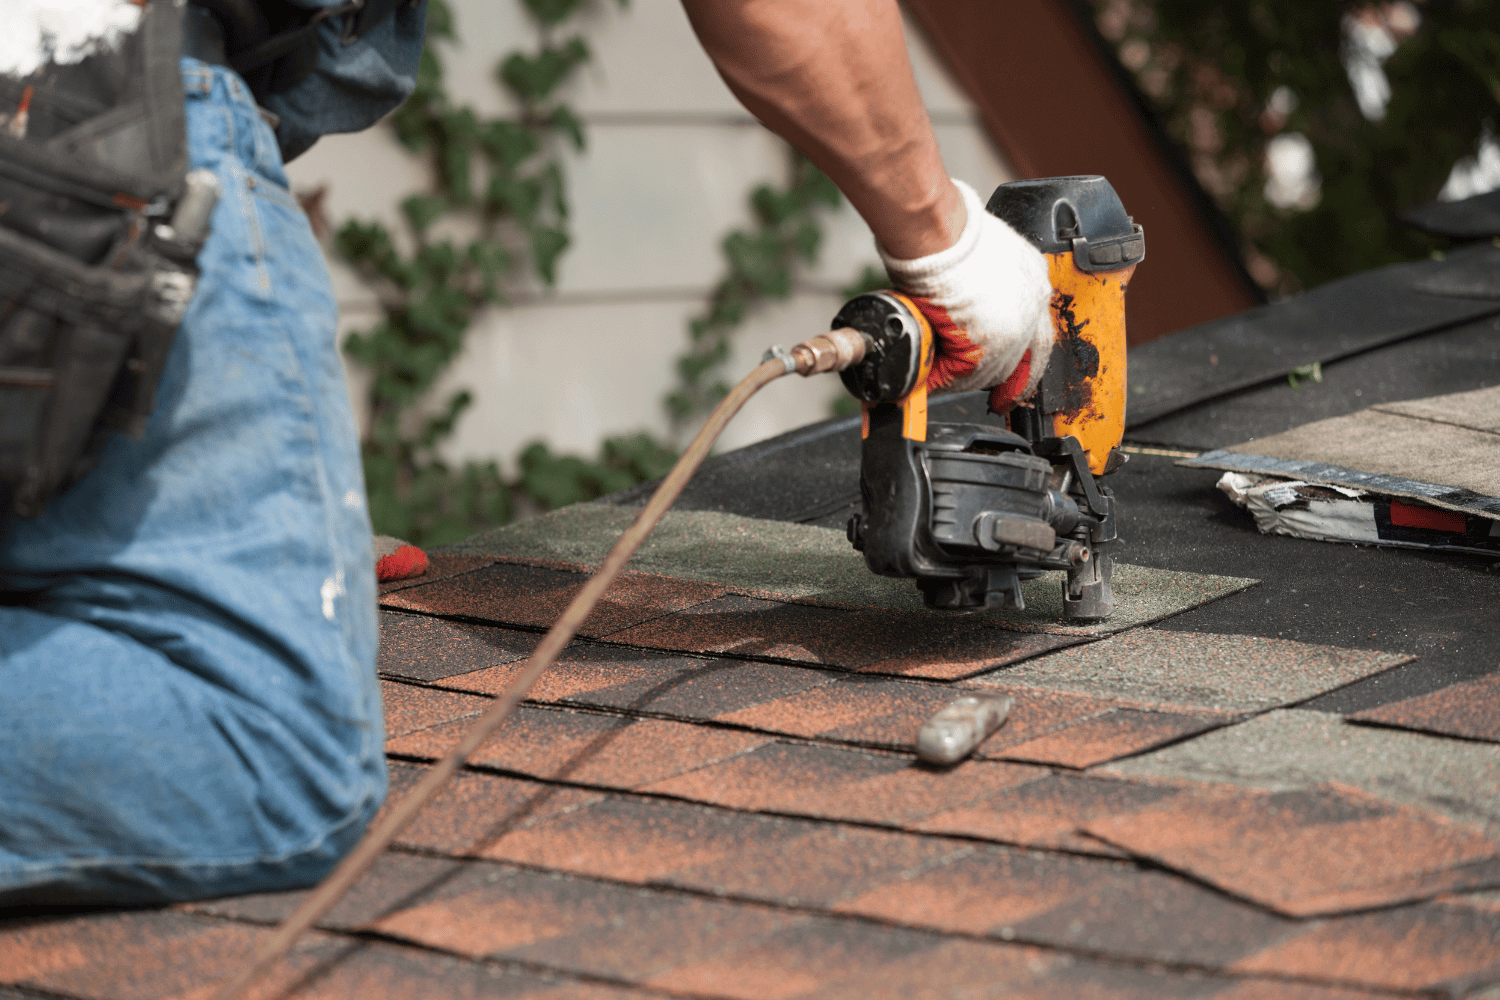
The installation process for new construction roofing begins once the planning and material selection phases are complete and the contract is approved and signed. This phase involves the actual roof installation, where skilled roofers meticulously follow the planned design and specifications to ensure top-quality workmanship and long-lasting results.
After the installation is complete, a detailed inspection is conducted to verify that all roofing system requirements have been met and that the roof is installed correctly. This final inspection ensures that the new roof not only meets but exceeds the homeowner’s expectations, providing peace of mind and long-term protection.
Choosing the Right Roofing Contractor
Selecting the right roofing contractor is a critical decision that can significantly impact the success of your new construction roofing project. A trusted roofing contractor guarantees reliable service and expertise, ensuring that your roof is installed correctly and efficiently.
Key qualities to look for in a trusted local roofing contractor include solid credentials, extensive experience, positive customer reviews, and comprehensive warranties and guarantees.
Credentials and Experience
When choosing a roofing contractor, it’s essential to consider their credentials and experience. Contractors like Owens Corning Platinum Preferred Contractors meet high standards in workmanship and customer service, making them a reliable choice for your roofing needs.
Reviewing a contractor’s portfolio of past projects and customer reviews can provide valuable insights into their quality of work and reliability. A reputable contractor with over a decade of industry experience and a proven track record of quality workmanship is more likely to deliver superior results and ensure your satisfaction.
Customer Reviews and Referrals
Customer reviews and referrals are invaluable resources when selecting a roofing contractor. Reviews provide firsthand insights into a contractor’s professionalism, communication skills, and quality of work, helping you make an informed decision. Referrals from friends, family, neighbors, and past customers are also incredibly valuable, as they come from trusted sources who have experienced the contractor’s services firsthand.
A stable company with extensive experience in the roofing industry is often a safer choice, as their longevity indicates a track record of delivering quality work and maintaining customer satisfaction.
Warranty and Guarantees
Warranties and guarantees are essential aspects of choosing a roofing contractor, as they provide long-term protection and peace of mind for homeowners. A strong warranty reflects the contractor’s confidence in their workmanship. It also showcases the quality of materials used. Reputable roofing contractors should offer warranties that cover both materials and labor, ensuring comprehensive protection.
Dream Home Roofers, for example, offers a Lifetime Workmanship Warranty, guaranteeing high-quality materials and customer satisfaction. This commitment to excellence ensures that homeowners can trust in the longevity and durability of their new roof.
Cost Considerations for New Construction Roofing
Understanding the cost considerations for new construction roofing is crucial for planning and budgeting your project. Several factors contribute to the cost of a new roof. These include the roof’s size, the chosen materials, accessibility, and any necessary additional repairs.
Finalizing the design and material selection helps determine the appropriate roofing materials and ensures compliance with local building regulations.
Material Costs
The choice of roofing materials directly affects the total cost of your new construction roofing project. Among the various options, asphalt shingles are the most affordable, with costs ranging between $4,500 and $8,000 per 1,000 square feet. Composite shingles, made from recycled materials, are a pricier variant of asphalt shingles. Other materials, like slate tiles, can be significantly more expensive, ranging from $4 to $40 per square foot, depending on the quality and type.
Additional material costs may include the installation of ice and water barriers, which are essential in areas prone to heavy rainfall to prevent moisture damage. When planning your budget, it’s important to consider these add-ons and components beyond the new shingles themselves.
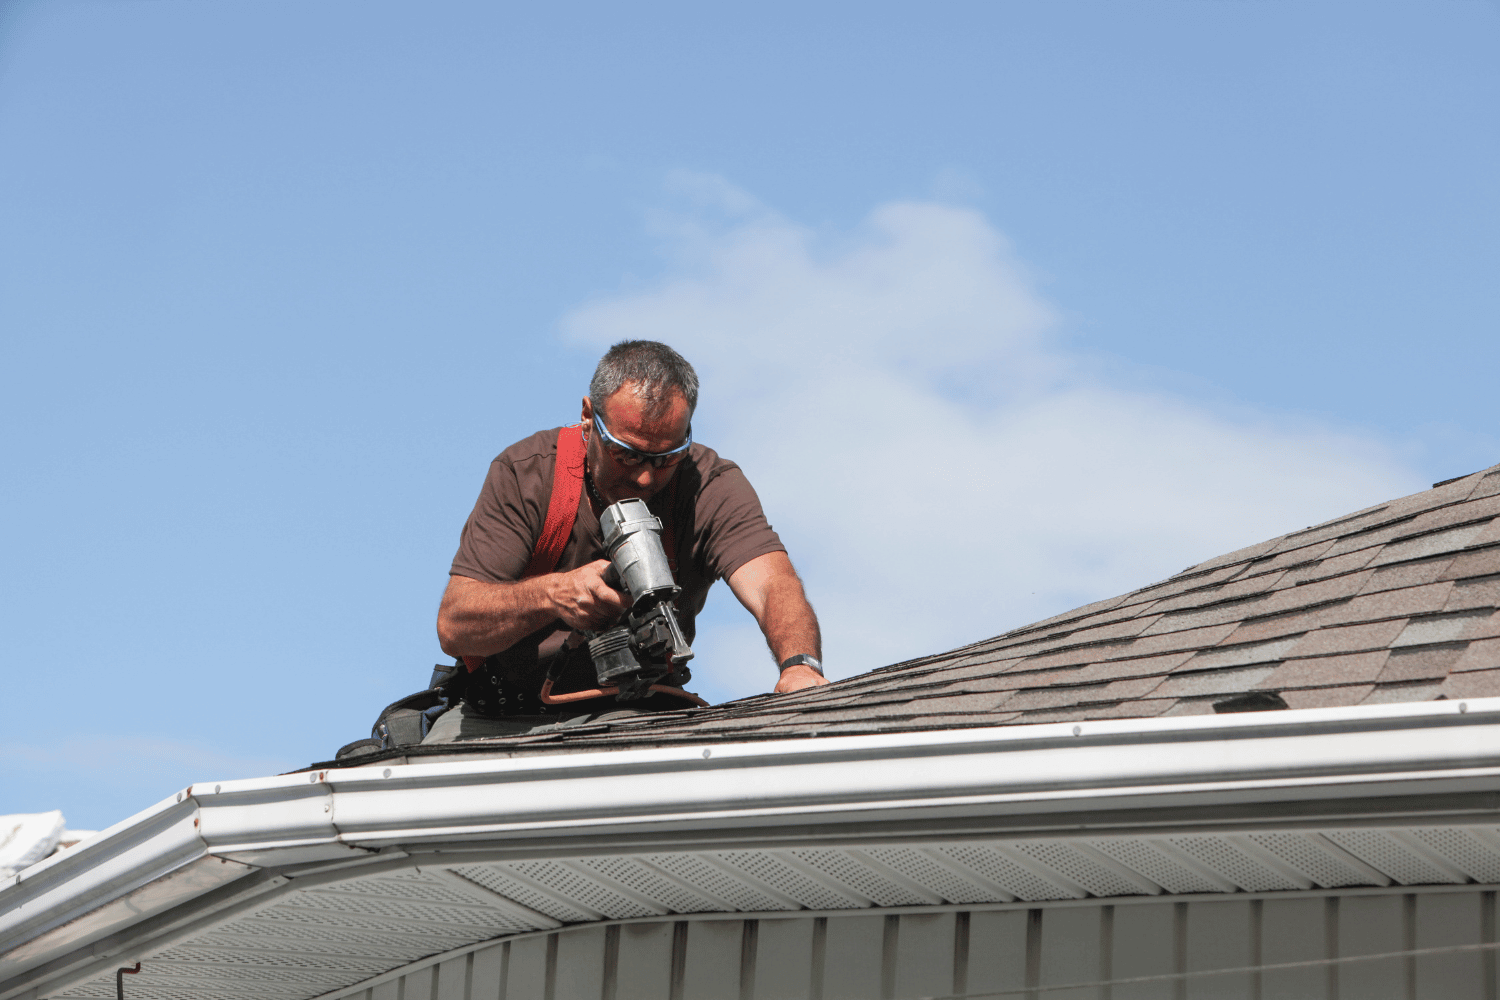
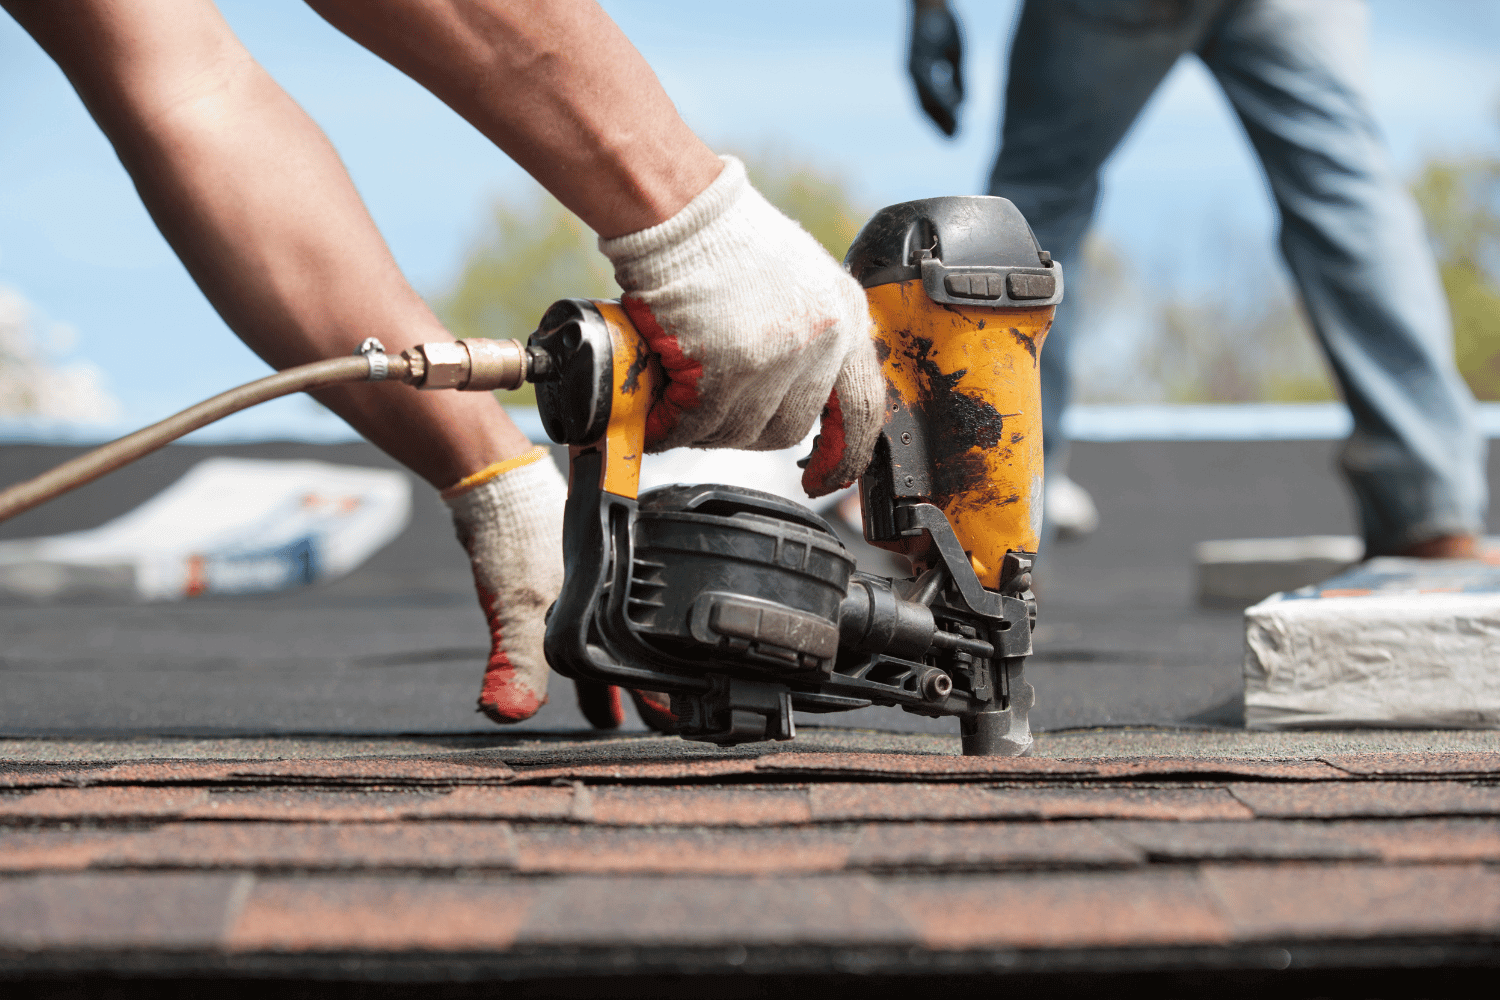
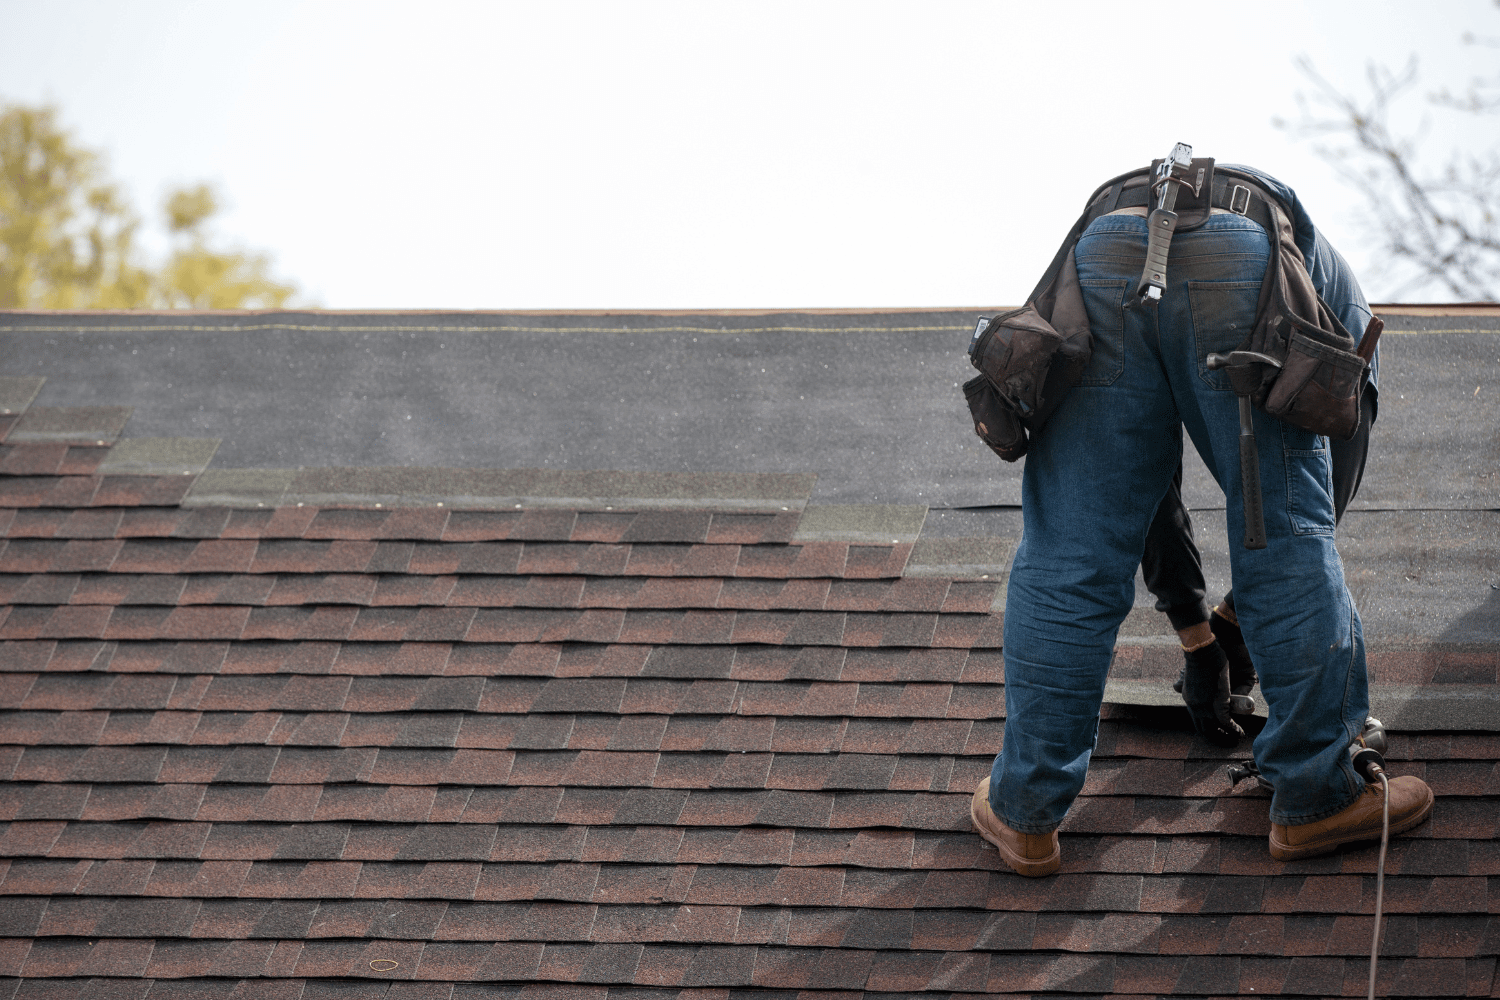
Labor Costs
Labor costs are a significant component of the overall expenses in roofing projects. Factors such as project complexity, intricate designs, and special warranties can substantially increase labor costs. For example, high-pitch roofs often require additional safety measures and equipment, which can drive up labor expenses.
Certain roofing materials, like slate and metal, require more expertise and longer installation times, further increasing labor costs. It’s essential to account for these variations when estimating the total cost of your new construction roofing project to avoid any surprises.
Additional Expenses
In addition to material and labor costs, there are other expenses to consider in a new construction roofing project. Permits and fees for debris removal can add unforeseen costs. These expenses might seem minor, but they accumulate quickly, impacting the overall budget.
Other potential expenses include the cost of roof trusses and any structural reinforcements needed to support the new roof. Being aware of these additional costs will help you plan more accurately and ensure that your project stays within budget.
Financing Options for New Construction Roofing
Financing options are a crucial consideration for many homeowners undertaking a new construction roofing project. Various options are available, including credit cards, personal loans, home equity loans, and contractor financing. Each method has its pros and cons, and choosing the right one depends on your financial situation and long-term plans.
Flexible Financing Plans
Dream Home Roofers offers flexible payment plans that allow homeowners to start their roofing projects without upfront costs. These plans come with convenient terms and no prepayment penalties, making it easier for homeowners to manage their finances while achieving their home improvement goals.
Clients benefit from affordable monthly payments, ensuring that financial constraints do not hinder the completion of their roofing projects. Free, no-obligation estimates help homeowners understand their financial options better, allowing them to plan accordingly.
Insurance Coverage
Homeowners insurance can sometimes cover roofing costs, particularly if the damage results from severe weather or fallen trees. If the damage is due to qualifying events, insurance may reimburse costs associated with roofing repairs or replacements.
After filing a claim, insurance companies typically send an adjuster to assess the extent of the damage. Contractors can provide thorough assessments and support throughout the claims process, simplifying it for homeowners and ensuring they receive the coverage they’re entitled to.
Importance of Routine Maintenance
Regular maintenance is essential to extend the lifespan of your roof and ensure its optimal performance over time. Routine maintenance helps detect roof damage early, preventing minor issues from developing into major structural problems that are more costly and time-consuming to repair.
Scheduled Inspections
Scheduling routine inspections is vital to maintaining the integrity of your roof. These inspections can reveal damage that isn’t visible from the ground, allowing you to address potential issues before they escalate.
It’s generally recommended to conduct roof maintenance inspections at least once a year to ensure long-term protection and catch any problems early. Regular inspections can save you significant amounts on major repairs by identifying and fixing issues promptly.
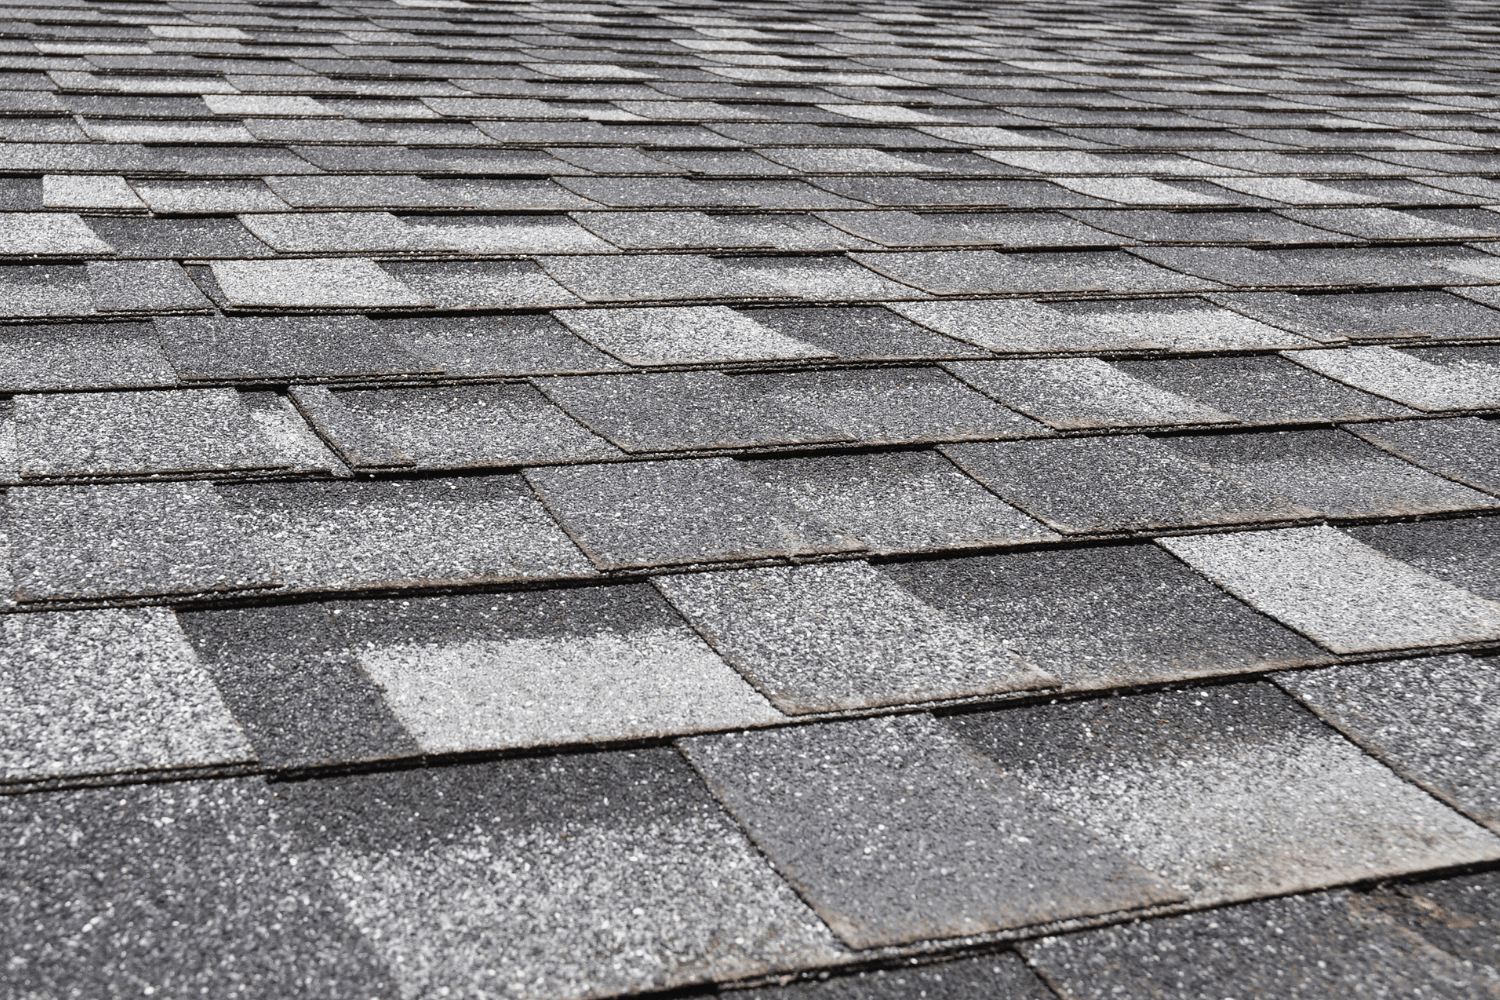
Preventative Measures
Implementing preventative measures, such as regularly cleaning gutters and addressing minor repairs promptly, can significantly extend the lifespan of your roof. Common issues like missing shingles or small leaks should be repaired immediately to prevent more significant damage.
These minor repairs are key factors in maintaining your roof’s integrity and avoiding costly mistakes in the future. Regular maintenance and preventative measures are essential for protecting your investment and ensuring your roof remains in top condition.
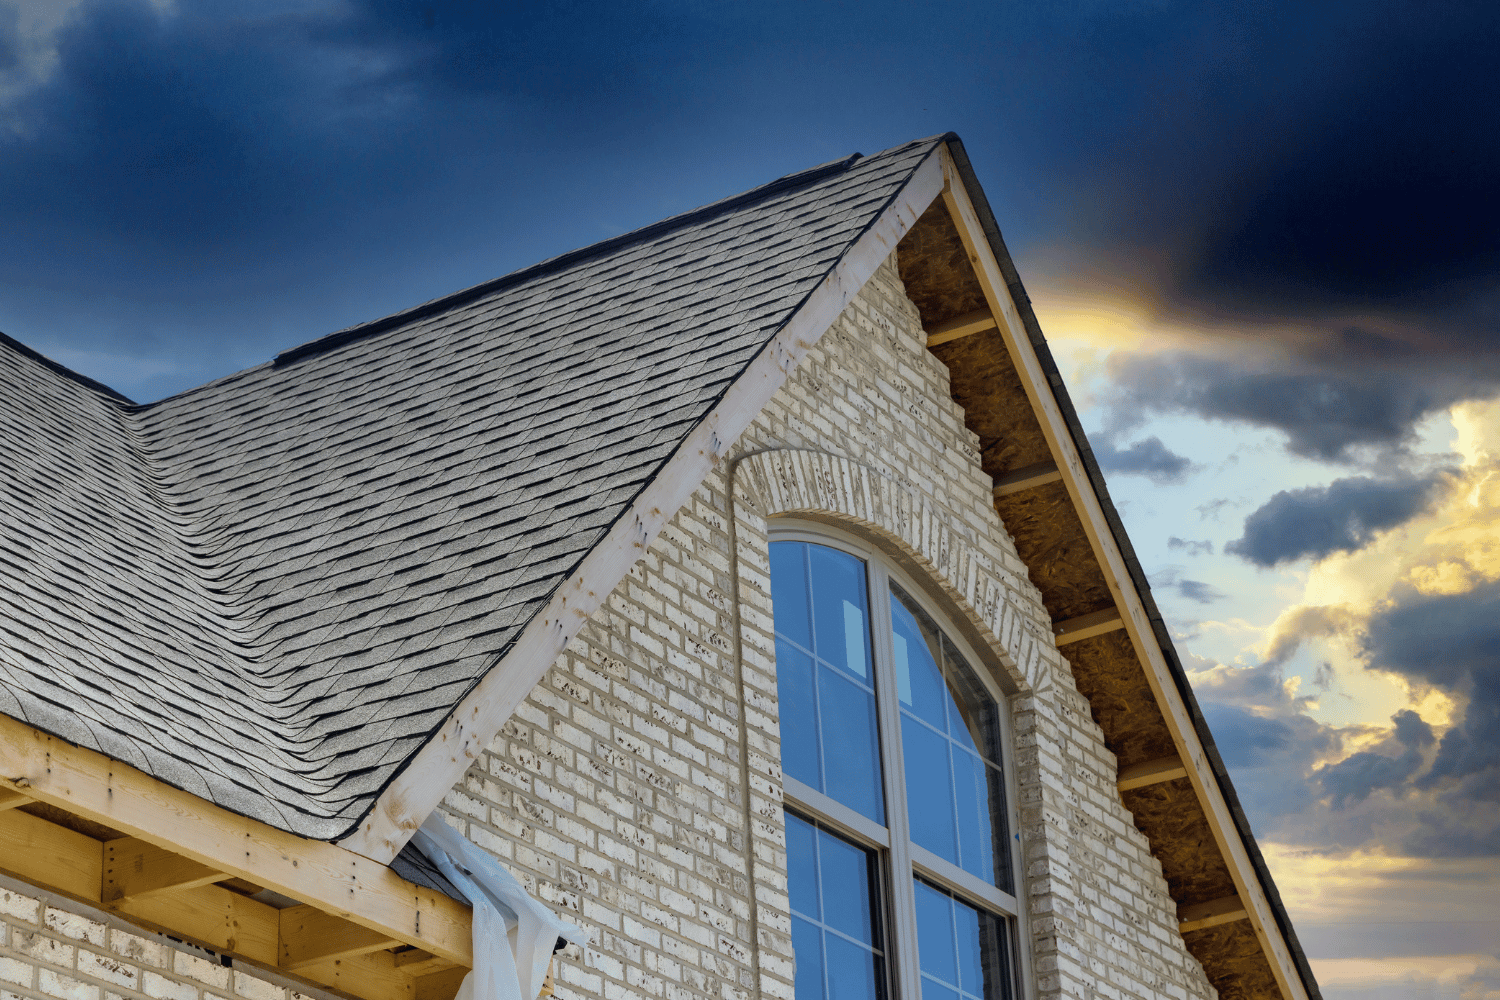
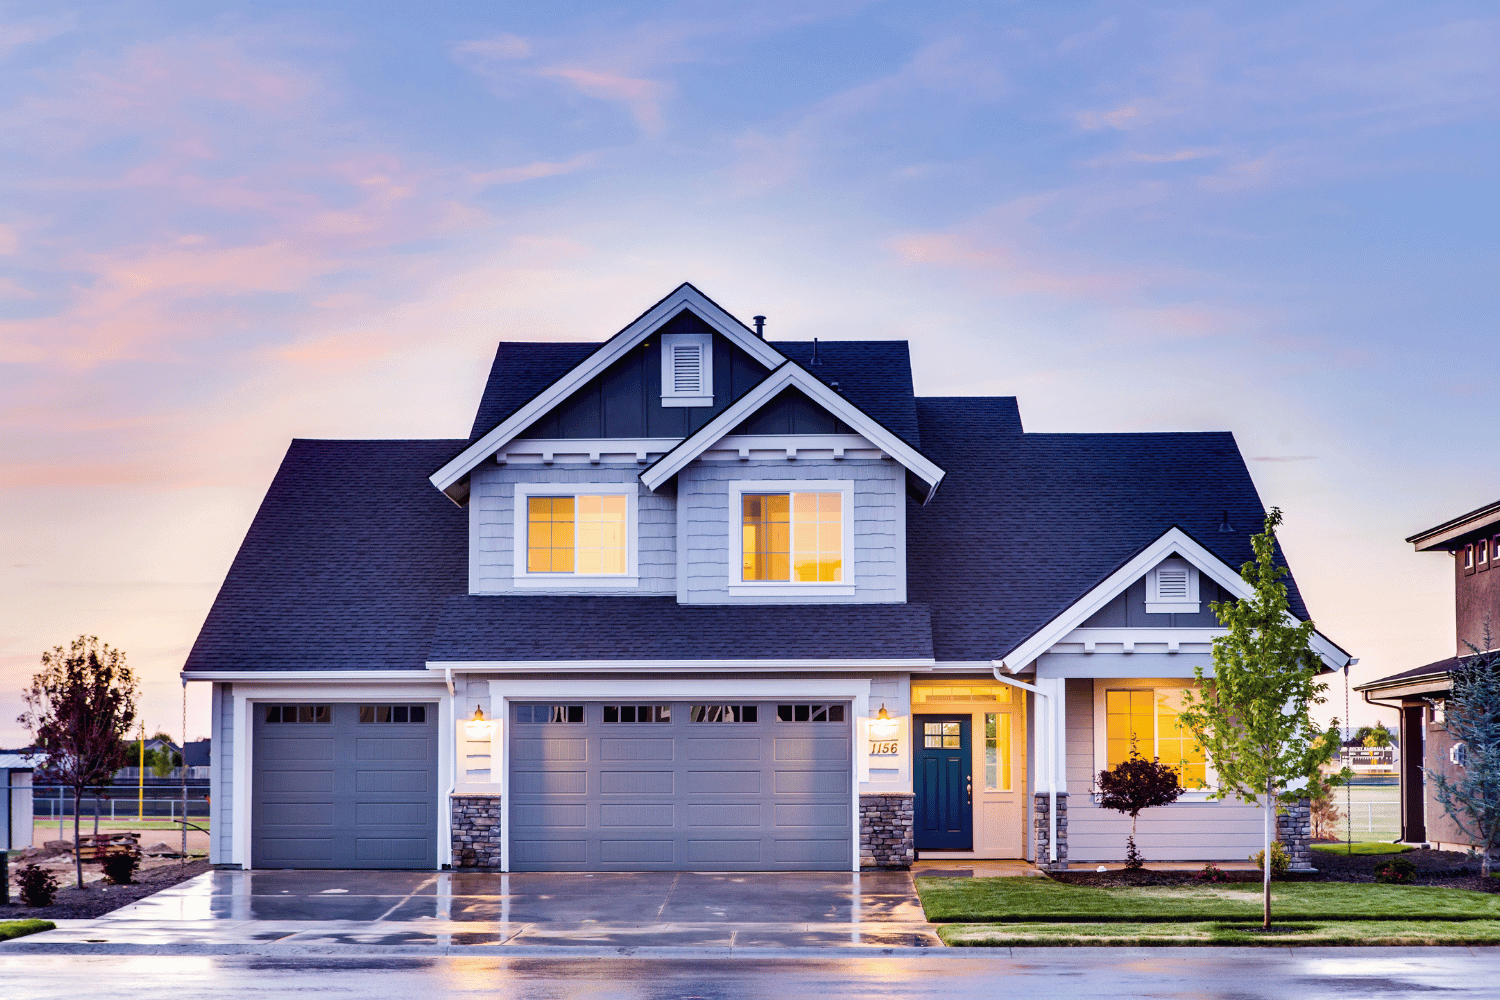
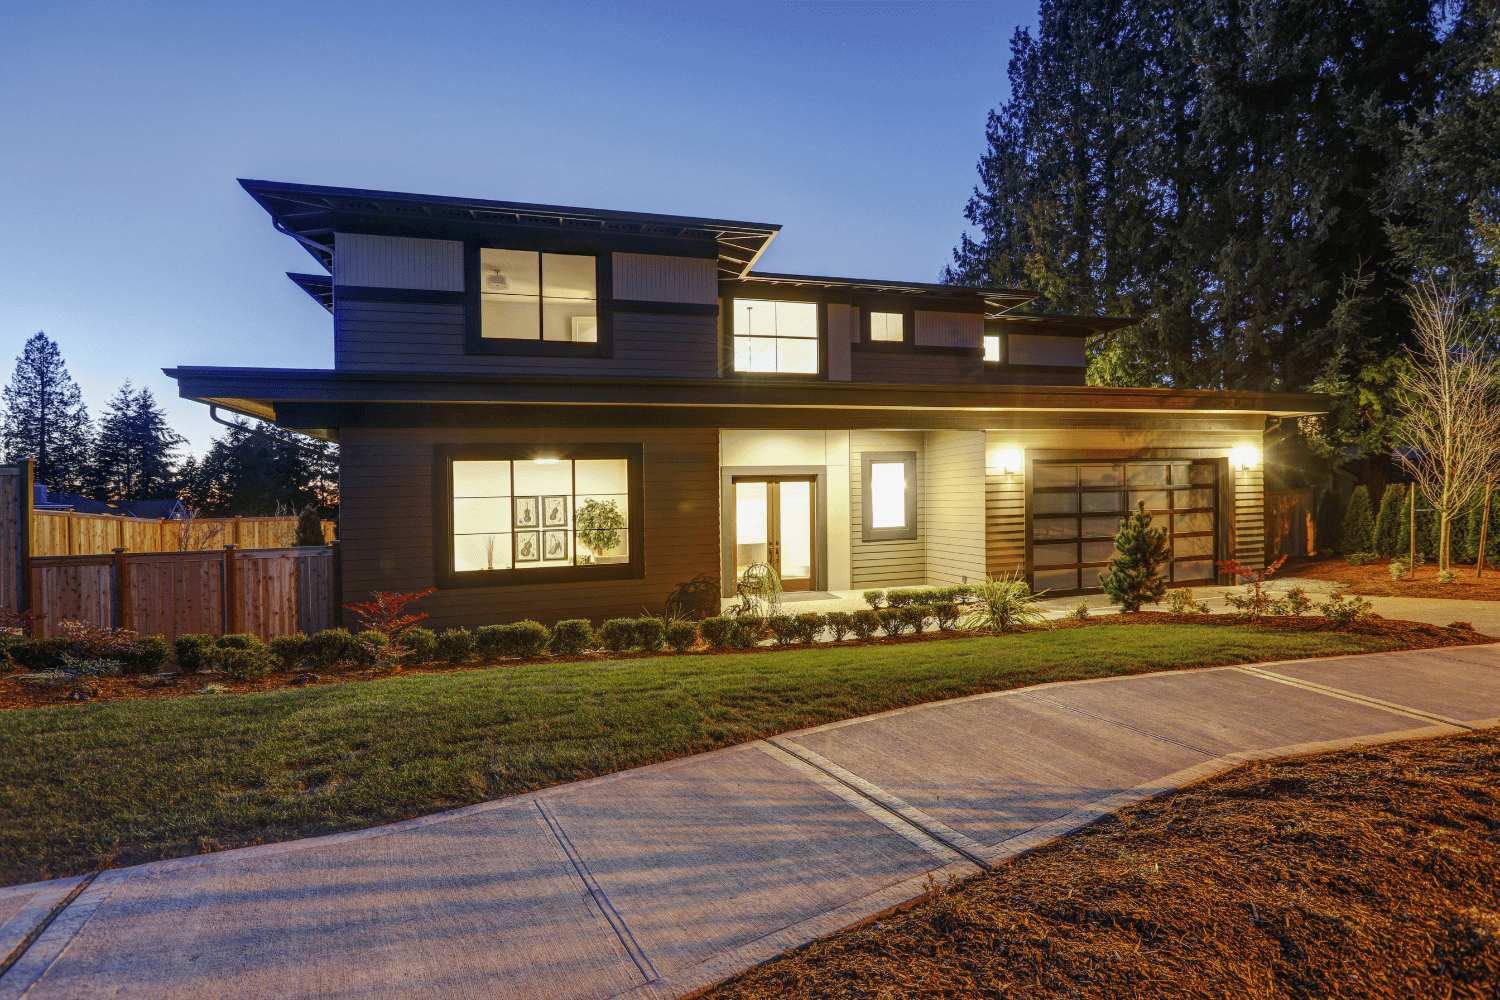
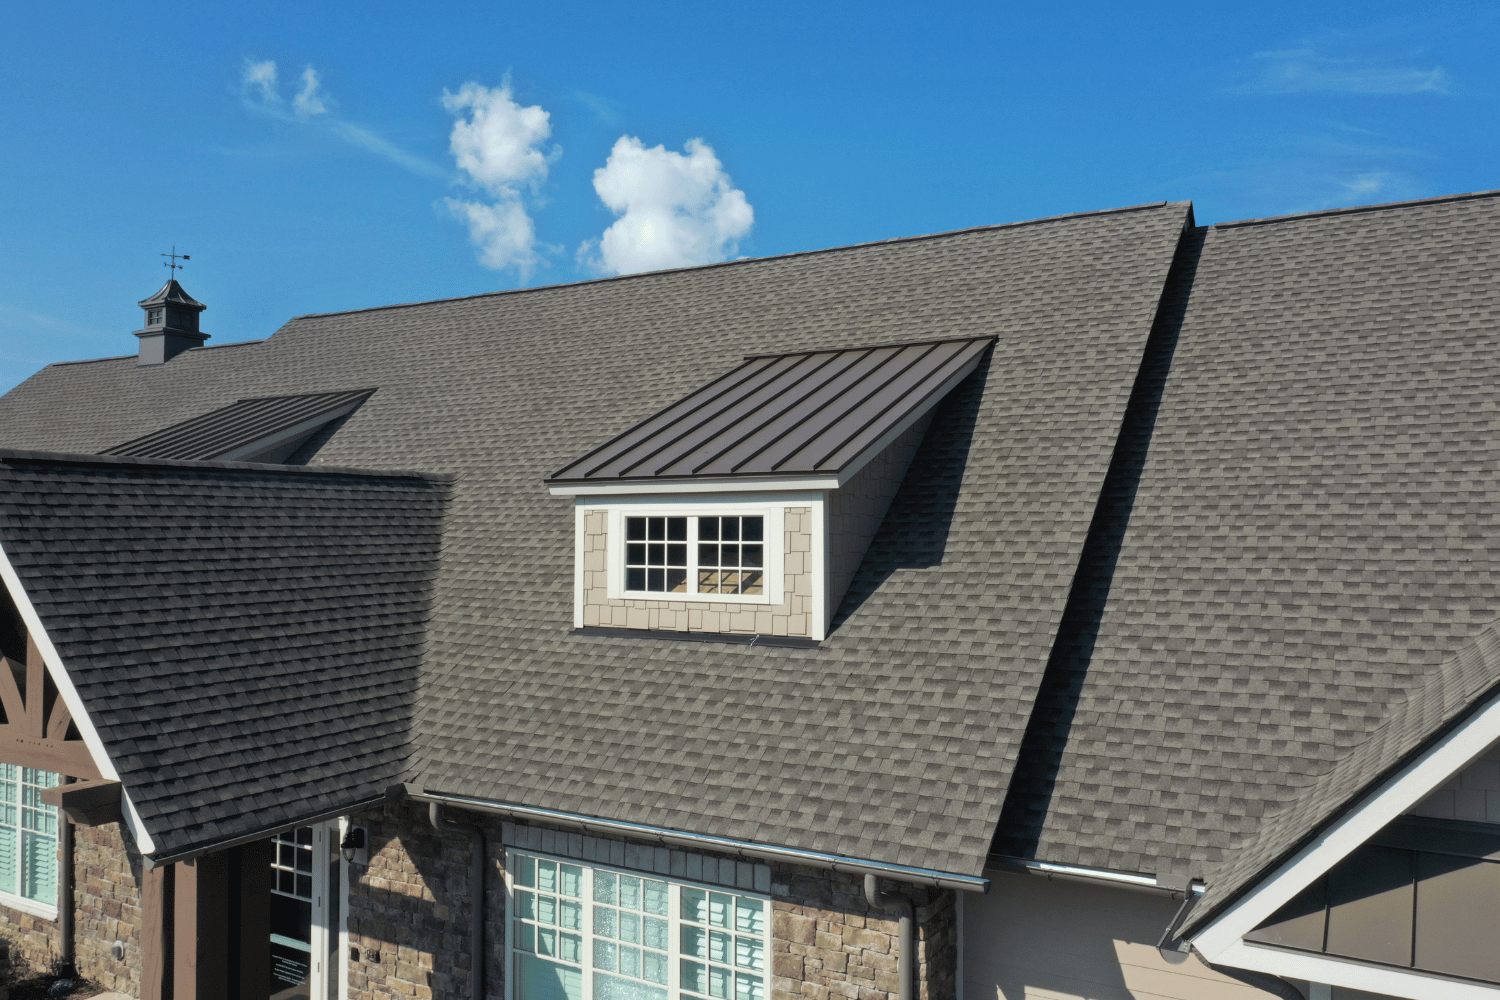
Enhancing Curb Appeal with New Roofing
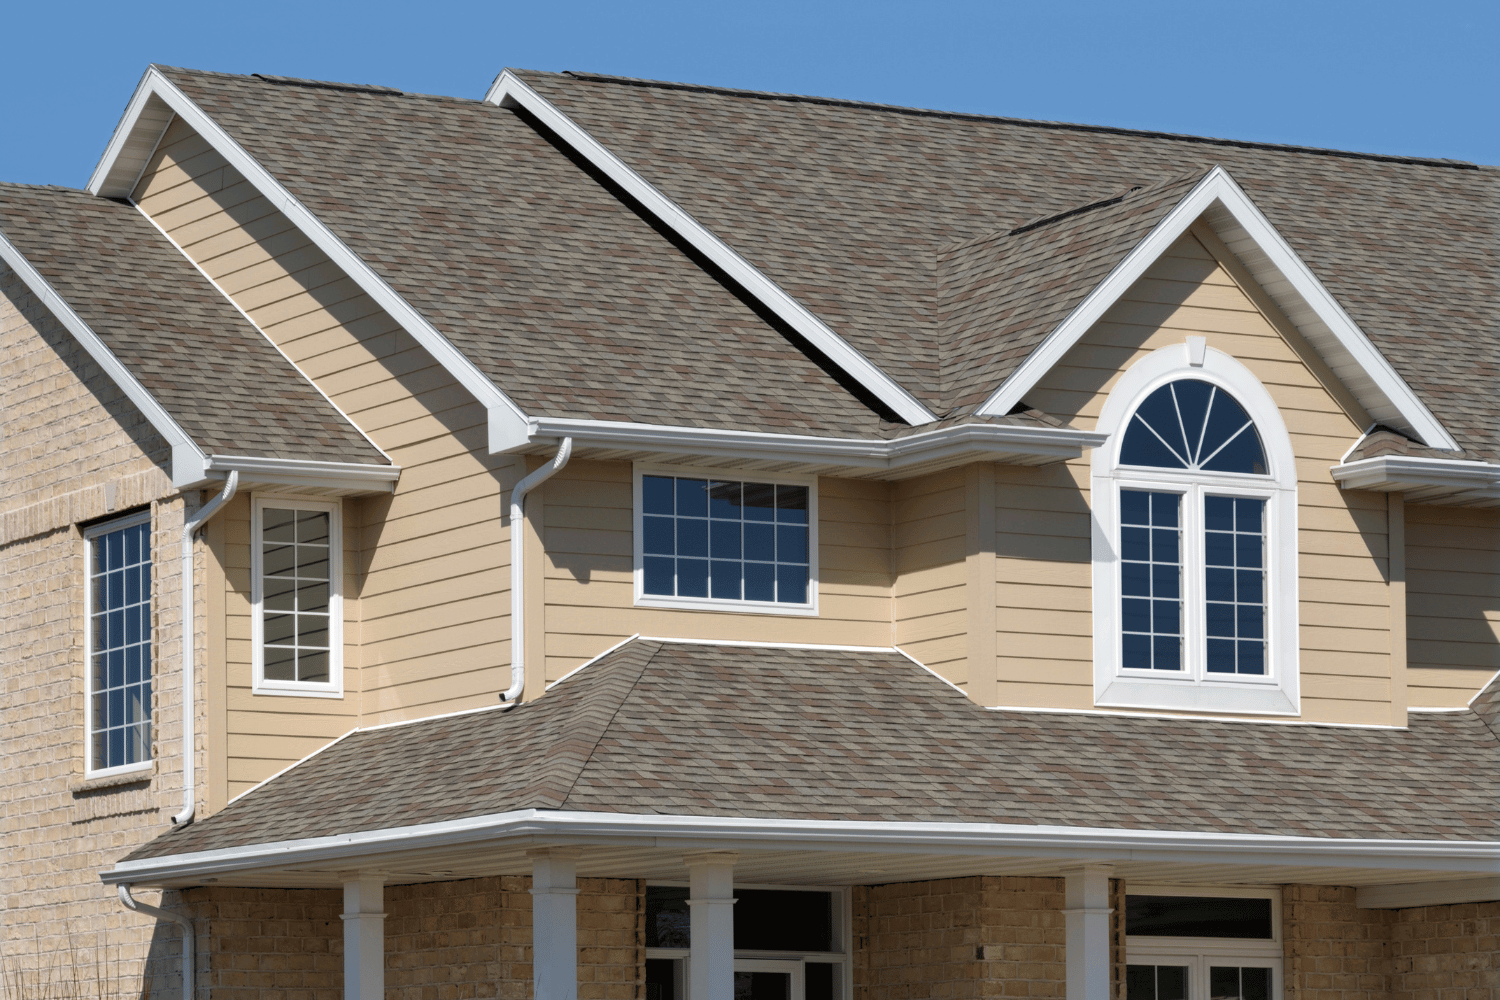
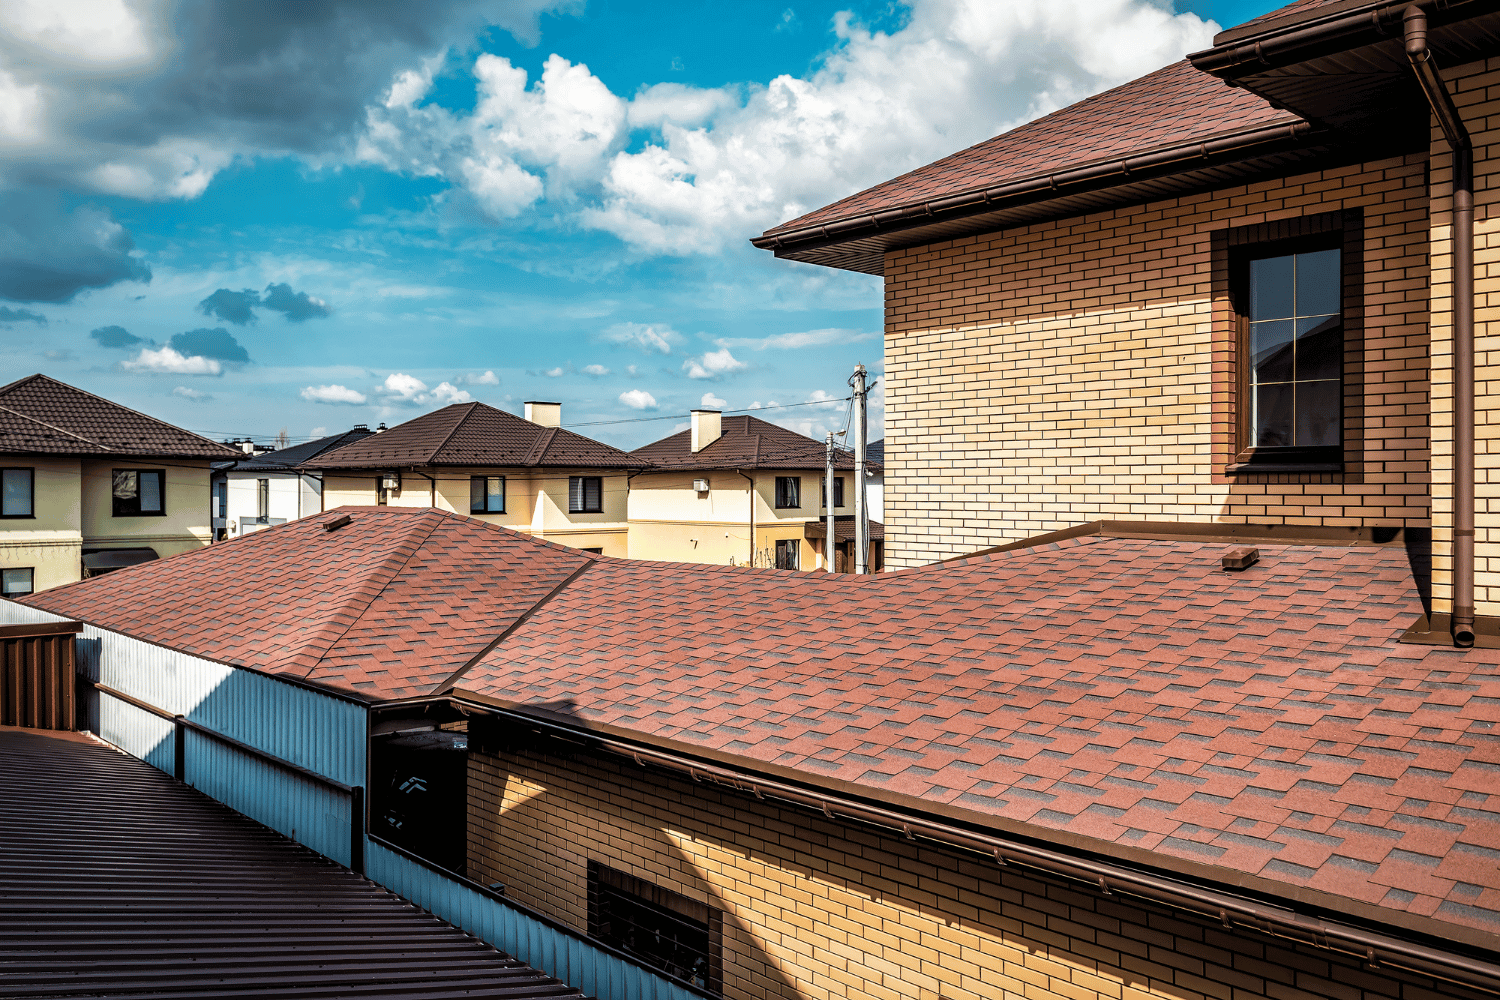
A new roof can significantly refresh a home’s exterior and boost its curb appeal. The visual impact of a well-designed roof can make your home stand out in the neighborhood, creating a polished and cohesive exterior.
Design Choices
The initial planning and design phase are crucial to ensure that the roofing complements the overall architecture of your home. Choosing from various roofing materials like asphalt shingles, metal roofs, or dimensional shingles allows homeowners to express their style and enhance the property’s aesthetic.
A new roof can dramatically enhance the curb appeal of a home, elevating its overall visual appeal and creating a positive impression.
Long-Term Value
Quality roofing materials provide long-lasting protection while also improving property value. High-quality materials contribute to a roof’s longevity, positively impacting the home’s value and buyer interest.
Professional installation of quality roofing materials ensures proper performance over time, ultimately maximizing long-term value for homeowners.
Contact Dream Home Roofers
Dream Home Roofers provides comprehensive roofing services, including installation, replacement, and repairs. Our team is committed to delivering exceptional customer service and support throughout your roofing project.
Whether you need a new roof installation or a simple roof repair, we are here to help.
Schedule a Consultation
Scheduling a consultation with Dream Home Roofers is simple and convenient. You can call us at 1-855-610-9720 or visit our website to fill out an online form. During the consultation, Sandra will discuss the details of your roofing project, helping you make informed decisions about your roofing needs.
Potential clients can easily set up a consultation by calling or using the online form, ensuring that all your questions and concerns are addressed before starting the project.
Customer Support
At Dream Home Roofers, we prioritize customer satisfaction and are dedicated to providing efficient service throughout the roofing process. Our team is committed to ensuring that every project meets the highest standards of quality workmanship and customer service.
Whether it’s a minor repair or a complete roof replacement, our dedicated team is here to support you every step of the way, ensuring that your roofing needs are met with professionalism and care.
Summary
Understanding the nuances of new construction roofing can make a significant difference in the success of your project. From selecting the right materials and planning the design to choosing a trusted contractor and considering financing options, each step plays a crucial role in achieving a durable, aesthetically pleasing roof.
Investing in a quality roof is a long-term commitment that enhances your home’s value, energy efficiency, and curb appeal. By following the tips and insights provided in this blog post, you can make informed decisions that will benefit your home for years to come. Reach out to Dream Home Roofers today to start your roofing journey with confidence.
Frequently Asked Questions
What services does Dream Home Roofers provide?
Dream Home Roofers provides roof installation and replacement. These services ensure your home is protected and well-maintained.
What are some signs that indicate a new roof may be needed?
A new roof may be needed if you notice persistent leaks, missing or damaged shingles, visible sagging, granules in the gutters, bald spots, or if the roof is over 20 years old. Addressing these signs promptly can prevent further damage.
What distinguishes Dream Home Roofers as a roofing contractor?
Dream Home Roofers stands out for its expertise, high-quality materials, exceptional customer service, and recognition as Owens Corning Platinum Preferred Contractors. These factors ensure reliable and top-tier roofing solutions for clients.
What financing options does Dream Home Roofers offer?
Dream Home Roofers provides flexible financing options that allow homeowners to upgrade their roofs without any upfront costs. This makes it easier for you to manage your home improvement budget effectively.
How can customers get in touch with Dream Home Roofers?
Customers can easily get in touch with Dream Home Roofers online to schedule a consultation for their roofing needs. This ensures a convenient and efficient way to address any installation, replacement, or repair inquiries.