Top Techniques for Sealing Chimney Flashing: Fix Leaks Fast
Experiencing leaks around your chimney? Sealing chimney flashing is vital to prevent water damage. This guide will show you how to inspect, repair, and maintain your chimney flashing to keep your home safe.
Key Takeaways
-
Chimney flashing acts as a vital barrier to prevent water intrusion, with proper installation and maintenance crucial for avoiding structural damage.
-
Common causes of chimney flashing leaks include harsh weather exposure, improper installation, and water accumulation, which can lead to significant property damage.
-
Sealing chimney flashing involves several steps, including inspection, cleaning, applying roofing cement, securing with sheet metal, and regular preventative maintenance to ensure long-lasting effectiveness.
Understanding Chimney Flashing
Chimney flashing serves as a critical barrier, sealing the gap between the chimney and the roof. Its main role is to stop rainwater from entering your home, avoiding significant long-term damage. Proper installation and maintenance of the chimney crown are crucial to prevent moisture stains, mold growth, and damage to the roof and attic.
Neglected leaking chimney flashing can cause structural problems and significant property damage. Rusting, warping, or missing components can cause flashing issues, highlighting the need for timely repairs. Materials for chimney flashing should be waterproof to effectively prevent leaks from rainwater and moisture.
Sealing chimney flashing requires multiple steps to ensure a proper seal and prevent leaks. Knowing these steps and the materials used can help maintain your chimney and roof’s integrity, keeping your home safe and dry.
Common Causes of Leaky Chimney Flashing
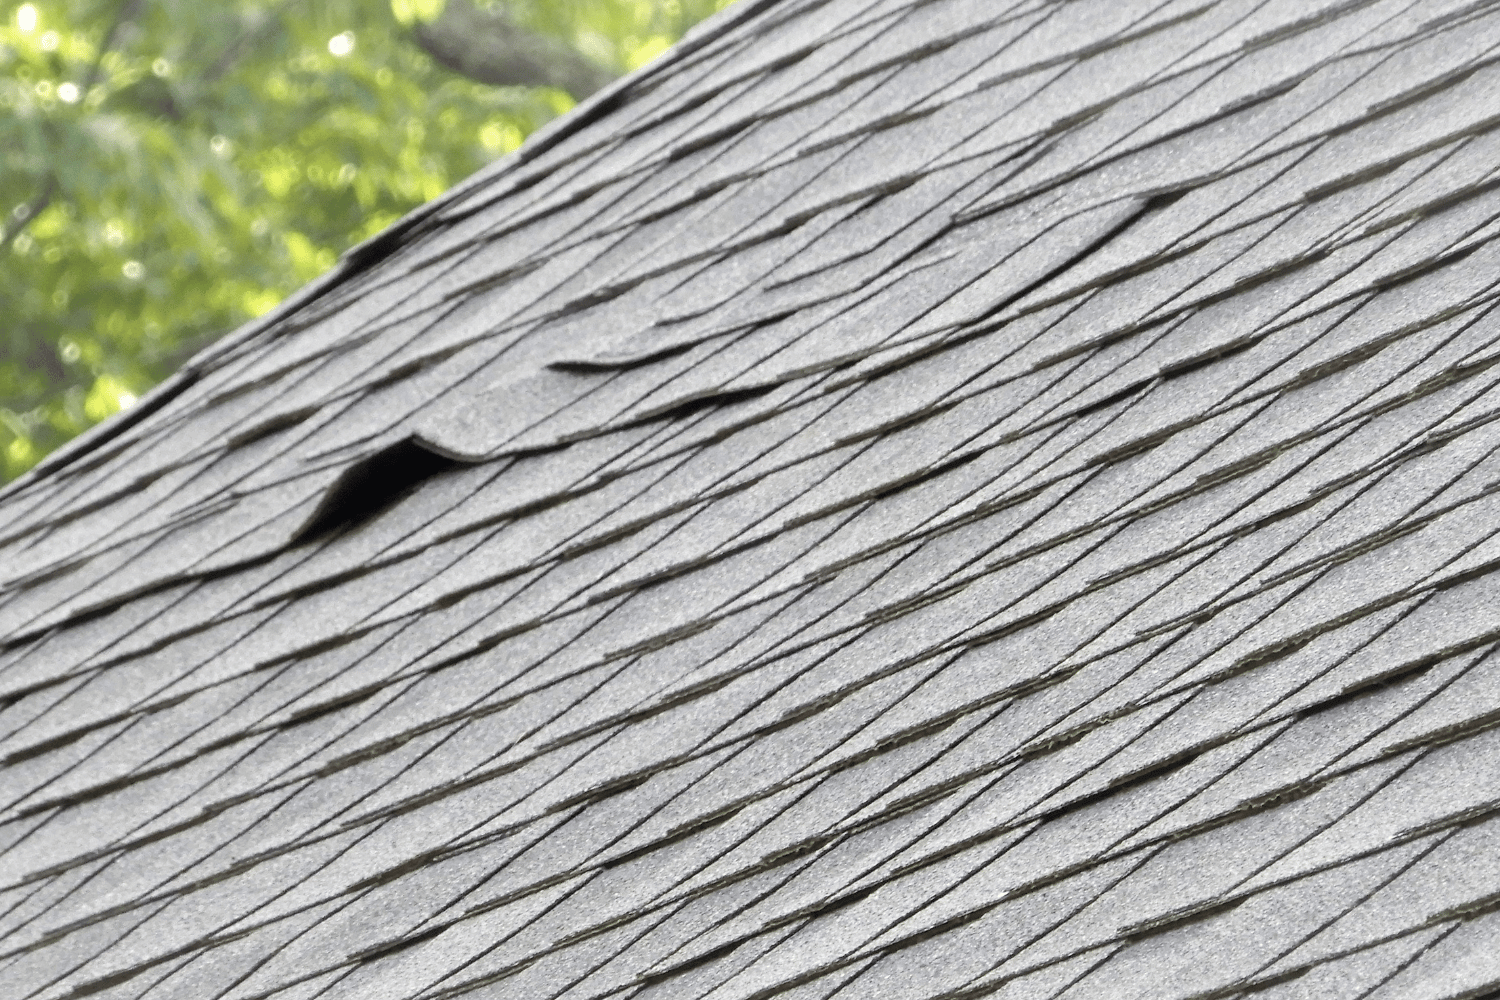
Exposure to harsh weather conditions makes chimney flashing susceptible to wear and tear. Ongoing exposure to the elements can degrade certain flashing materials. Consequently, these materials may lose effectiveness. This natural deterioration is often a primary cause of leaking chimney flashing.
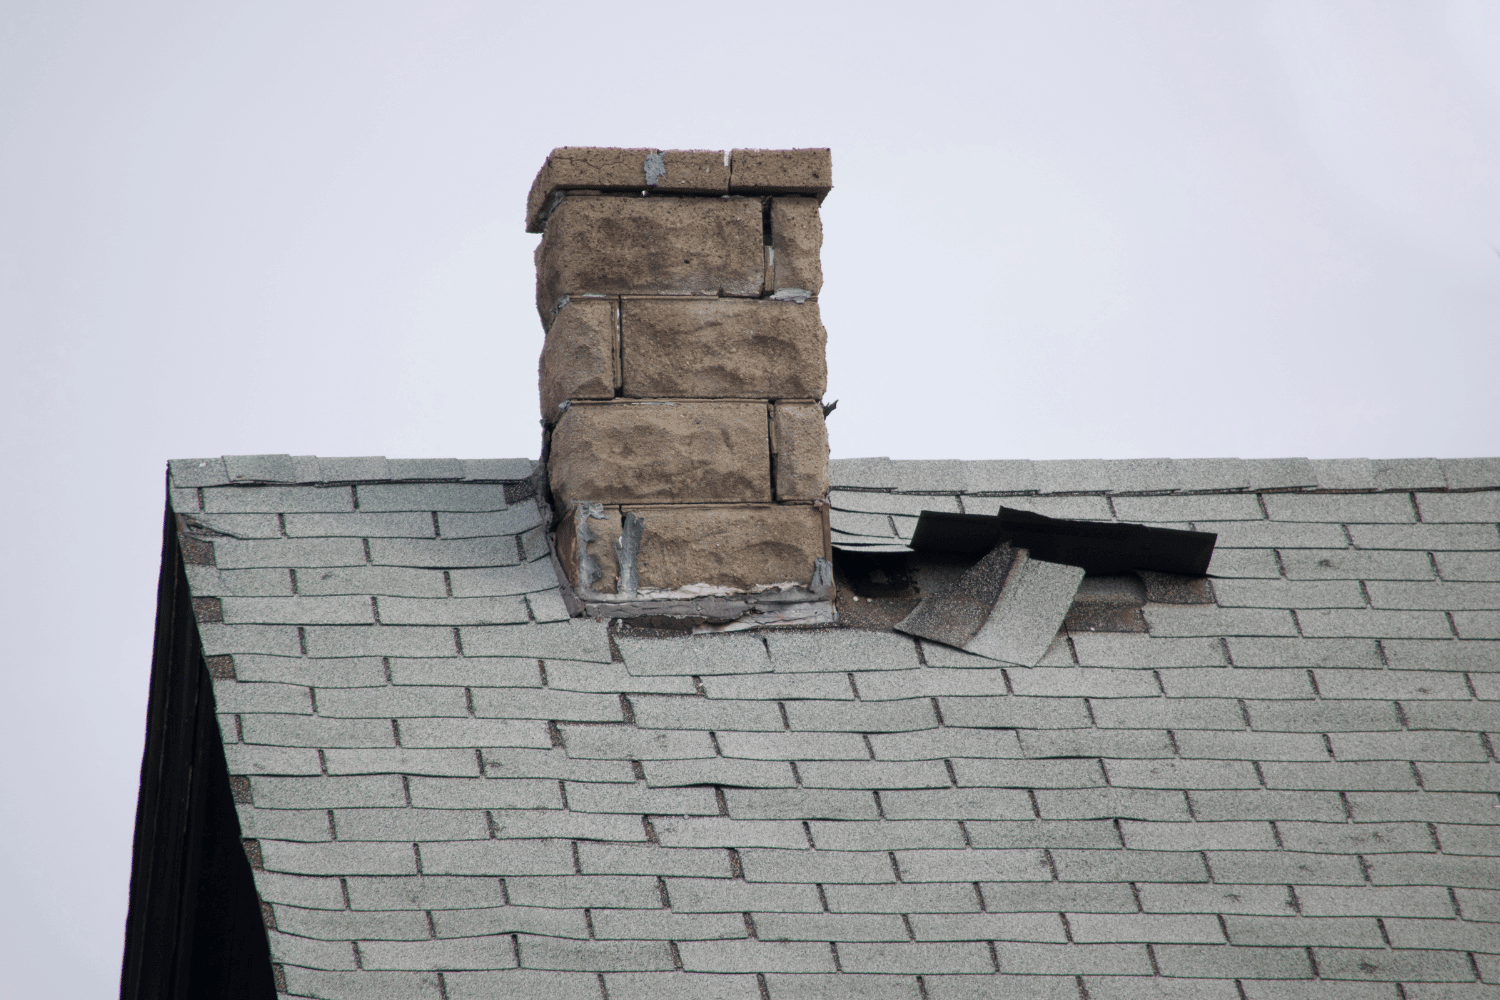
Another common issue is improper installation. Gaps or misalignment during installation heighten the risk of leaks. Errors by inexperienced installers can lead to cracks or the flashing pulling away from the chimney, compromising its effectiveness.
Water accumulation in a damaged chimney chase top pan can cause rust and chimney leaks. Recognizing these common causes helps identify and address potential issues early, keeping your chimney leak-free.
Materials Needed for Sealing Chimney Flashing
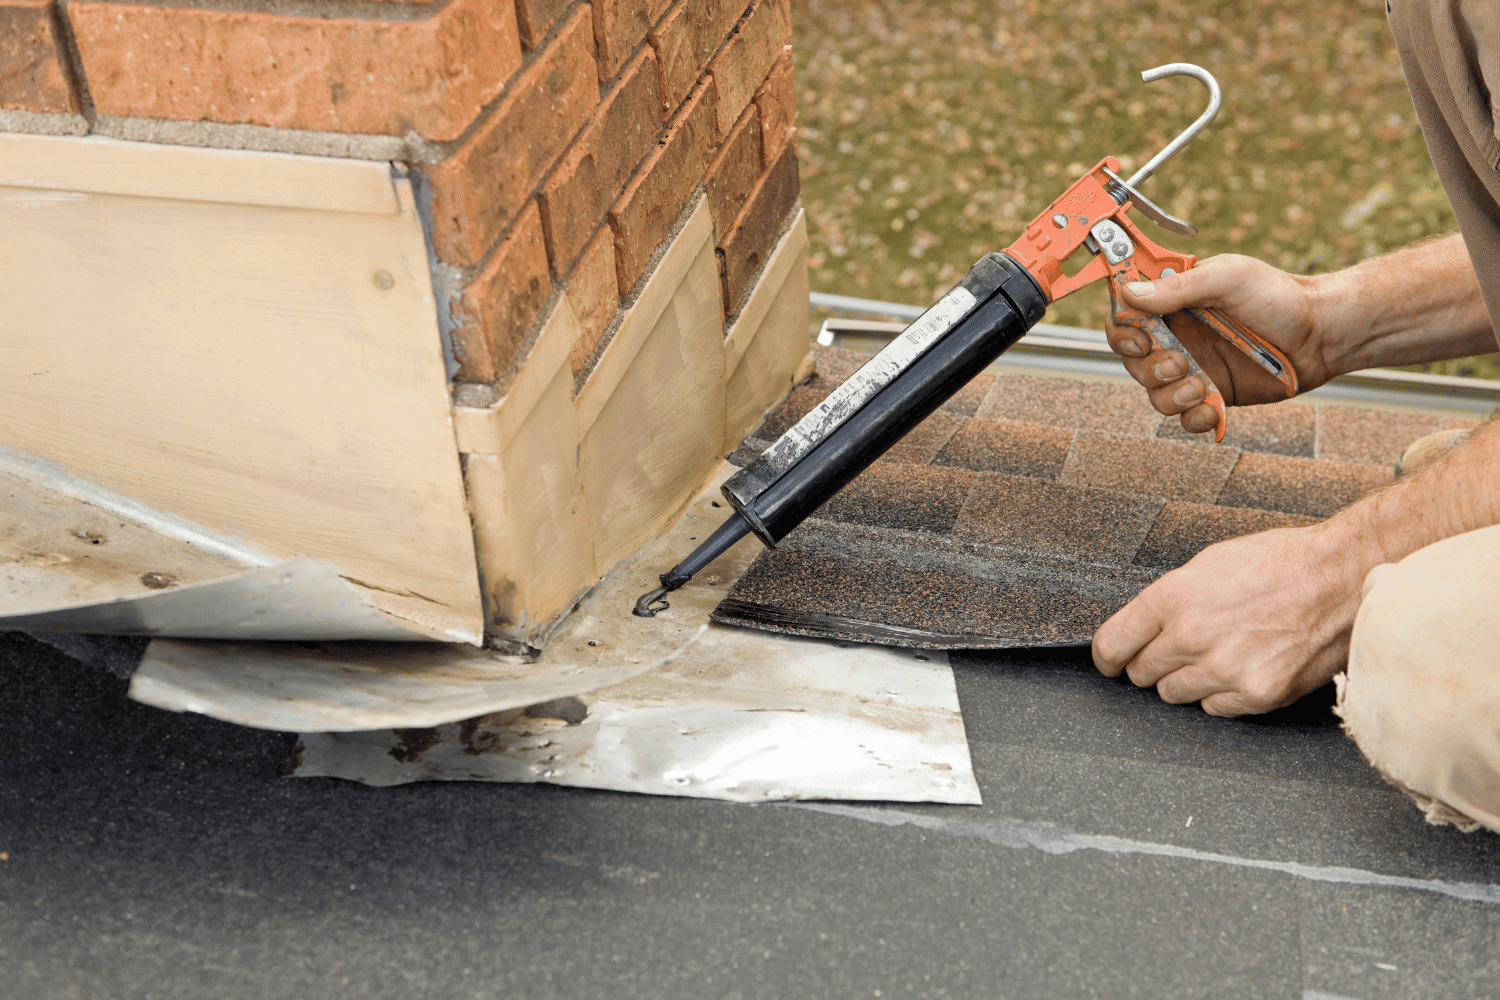
Specific materials are necessary for a long-lasting and effective chimney flashing repair. Key items include roofing cement, a caulking gun, sheet metal, and a waterproof membrane. Roofing cement fills small gaps and cracks in the flashing, offering a temporary seal until permanent repairs are made.
Sealants are vital in chimney flashing repairs. Butyl sealant is a cost-effective option, while polyurethane sealants are favored by professionals for their longevity. Modified polyether sealants are also versatile and can be used in various temperatures and conditions. High-quality materials ensure your repairs withstand time and weather.
Step-by-Step Guide to Sealing Chimney Flashing
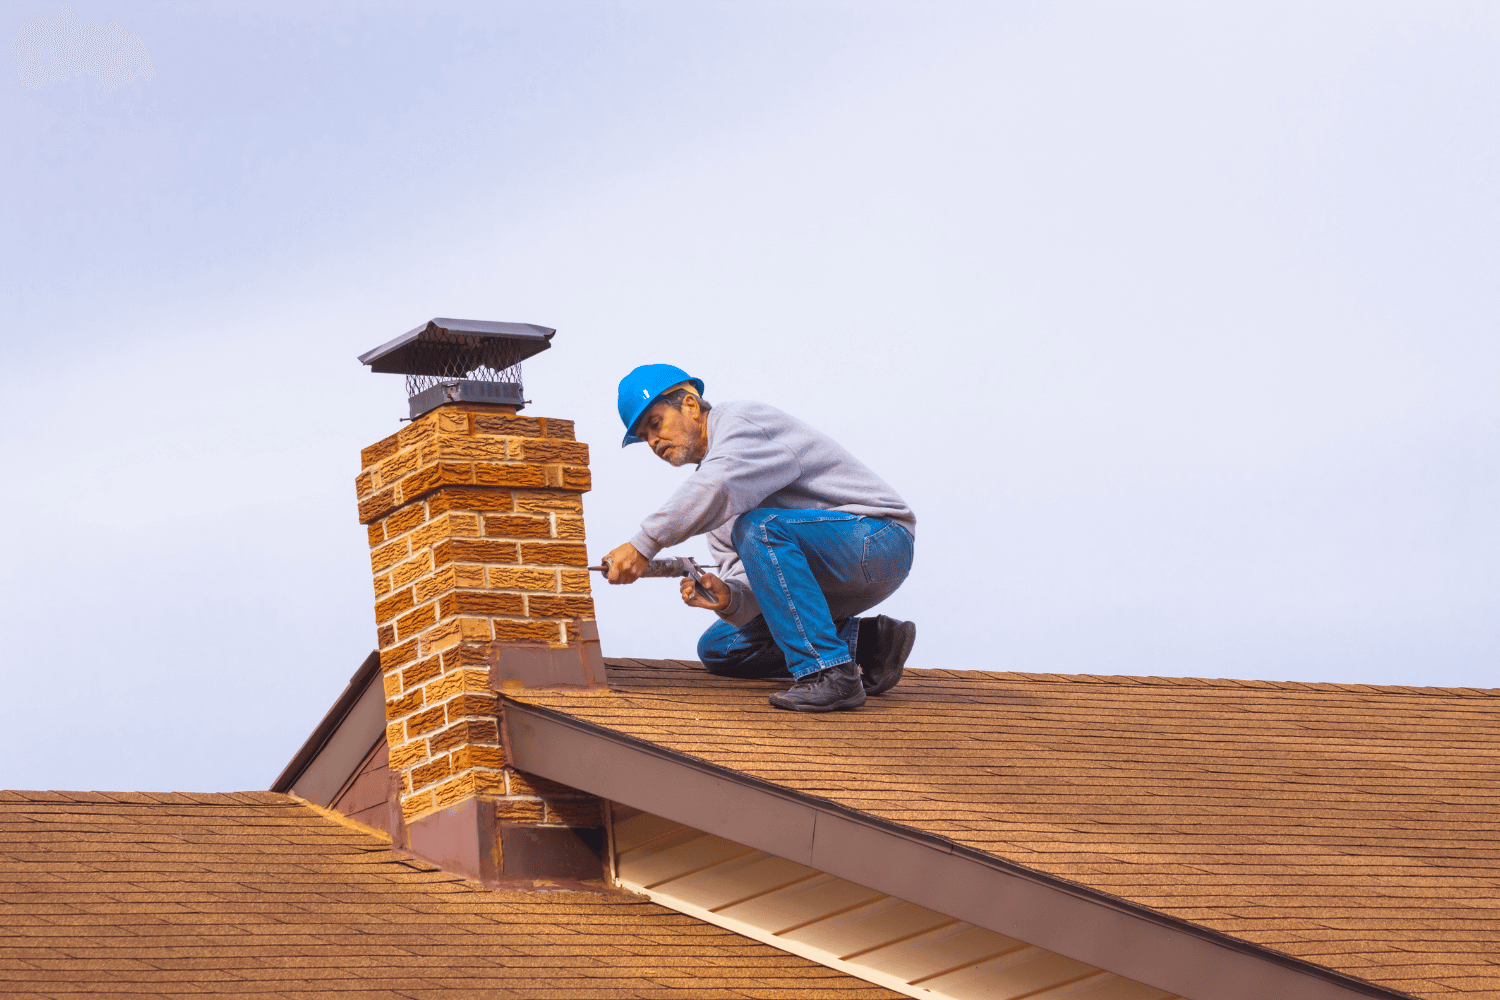
Several steps are essential in repairing chimney flashing to achieve a good seal and prevent future leaks. This guide covers inspecting the flashing, cleaning the area, applying roofing cement, securing with sheet metal, and performing a final inspection and testing.
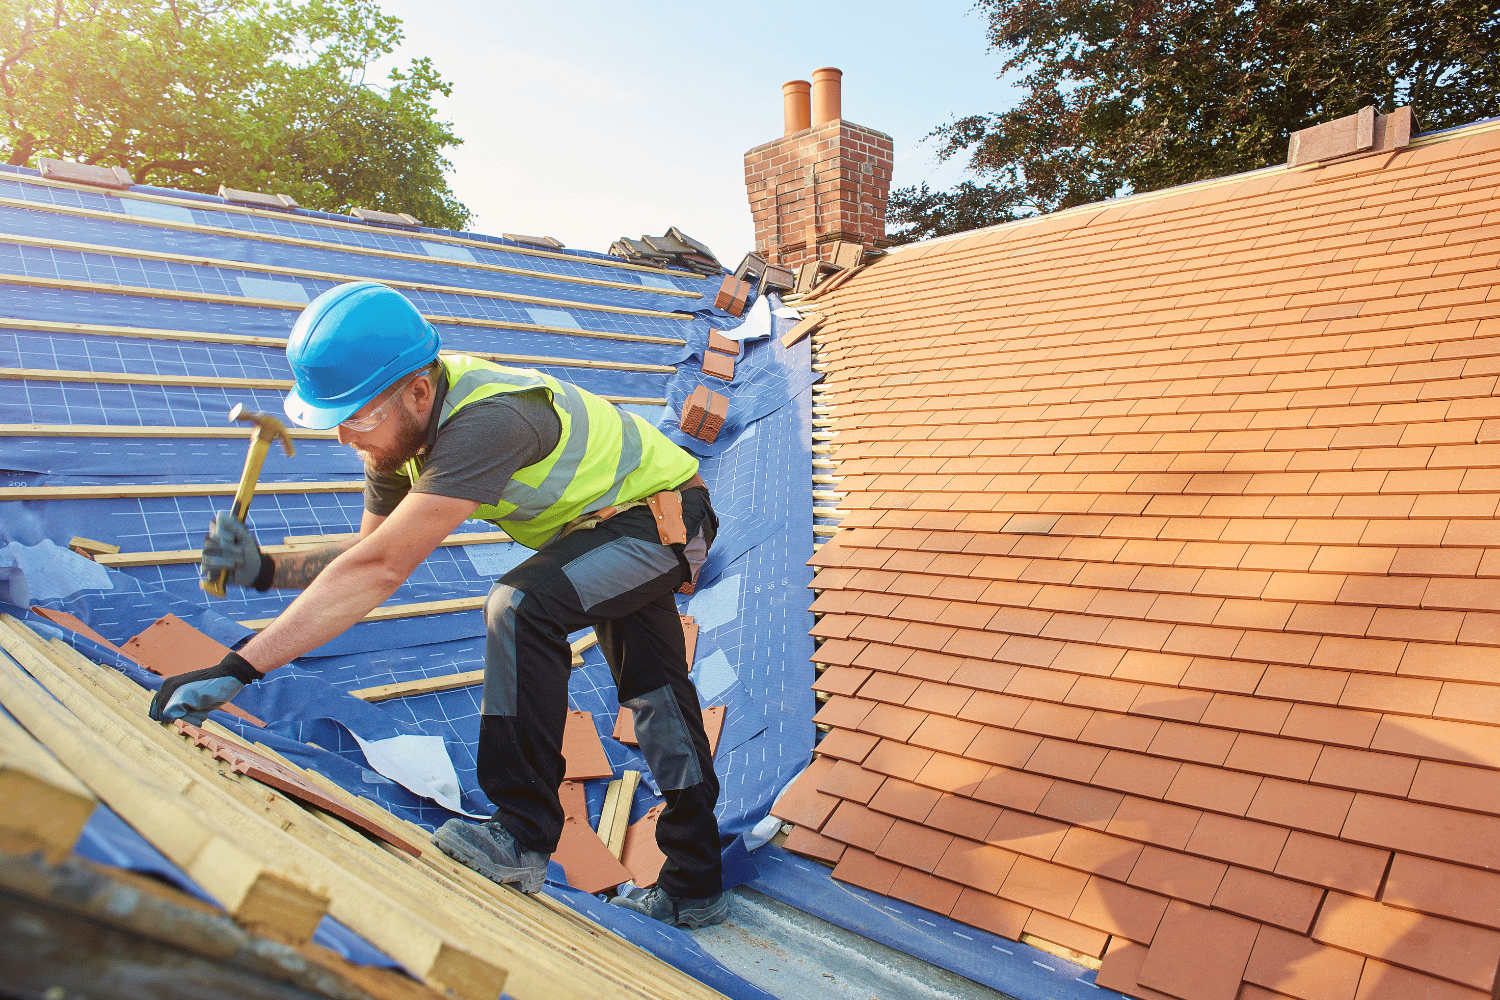
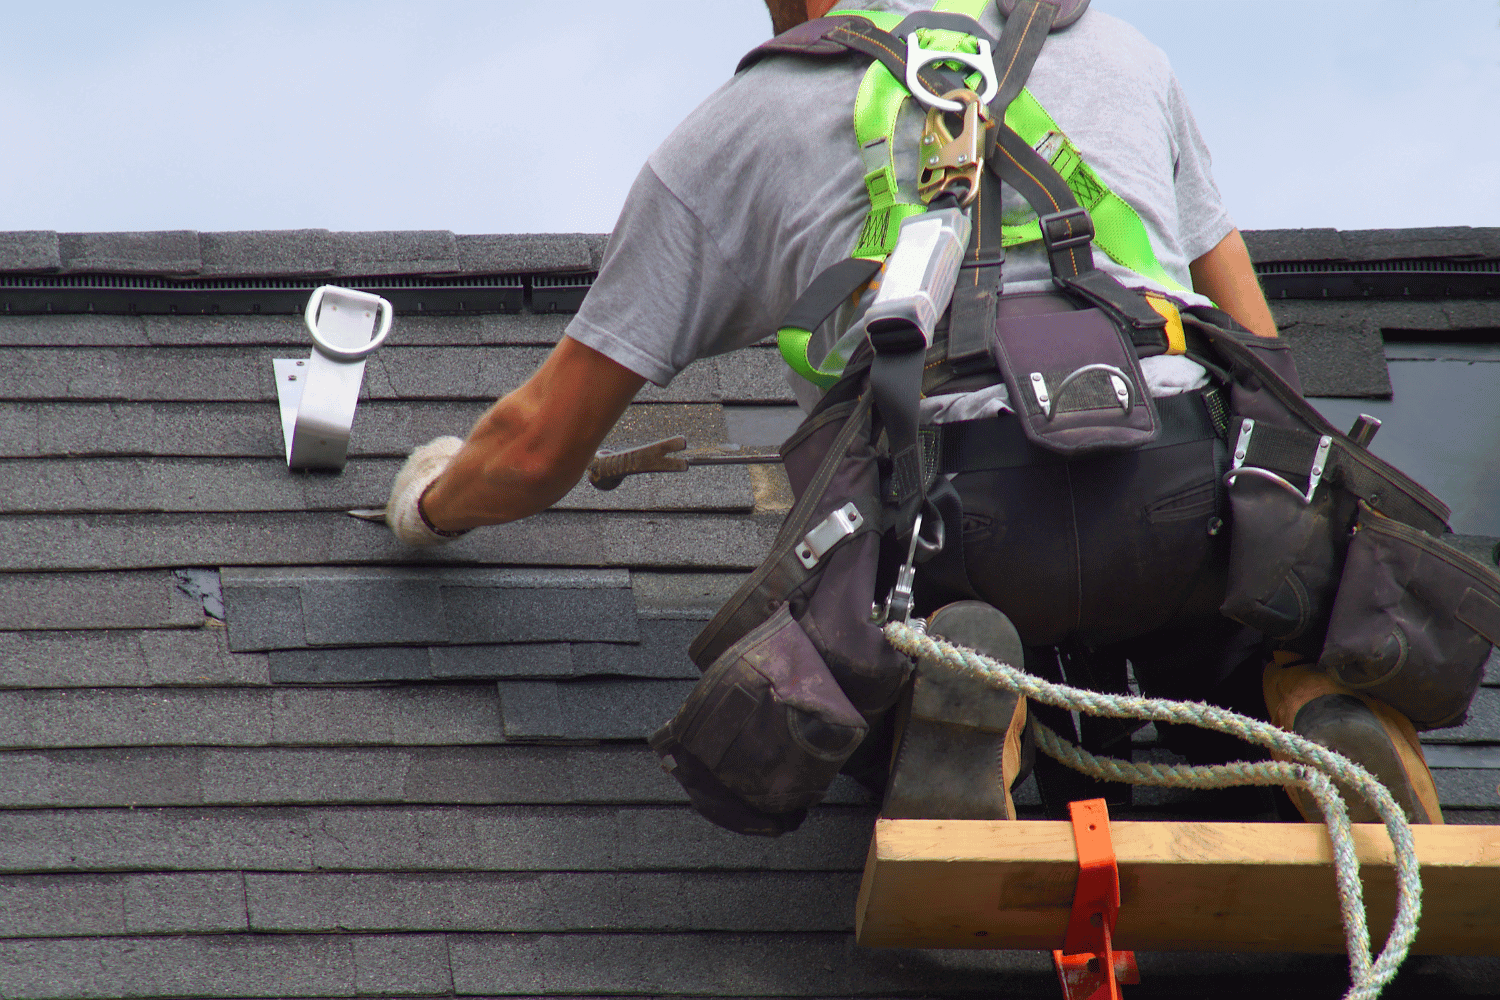
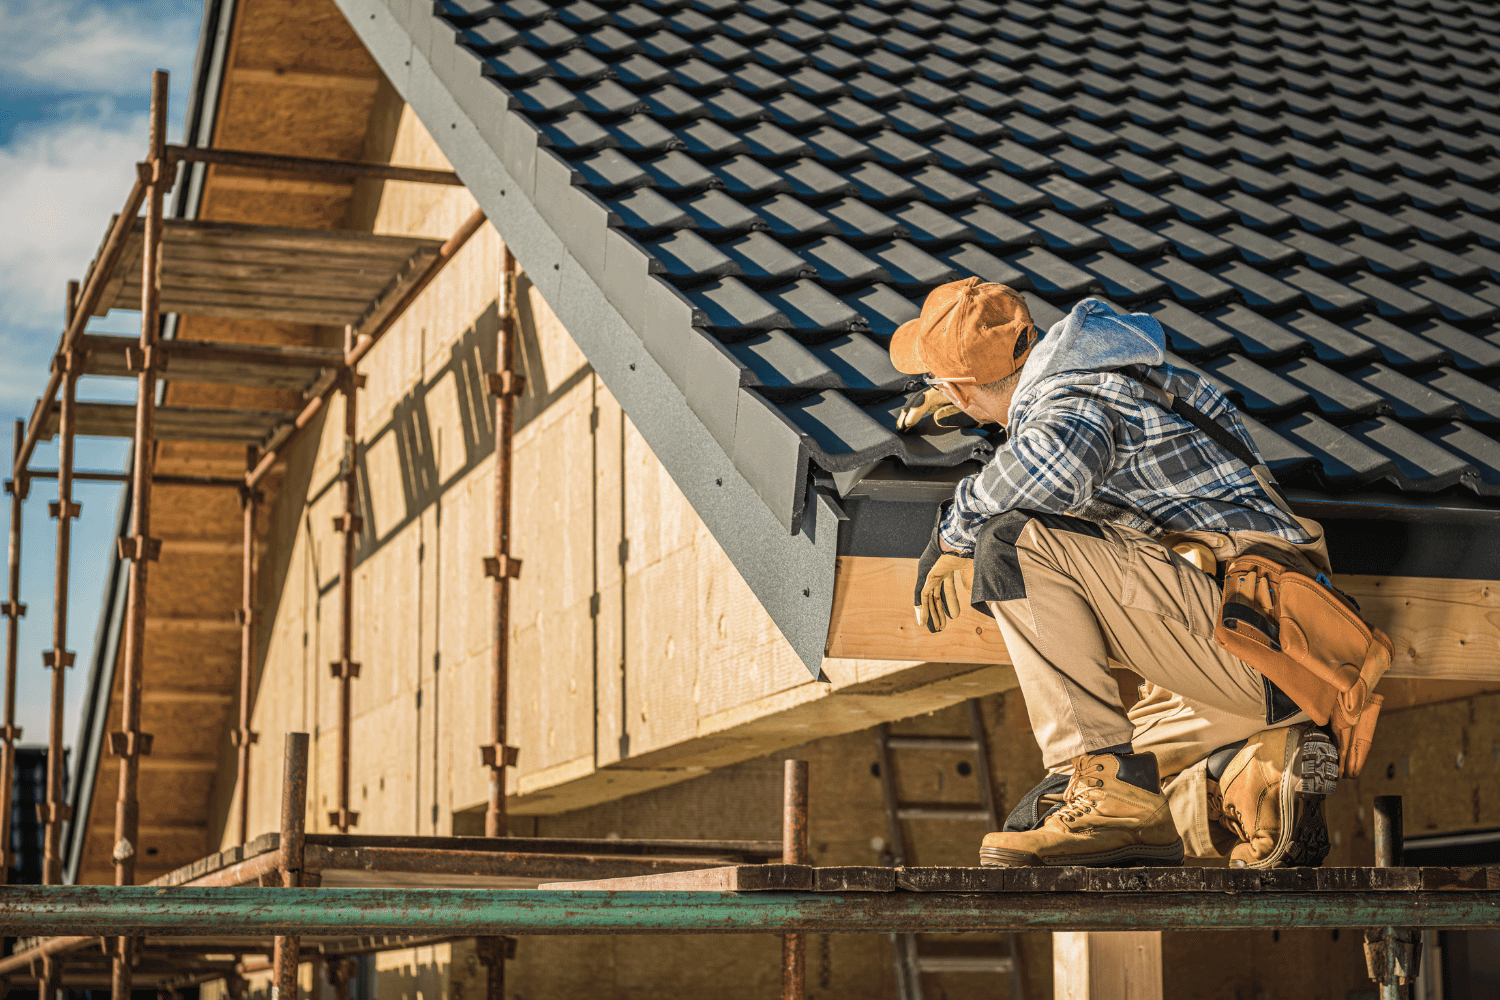
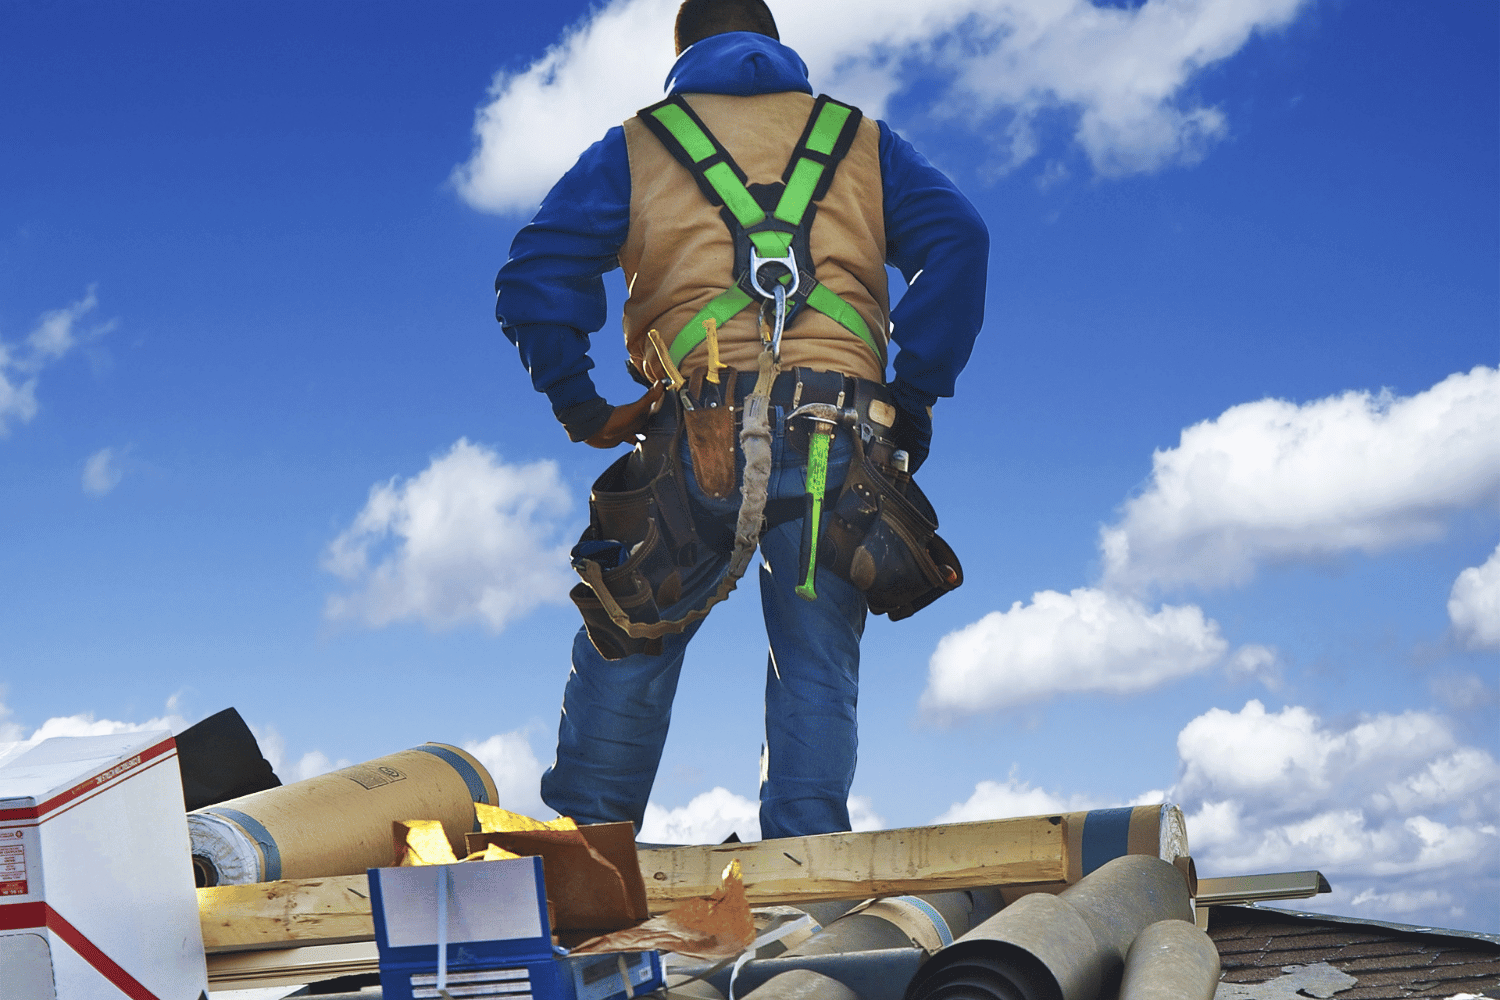
Prioritize safety at all times. Employ an extension ladder, have someone hold it, and wear heavy-duty gloves, protective eyewear, and gripping boots. If repairs appear extensive or complex, hire a professional roofer.
Inspect the Chimney Flashing
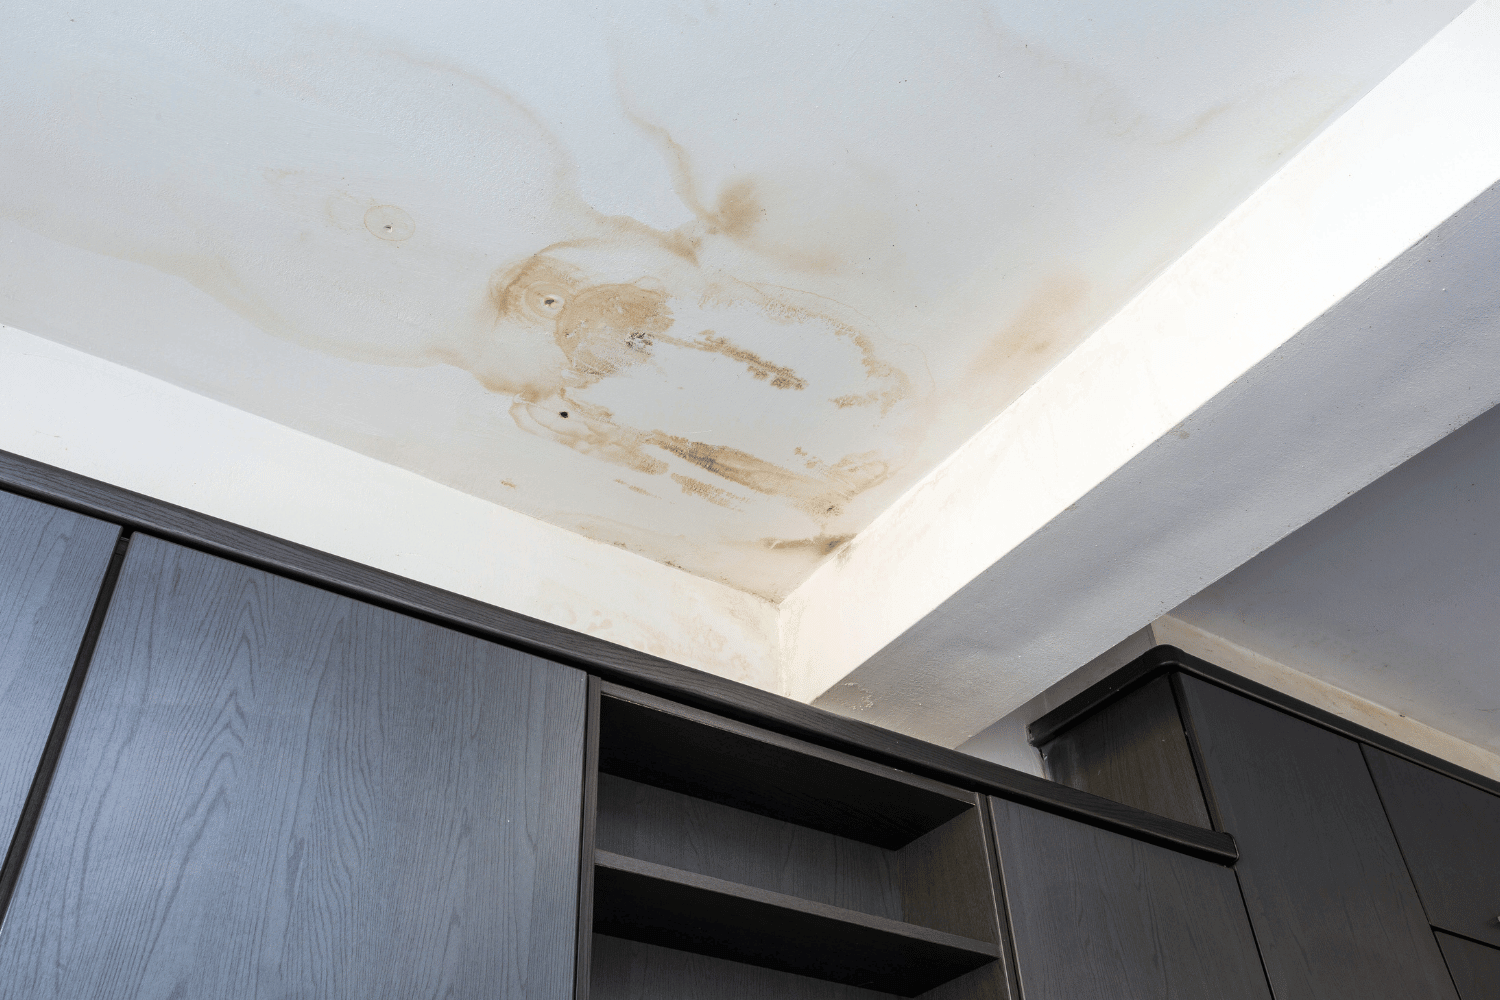
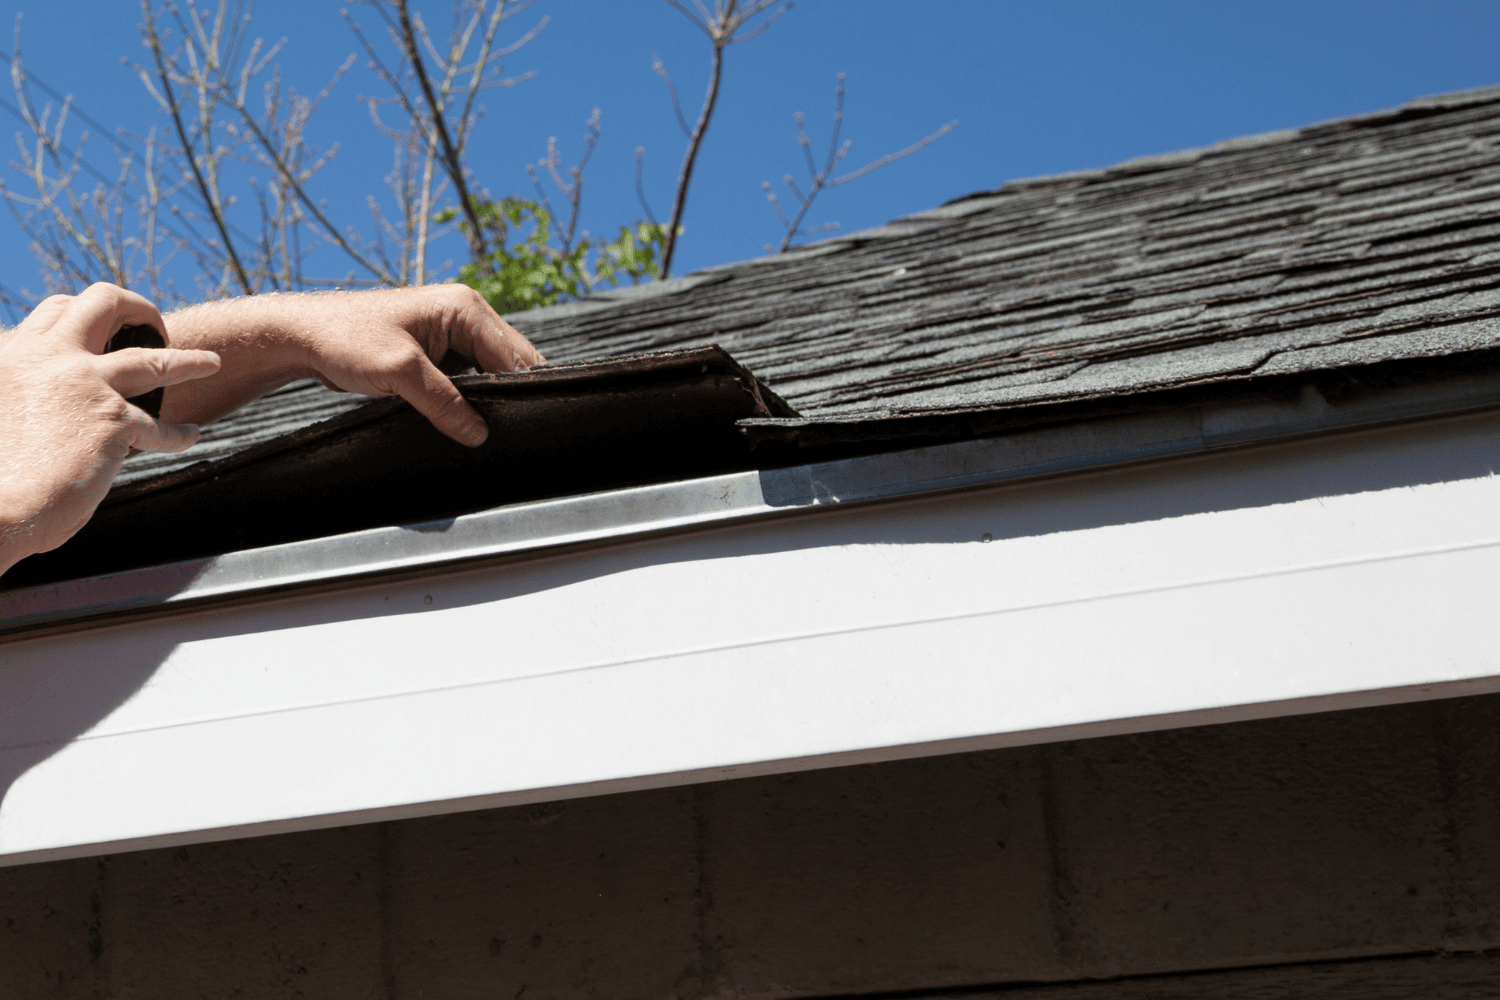
Begin by checking the chimney flashing for visible wear, gaps, or rust stains. Check for water damage around the chimney, indicating flashing issues. Assess and repair any spalling or missing bricks before waterproofing to ensure a solid foundation for the flashing.
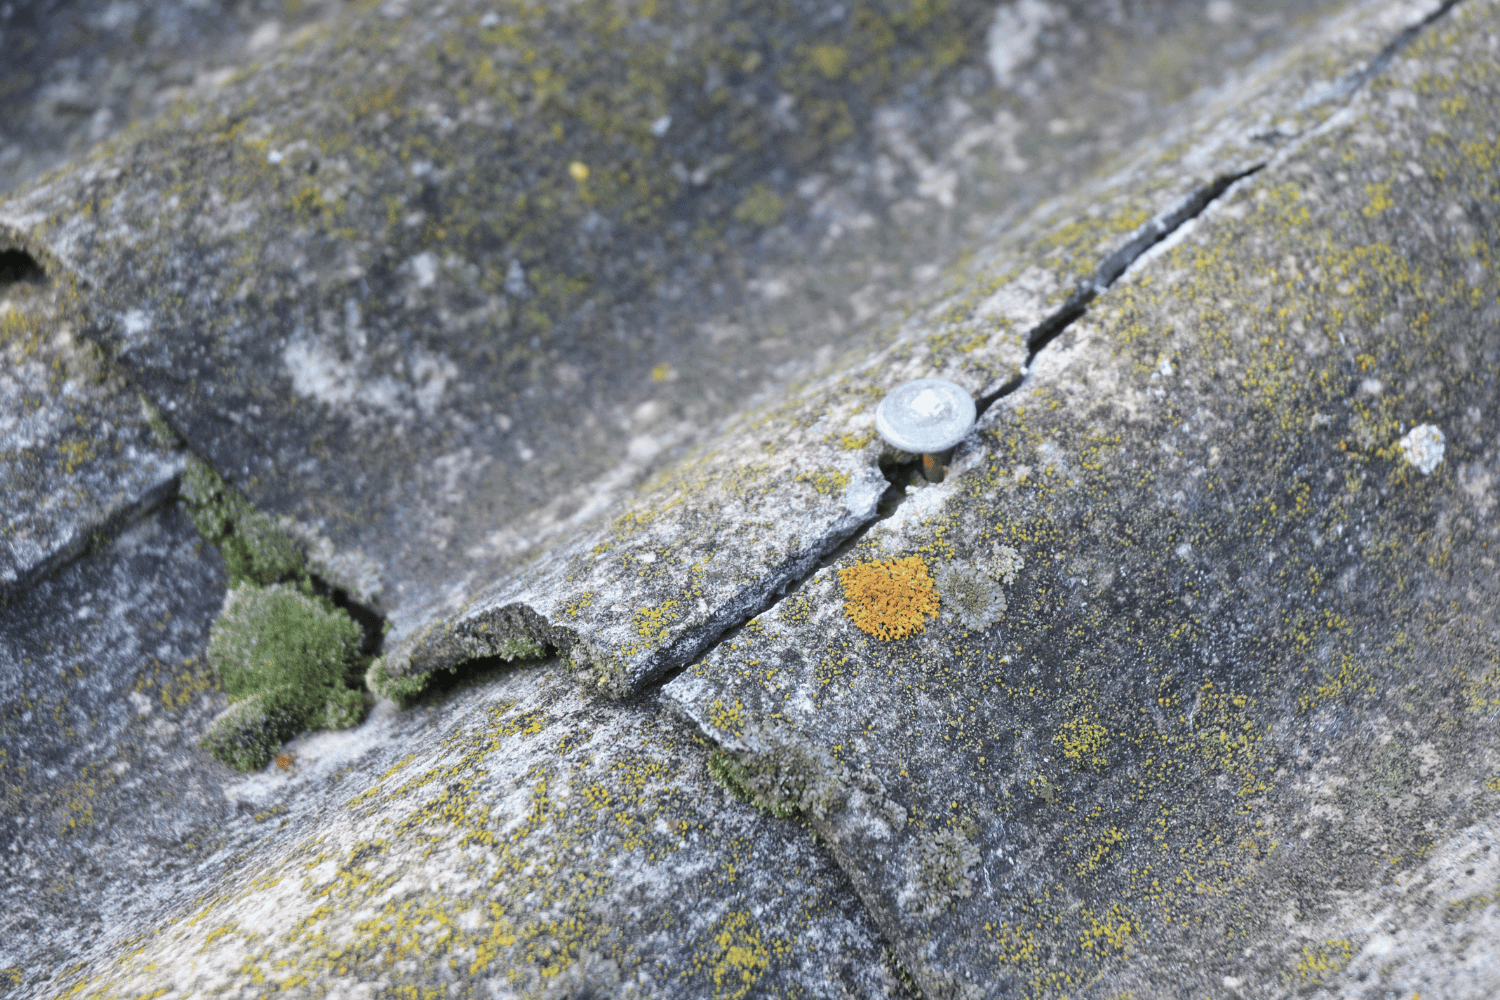
Regular inspections help maintain the integrity of your chimney flashing. Checking for rust, cracks, and other damage enables early problem detection, preventing more severe issues later.
Clean the Area
Cleaning around the chimney flashing removes materials that could hinder a proper seal. Clean the exterior of masonry chimneys with a low-pressure garden sprayer and mild detergent. Make sure the area is debris-free for a good seal.
Apply fresh roofing cement after cleaning to prepare the area for the next sealing steps. This preparation ensures effective and long-lasting repairs.
Apply Roofing Cement
Roofing cement fills small gaps and cracks in the flashing, including those that may occur in a roofing membrane. Clean and dry the surface before application for optimal adhesion. Apply roofing cement evenly with a caulking gun, avoiding overfilling the gaps.
This step creates a temporary seal to prevent leaks until permanent repairs are made. It’s a crucial part of ensuring the flashing remains effective.
Secure with Sheet Metal
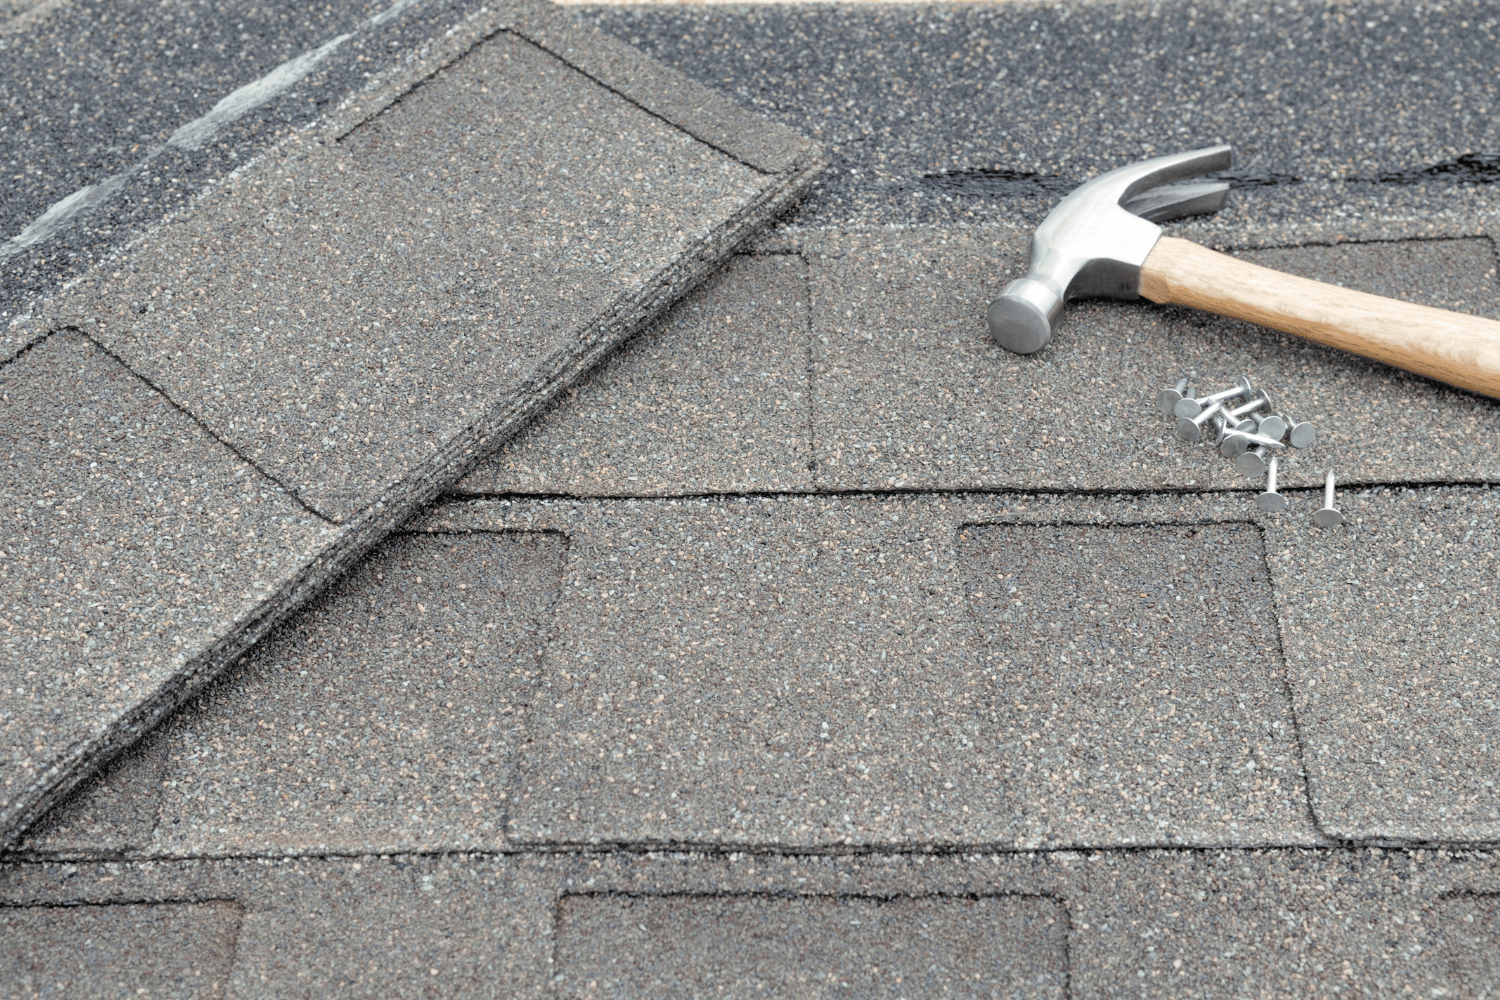
Securing the chimney flashing with sheet metal prevents leaks and ensures roofing integrity. Reattach the flashing to the chimney with screws or masonry nails for a secure hold. Ensure proper alignment of the sheet metal, driving all screws or nails firmly to create a watertight seal.
This step reinforces the flashing, providing structural support and ensuring durable, effective repairs.
Final Inspection and Testing
Conduct a final inspection to verify all repairs are done correctly. Soak sections of the chimney with water to check for leaks. A successful water test confirms the chimney flashing repair was effective in preventing leaks.
Regular inspections and testing help maintain the integrity of your chimney flashing and prevent future leaks.
Waterproofing the Brick Chimney

Waterproofing your brick chimney protects it from water damage. Prolonged moisture exposure accelerates masonry deterioration, making waterproofing essential. Fix any brick damage, such as spalling, before applying a waterproof sealer.
Apply the waterproof sealant with a brush, roller, or sprayer according to the manufacturer’s instructions. Allow the sealant to dry and cure as directed after application. Conduct a thorough visual check to ensure effective sealing. Reapply the waterproof sealer every five years to maintain effectiveness.
When to Call a Professional Roofing Contractor
Severe damage to the flashing or surrounding areas necessitates hiring a professional for reliable repair. If you’re short on time or lack roofing repair experience, hiring a professional can be faster and safer. Professionals are trained to work safely on roofs, minimizing accident risks.
Corrosion-resistant screws are recommended when reattaching flashing to prevent future leaks. If you suspect a leak in your chimney flashing, contact a roofing contractor immediately. Address this issue as soon as possible.
Preventative Maintenance Tips
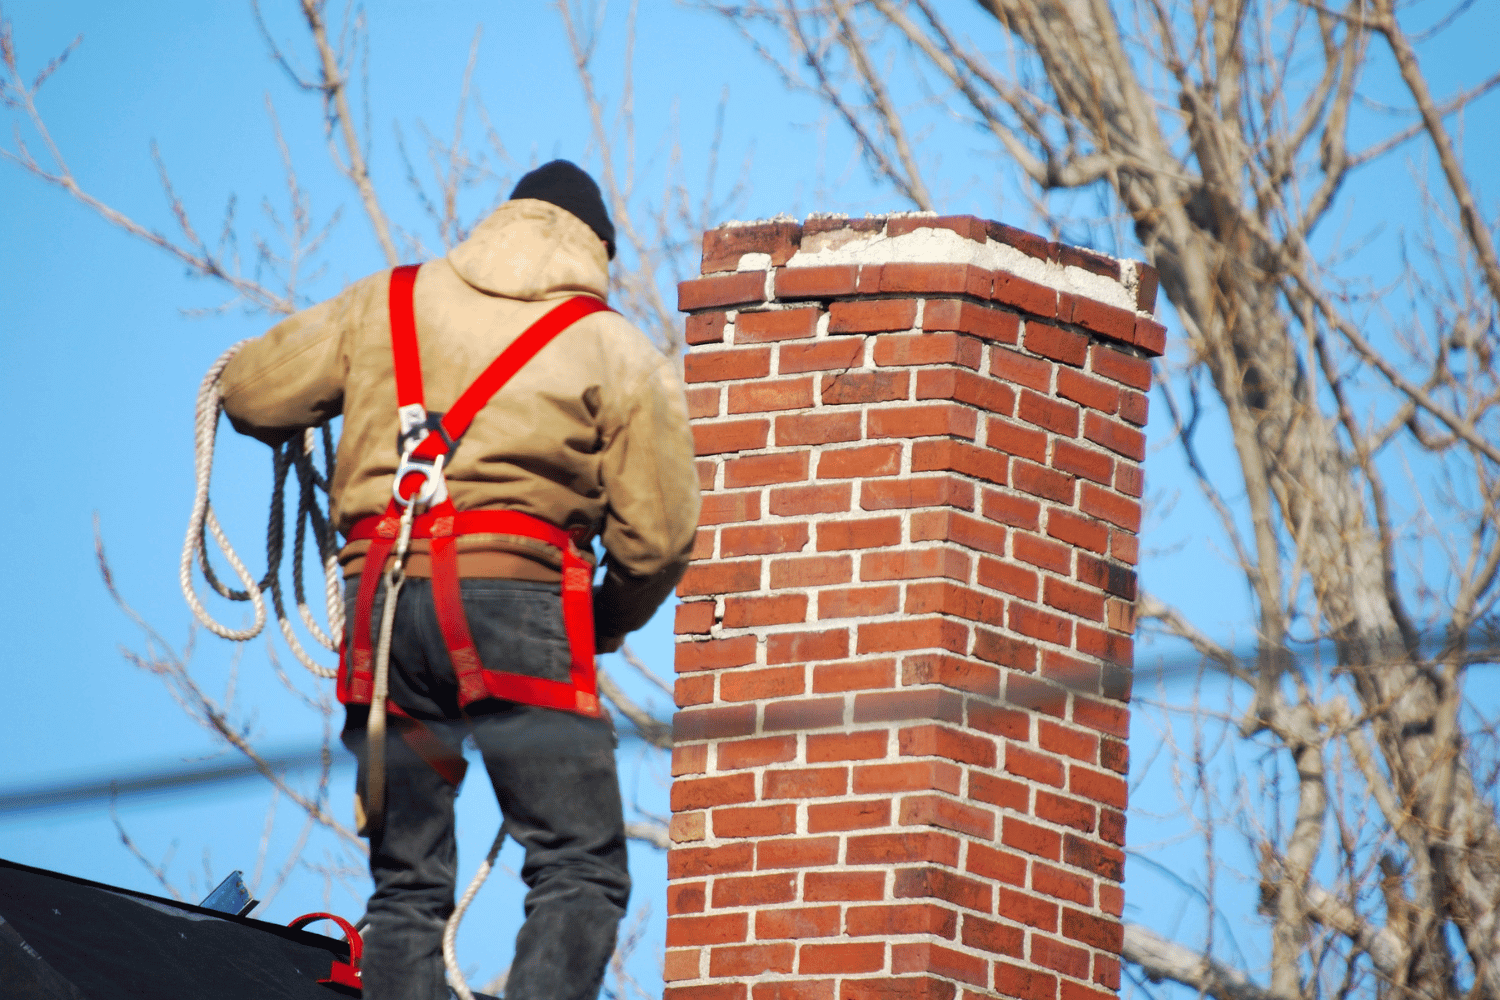
Preventative maintenance is crucial to solving leaks and keeping your chimney flashing in good condition. Inspect the flashing and masonry every other year to identify and address potential leaks early. Regularly clean debris around the chimney to prevent moisture buildup that can damage the flashing.
Start by listing some forbidden forms of the keyword “loose flashing” according to the rule 5. Trim overhanging branches to prevent debris from damaging the loose flashing. Check the sealant around the flashing for cracks and reapply as needed to maintain a watertight seal. Regular maintenance can prevent costly repairs later.
Summary
Proper maintenance and timely repairs of chimney flashing are crucial to prevent leaks and protect your home. By following the steps outlined in this guide, you can effectively seal and maintain your chimney flashing, ensuring your home remains safe and dry.
Taking proactive measures, such as regular inspections and maintenance, can help you avoid significant problems and costly repairs in the future. Invest time in caring for your chimney flashing, and enjoy the peace of mind that comes with a well-maintained home.
Frequently Asked Questions
What are the common signs of leaking chimney flashing?
Common signs of leaking chimney flashing include visible wear, gaps, rust stains, and water damage around the chimney. Addressing these issues promptly can prevent more significant damage.
How often should chimney flashing be inspected?
Chimney flashing should be inspected every two years to promptly identify and address potential leaks. Regular checks help ensure the integrity of your roofing system.
Can I use any sealant for chimney flashing repairs?
For chimney flashing repairs, it’s best to use polyurethane or modified polyether sealants, as they offer durability and versatility for various conditions. These options ensure a long-lasting seal.
What should I do if I find extensive damage to my chimney flashing?
You should contact a professional roofing contractor to address the extensive damage to your chimney flashing for safe and effective repairs. Ignoring the issue may lead to further complications.
How often should I reapply waterproof sealant to my brick chimney?
You should reapply waterproof sealant to your brick chimney every five years to ensure optimal protection against water damage. Regular maintenance will extend the lifespan of your chimney.

