Best Ways to Fix a Loose Shingle on Roof: A Step-by-Step Guide
Noticed a loose shingle on your roof? Ignoring it could lead to serious damage. This guide will show you how to identify, fix, and prevent loose shingles, ensuring your roof stays in top shape.
Key Takeaways
-
Promptly addressing loose shingles can prevent water damage and extend the roof’s lifespan.
-
Essential tools for shingle repair include roofing cement, utility knives, and safety gear, ensuring an efficient and safe repair process.
-
Regular inspections and preventative maintenance are key to maintaining roof integrity and preventing future issues.
Best Ways to Fix a Loose Shingle on Roof: A Step-by-Step Guide
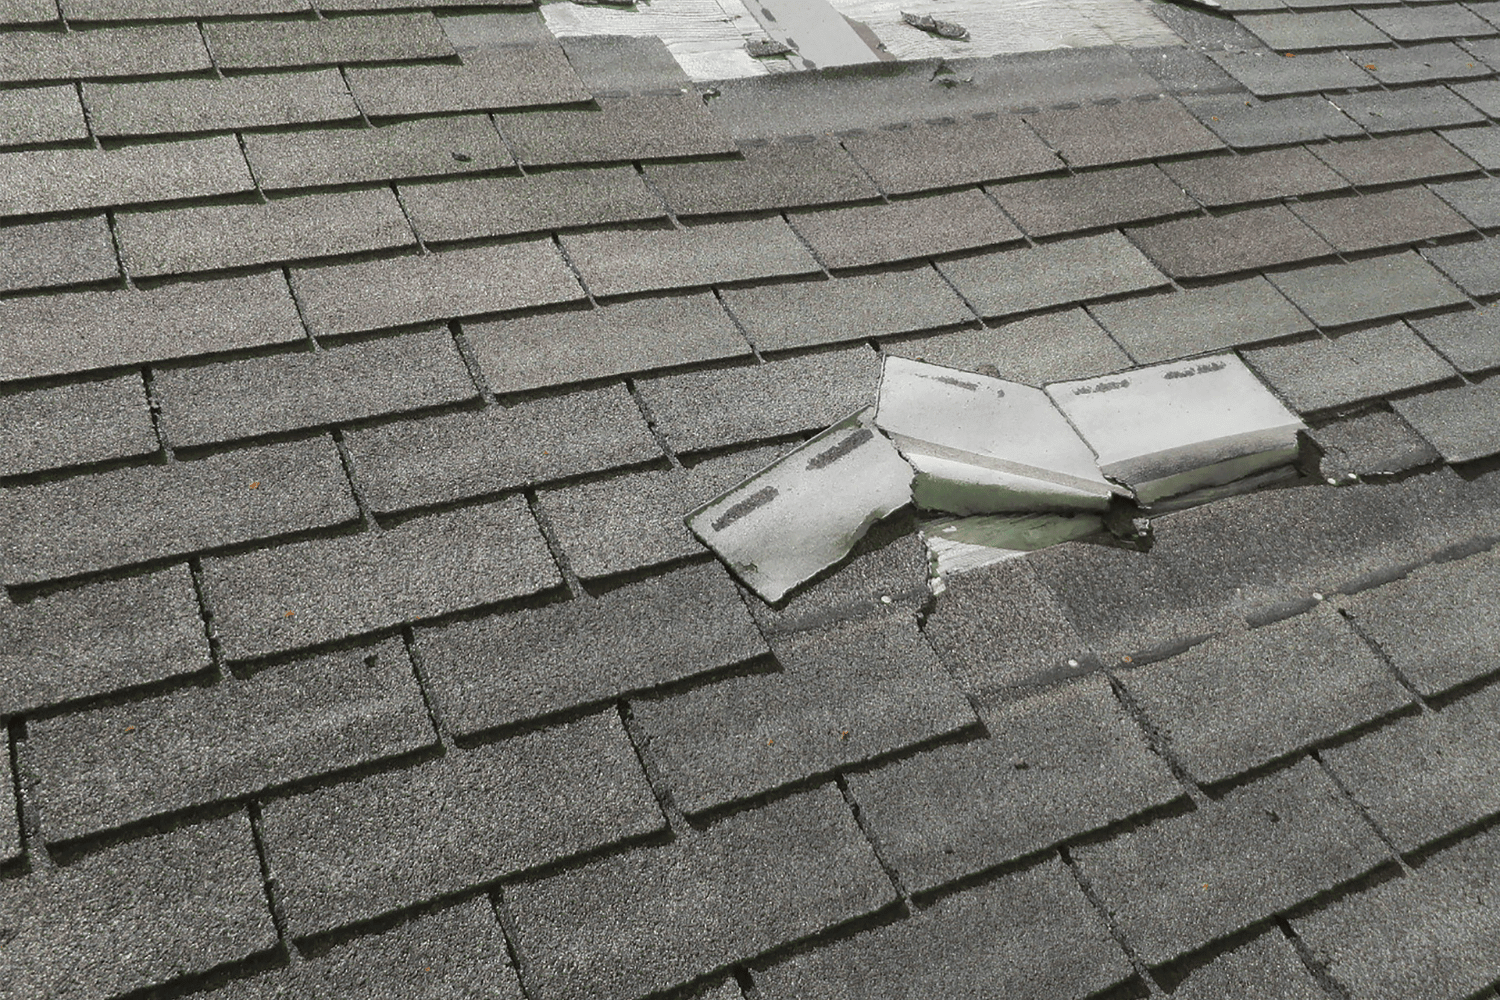
Addressing shingle repairs promptly can prevent further damage and extend your roof’s lifespan. This step-by-step guide will help you identify loose shingles, gather the necessary tools, assess the damage, and perform the repairs confidently.
Introduction
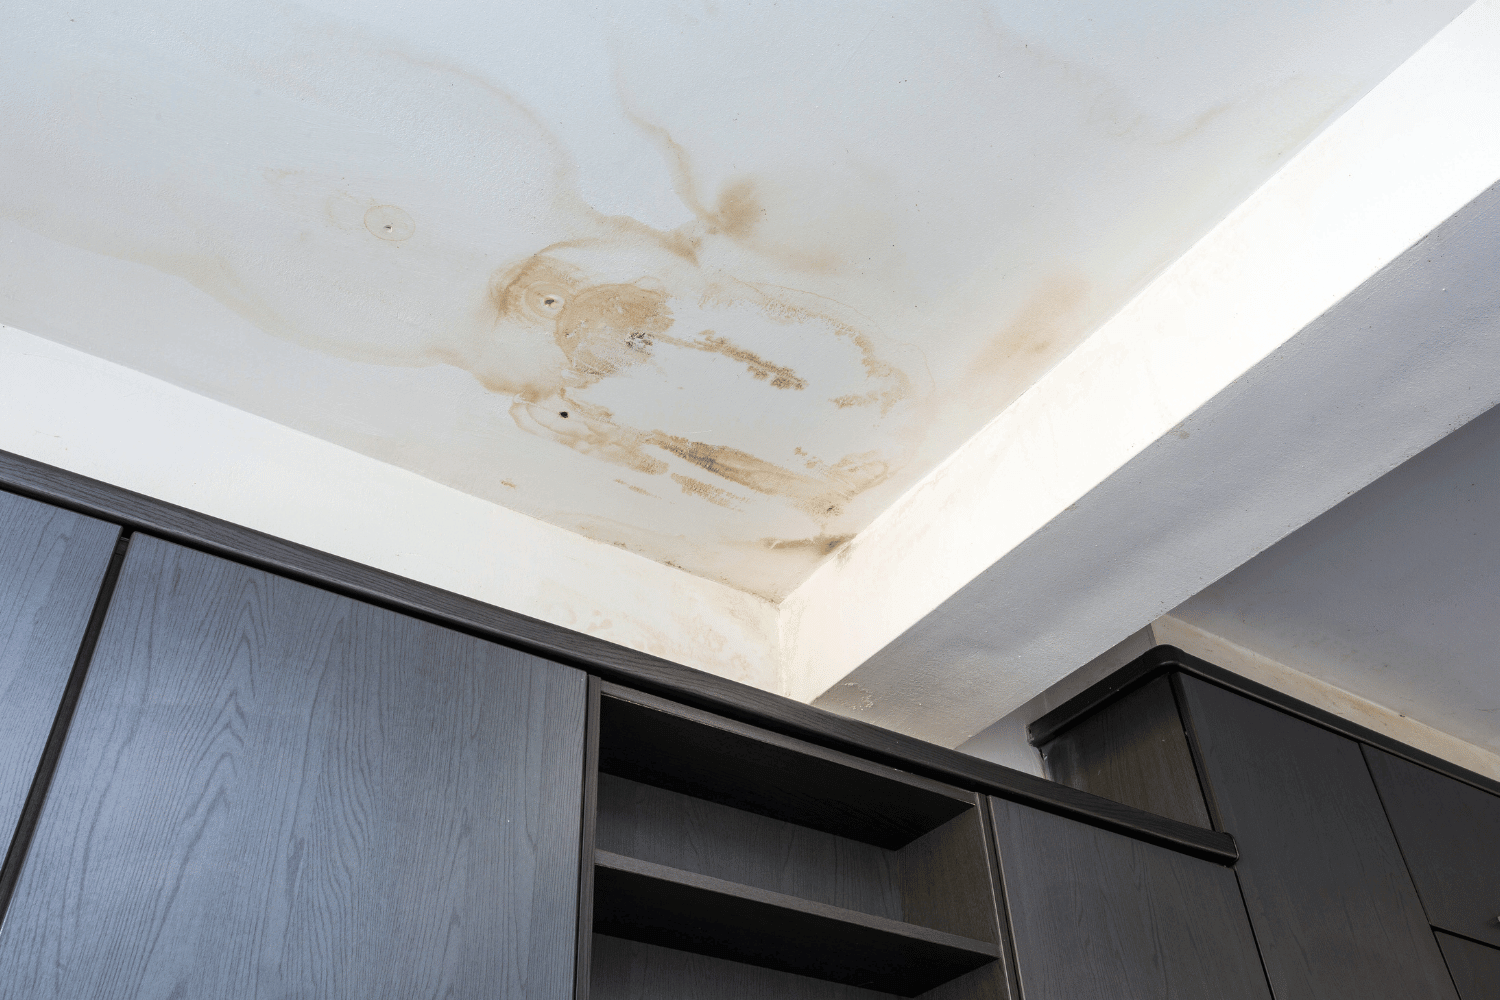
When it comes to roof maintenance, time is of the essence. A single loose shingle might not seem like a big deal, but it can lead to significant issues if left unattended. Water infiltration is one of the most common problems associated with loose shingles, potentially causing severe damage to your home’s interior.
Learning to repair roof shingles isn’t as daunting as it might seem. With a bit of patience and the right guidance, you can master the basics in about an hour or two. Plus, tackling minor issues yourself can save you money and give you a sense of accomplishment.
At Dream Home Roofers, we believe in empowering homeowners with the knowledge and skills needed to maintain their roofs. In this guide, we’ll cover everything from identifying loose shingles to performing the repair process and taking preventative measures to keep your roof in top shape.
Identify Loose Shingles
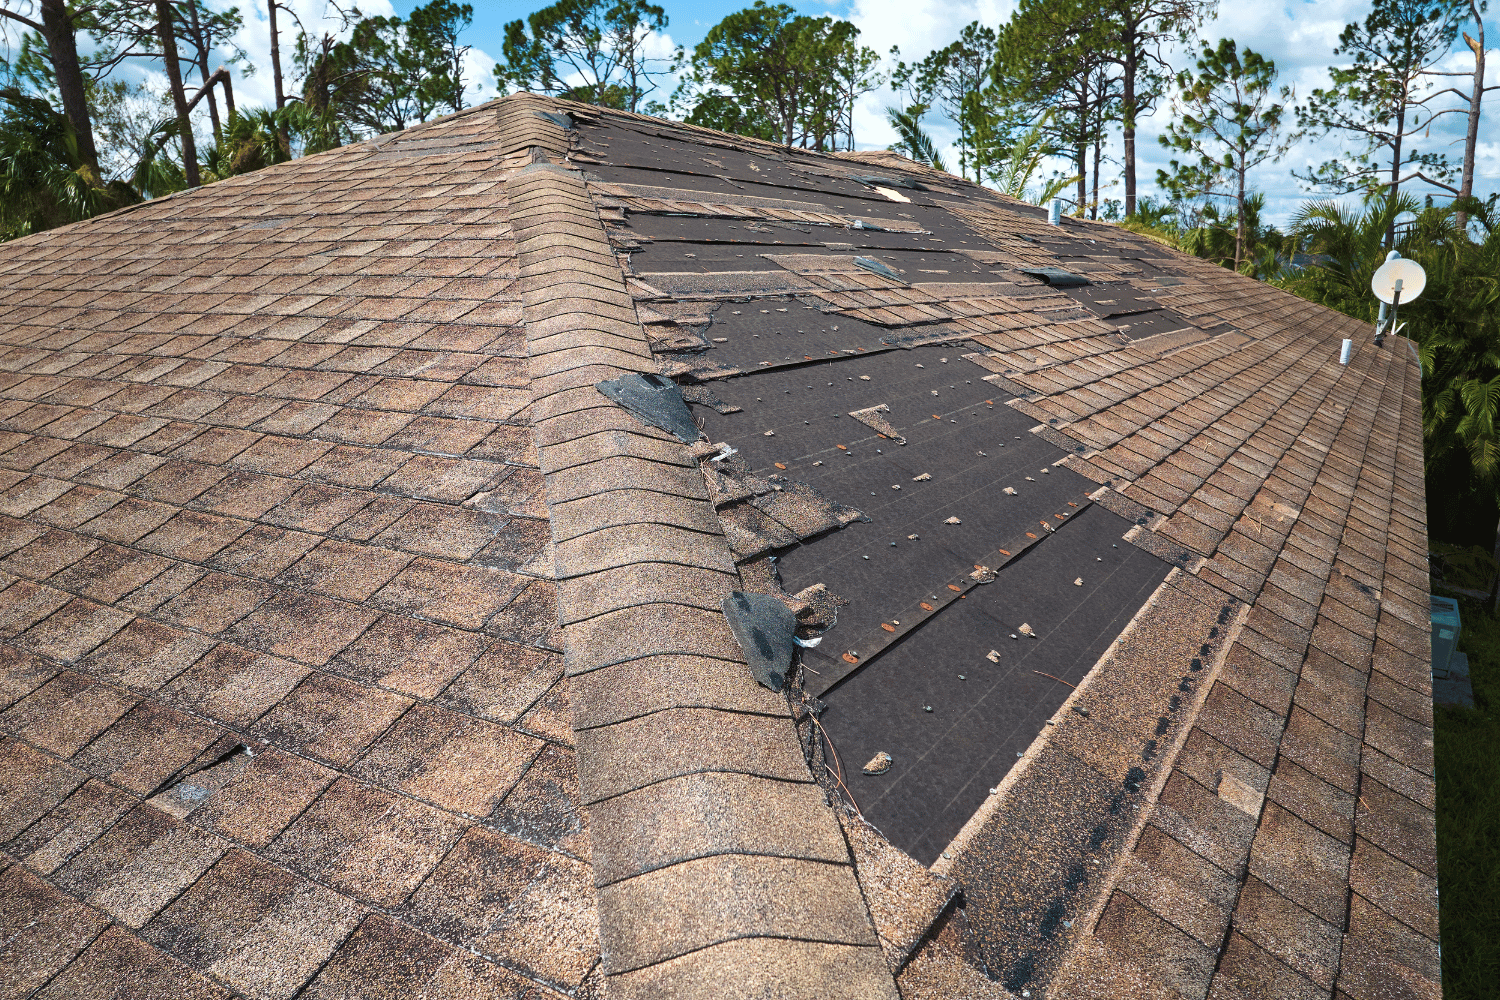
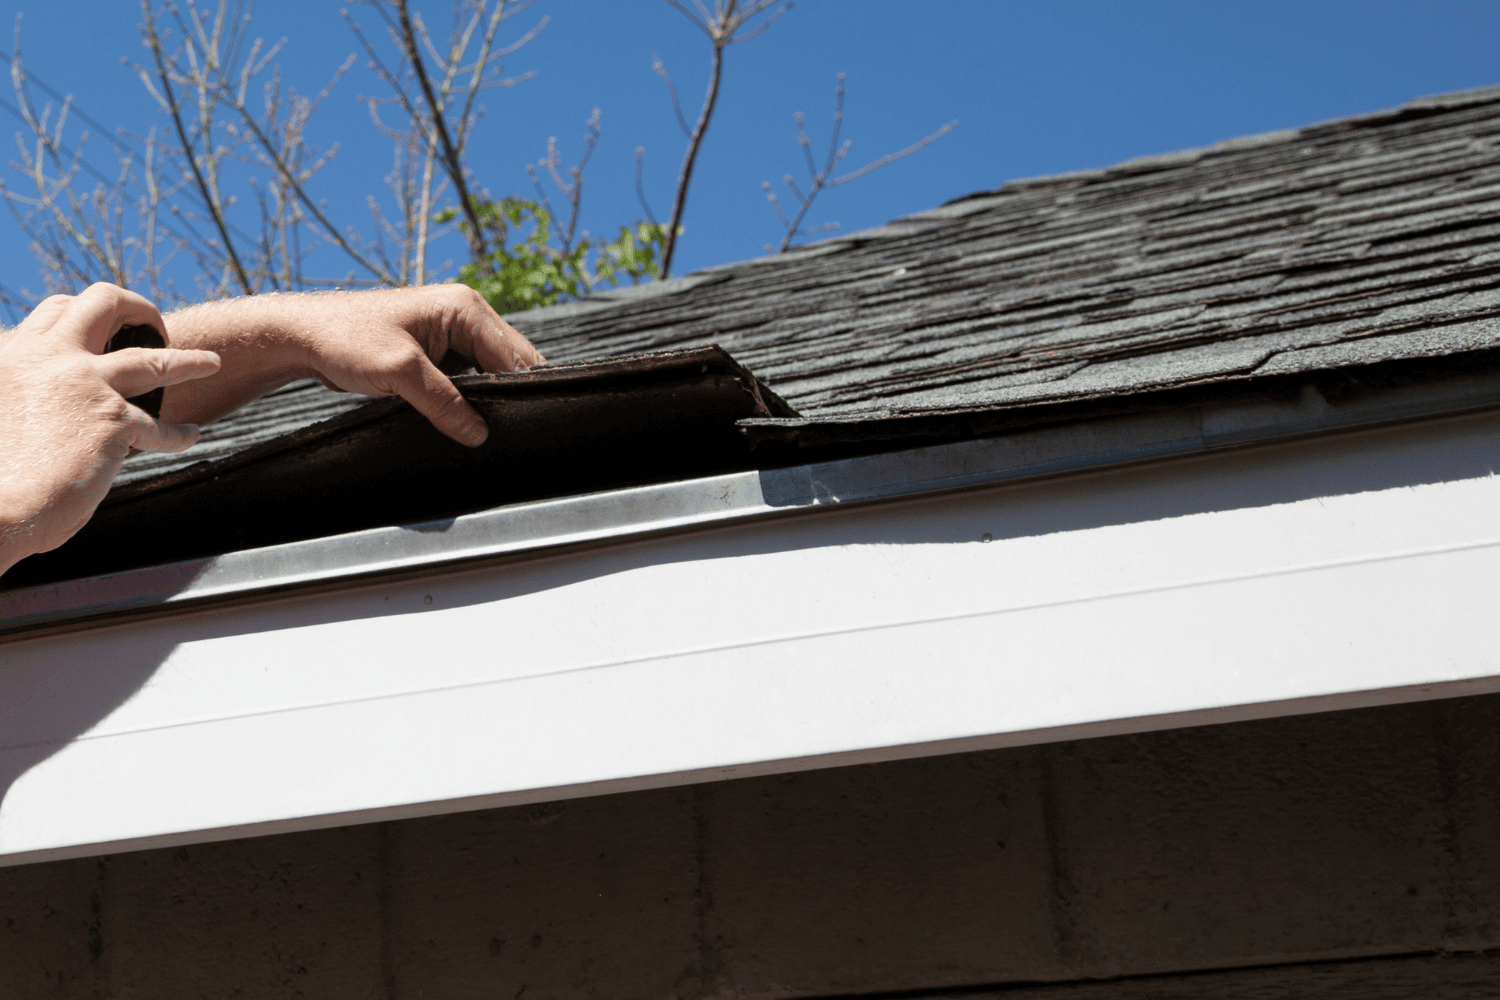
The first step in any roof shingle repair is identifying the problem areas. Loose shingles can often be spotted by their lifted edges or gaps between the shingles and the roof surface. Look for these signs, especially after high winds or storms, which can cause shingles to become loose or go missing.
Certain areas of your roof are more prone to shingle lifting, such as around chimneys and vents. Inspect these areas carefully, as well as any spots where you notice missing nails, which can be a clear indicator of loose shingles.
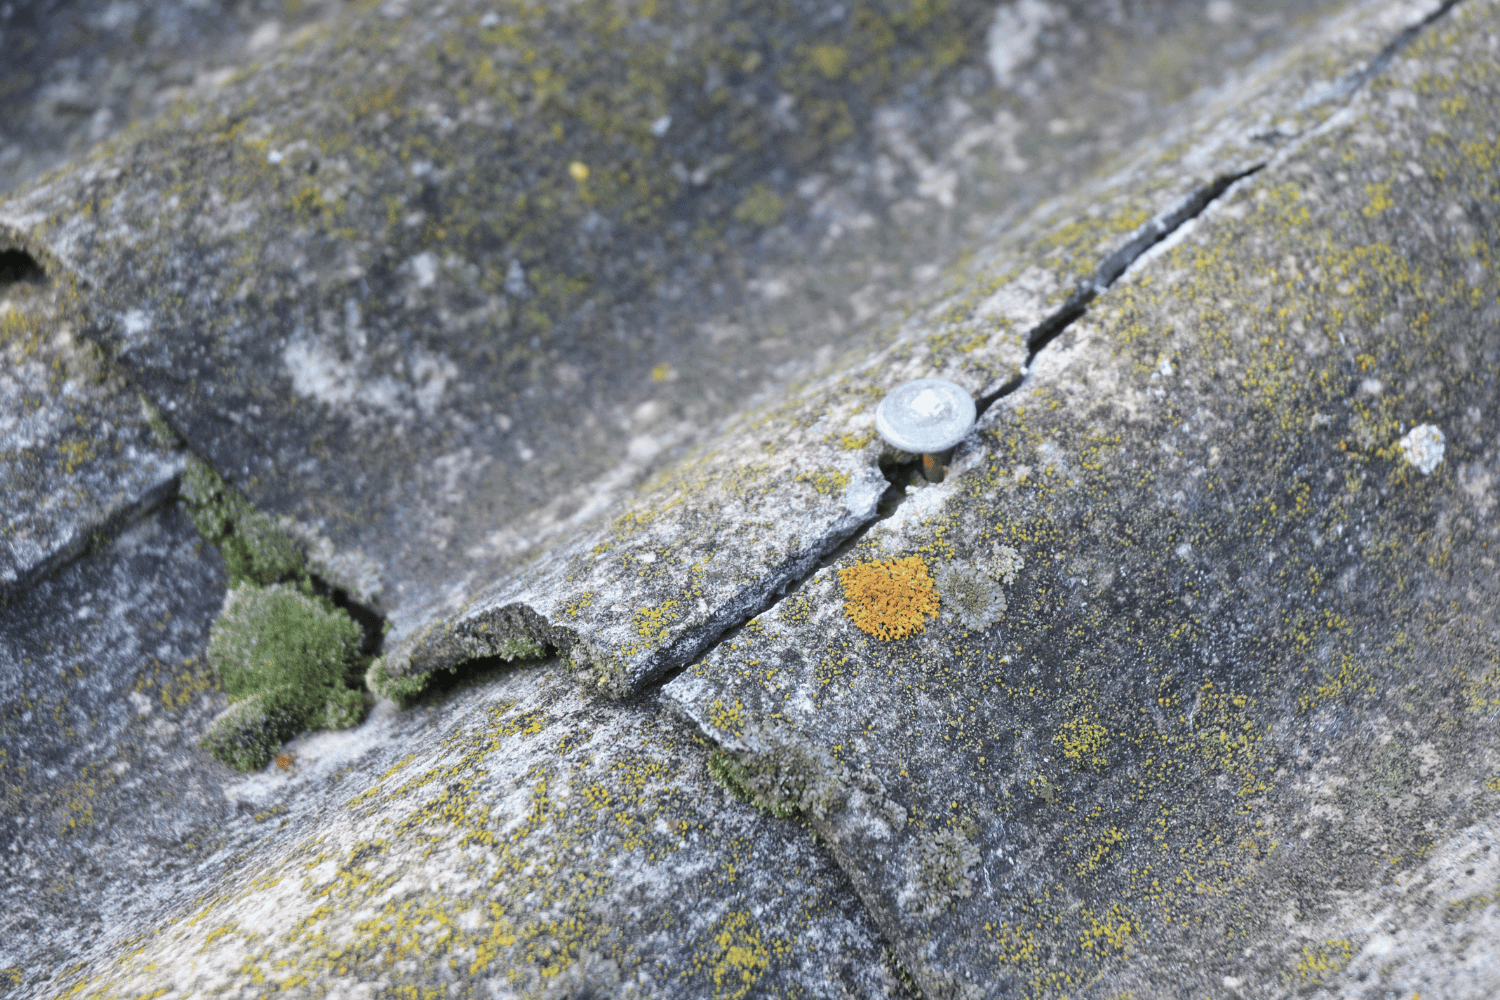
Additionally, visible curling or cracking of shingles often signals that they need immediate attention. Regular inspections, at least twice a year, can help you catch these issues early and prevent further damage to your roof.
Essential Tools and Materials
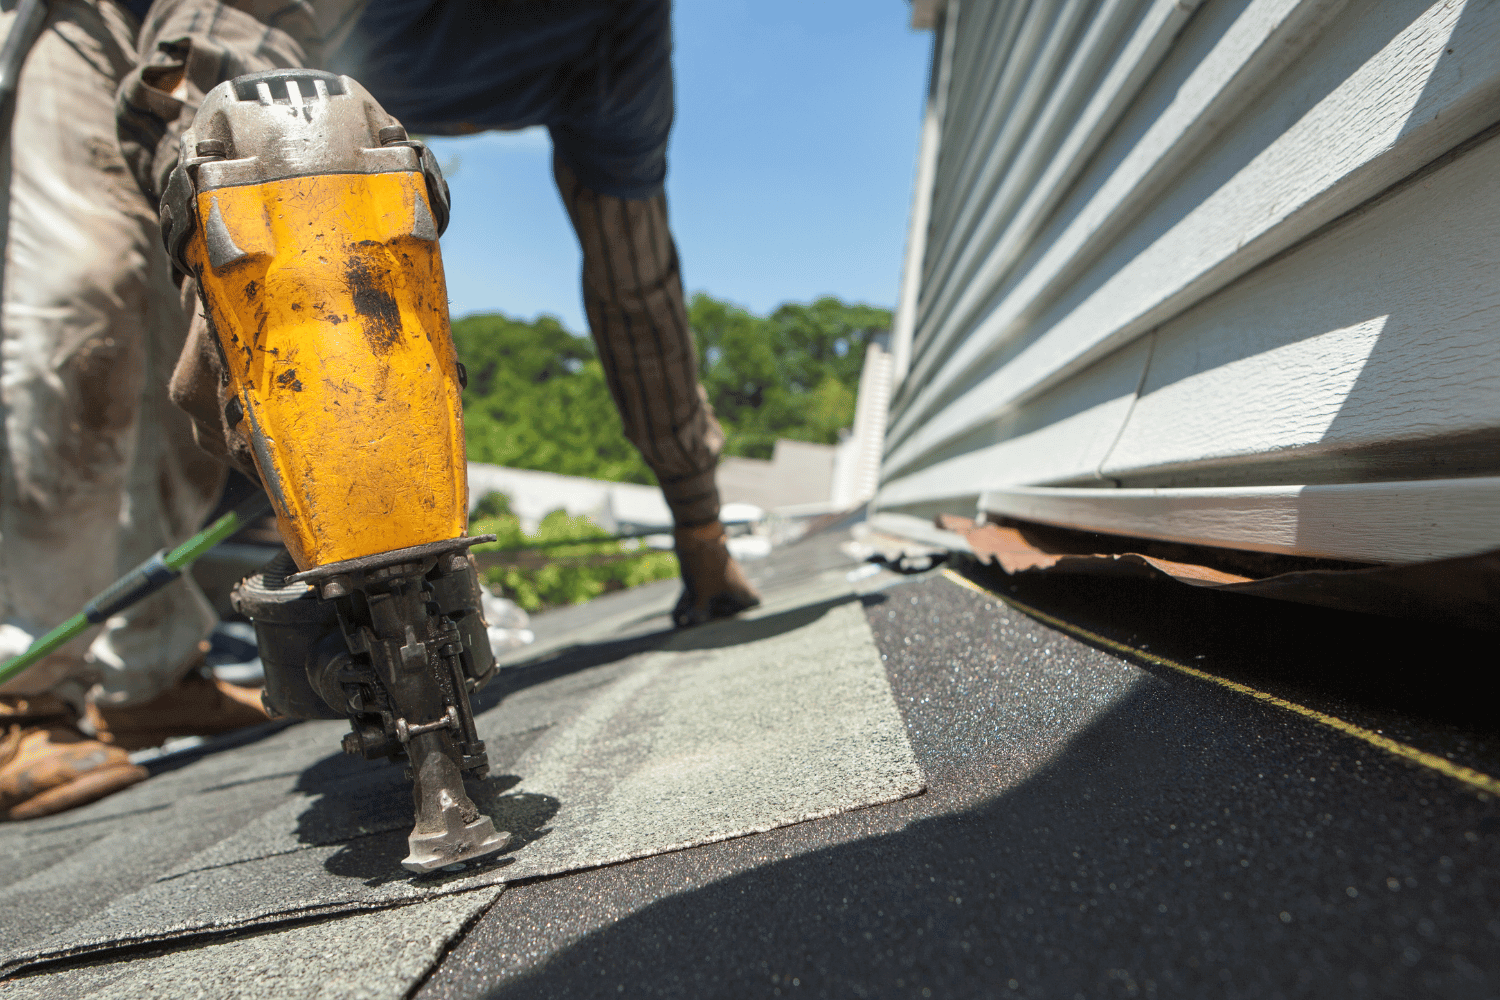
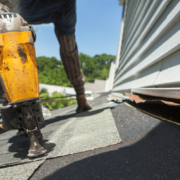
Before you begin any roof shingle repair, it’s essential to have the right tools and materials on hand. A utility knife is indispensable for cutting shingles and other materials during repairs. Roofing cement is another must-have, used to seal and secure shingles, especially in areas exposed to high winds.
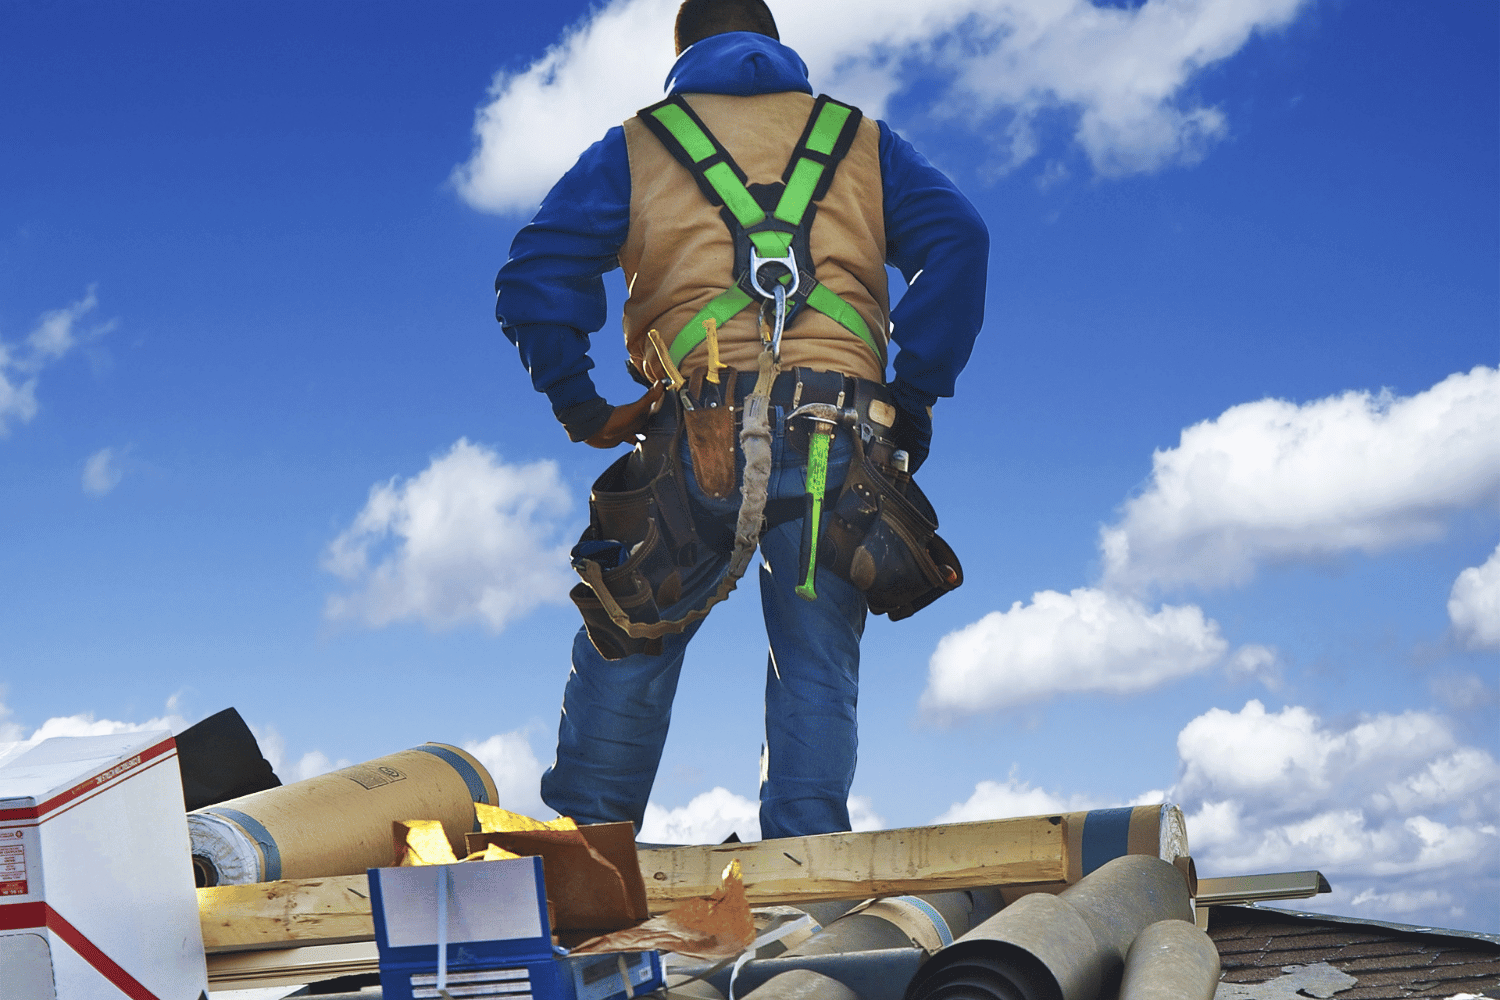
You’ll also need a flat pry bar to lift shingles and remove nails, a hammer for driving roofing nails, and a ladder to safely access your roof. Don’t forget safety gear, including gloves, safety glasses, and non-slip shoes, to protect yourself while working on the roof.
Having all these tools and materials ready before you start will make the repair process smoother and more efficient. Ensuring you’re well-prepared is key to successfully completing minor shingle repairs and maintaining your existing roof.
Assessing the Extent of Damage
Once you’ve identified the loose shingles, the next step is to assess the extent of the damage. This involves checking for signs of water damage in your attic, which could indicate loose or damaged shingles. Granule loss on shingles is another sign of deterioration that requires immediate attention.
Inspecting your roof from the ground using binoculars can help you identify obvious damage without risking a climb up. Look for curling shingles, visible rotting, or algae growth, as these issues may indicate the need for professional roof repairs.
If you notice extensive damage, such as a sagging roof deck or multiple missing shingles around your property, it might be time to call in a professional roofer for a more thorough inspection and repair.
Preparing for Repair
Preparation is key to a successful roof shingle repair. Ideally, you should perform repairs on a warm, dry day to ensure the shingles are more pliable and easier to work with. Ensure your ladder extends beyond the roof edge for additional safety and stability while working.
Safety measures cannot be overstated. Use a stable ladder placed on even ground and wear protective gear, such as goggles and gloves, to protect yourself from debris and sharp objects. Avoid working on the roof during bad weather conditions to minimize the risk of accidents.
Before starting the repair process, inspect the interior of your home for leaks or water stains, which might reveal roof problems not visible from the outside. This thorough preparation will help ensure a smooth and safe repair process.
How to Secure a Loose Shingle
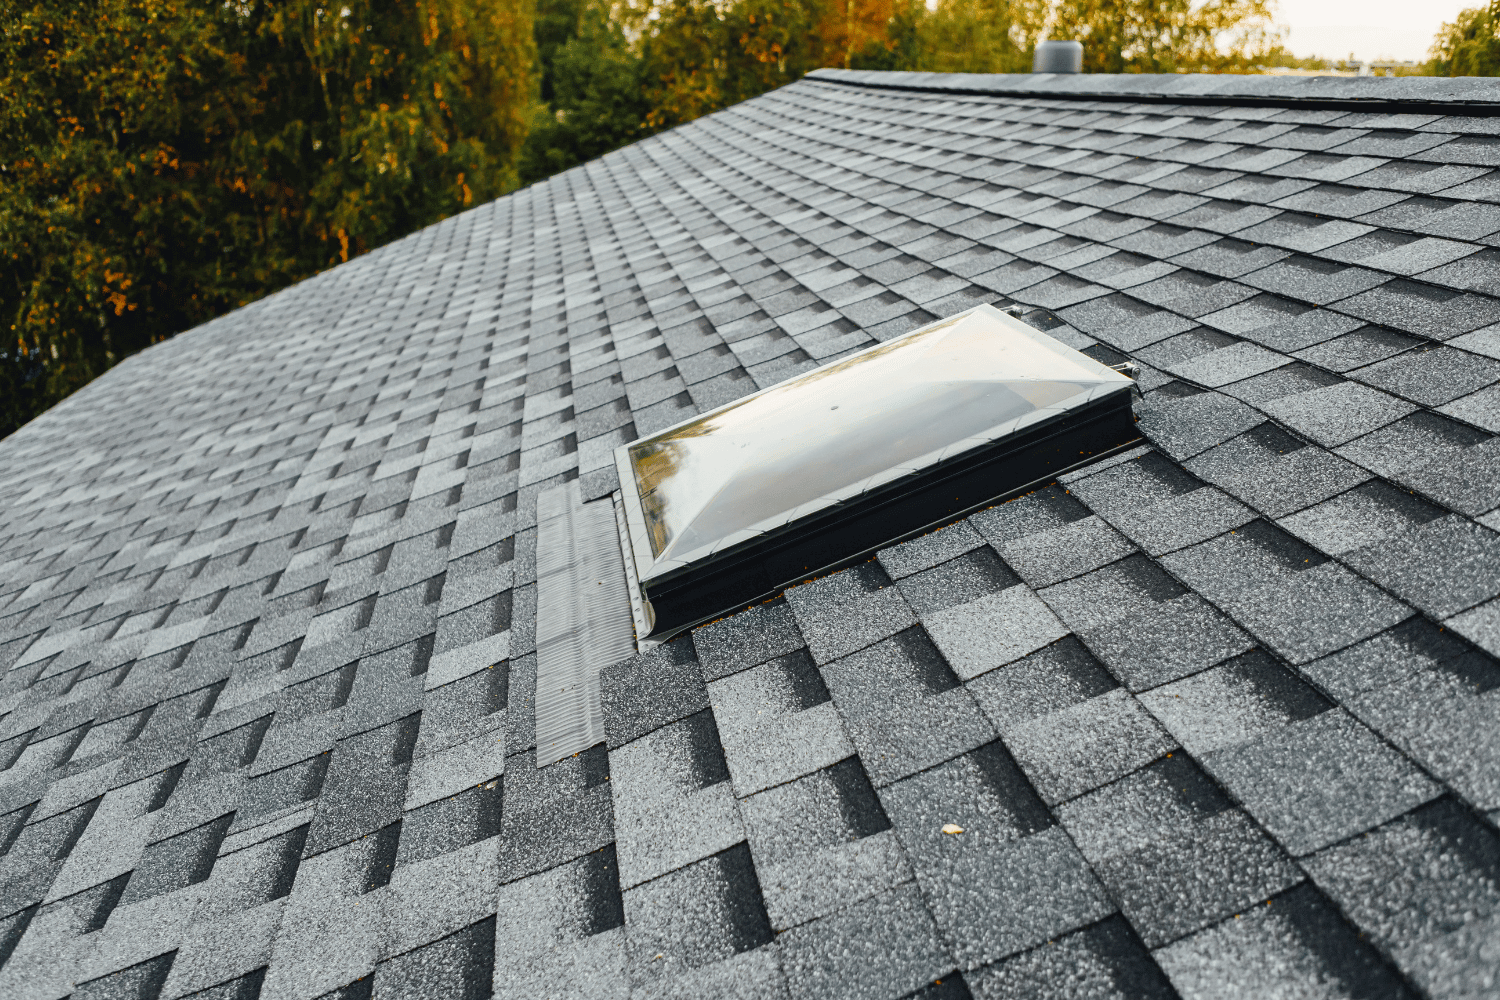
Securing a loose shingle involves a few straightforward steps. First, ensure the area around the loose shingle is clean and dry. Apply roofing cement under the shingle and press it firmly in place, holding it down for several minutes to allow the adhesive to bond effectively.
Use roofing nails or screws to support the shingle after applying the adhesive for added security. This extra step helps ensure the shingle stays in place, even during high winds or heavy rain.
By following these steps, you can address loose shingles promptly and prevent further roof damage, saving you from more extensive repairs down the line to replace roof shingles.
Replacing Damaged Shingles
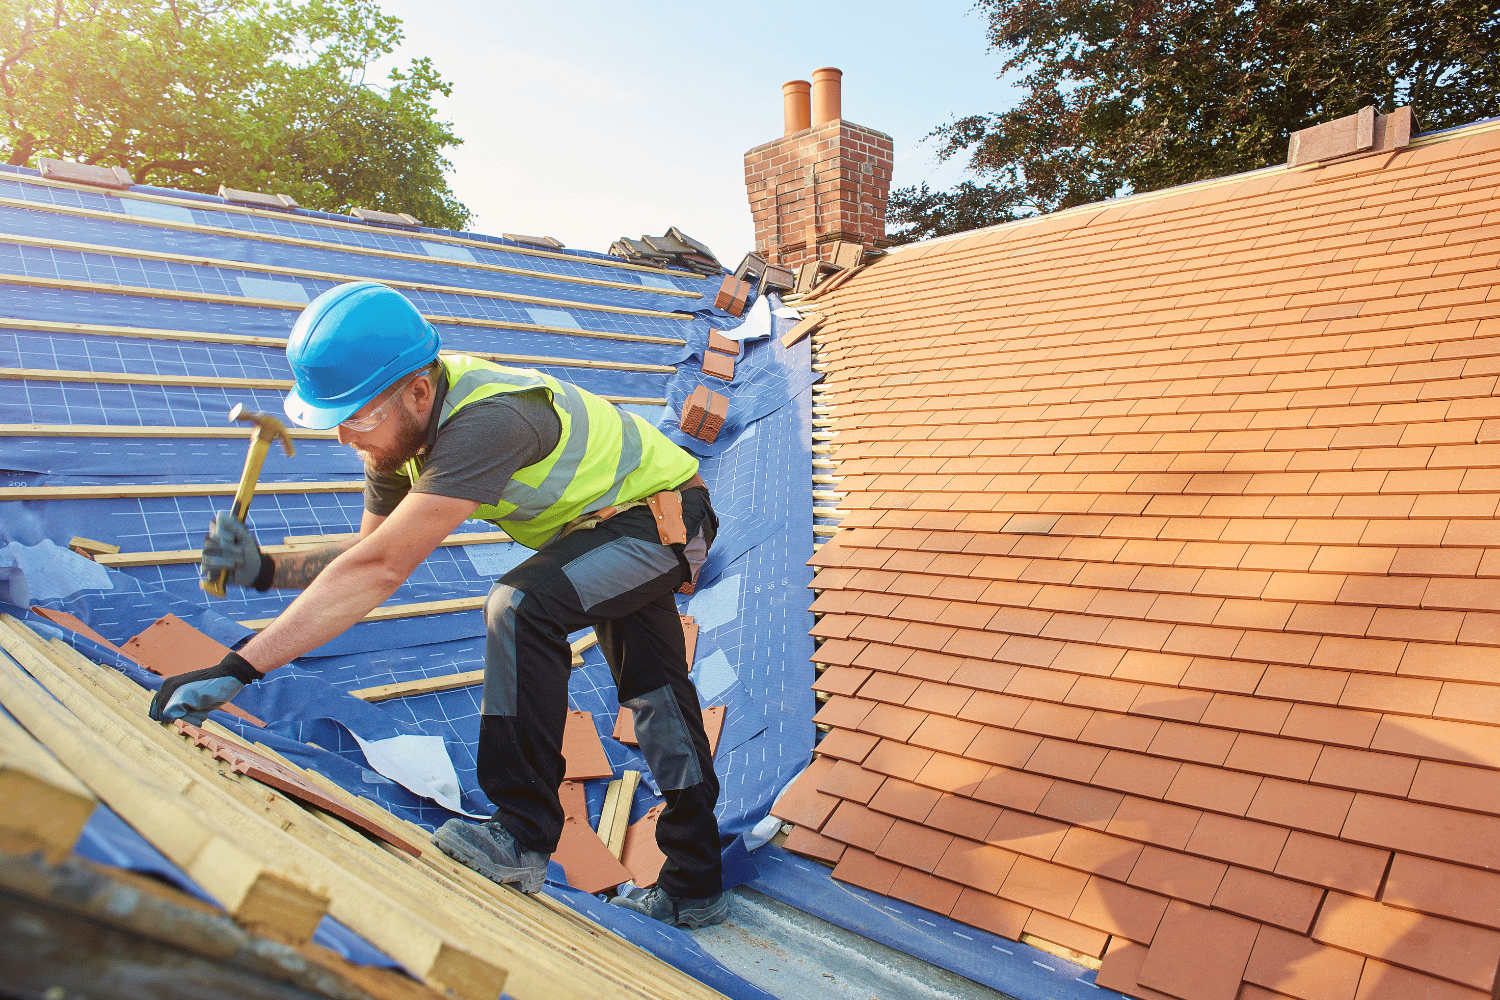
Sometimes, a damaged shingle needs to be replaced rather than repaired with replacement shingles. Start by sliding your utility knife under the shingle to break the adhesive. Carefully lift the damaged shingle without affecting the surrounding shingles or underlayment.
Next, slide the new shingle under the tab of the shingle above it to ensure proper alignment. Apply roofing cement under the tabs of the new shingle and secure it with roofing nails, making sure the nails are covered by overlapping shingles.
Finally, fill any unused holes with roofing cement to prevent leaks and ensure a watertight seal. This thorough approach ensures that your roof remains intact and leak-free after replacing any damaged shingles.
Preventative Measures for Future Shingle Issues
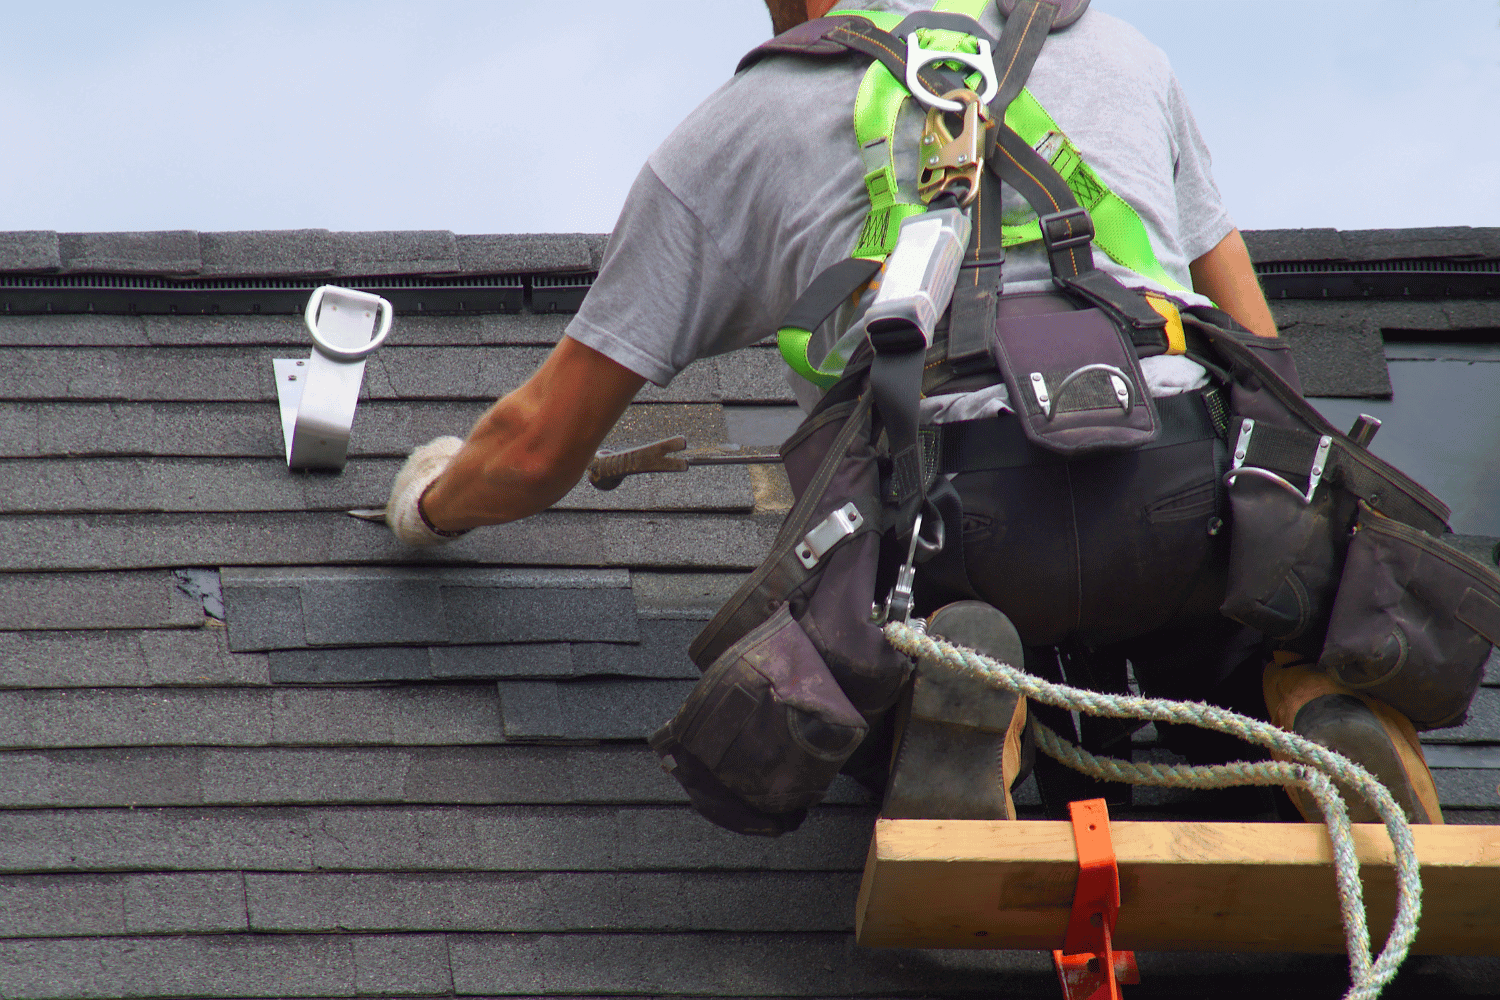
Preventative maintenance is crucial for extending the life of your roof. Here are some key practices to follow:
-
Conduct regular inspections at least twice a year to help identify issues early, such as loose or damaged shingles, preventing leaks and costly damage.
-
Ensure proper installation of shingles to prevent future lifting and damage.
-
Trim overhanging tree branches to avoid damage from falling debris.
-
During winter, prevent excessive accumulation of snow and ice to avoid stress on the roof.
By following these practices, you can help maintain the integrity of your roof and extend its lifespan.
Consider applying algae-resistant shingles and protective coatings to enhance the durability of your roofing materials and reduce the growth of moss and algae. These preventative measures can significantly extend the lifespan of your roof and keep it in optimal condition.
When to Call a Professional Roofer
While DIY repairs can be effective for minor issues, there are times when calling a professional roofer is necessary. If your roof has multiple loose shingles or the damage seems extensive, a professional’s expertise is crucial.
Professional roofers can conduct a thorough inspection and address any underlying issues that might not be apparent to the untrained eye. They typically follow a consultation process before starting any professional roof repair, ensuring all problems are properly identified and resolved.
Hiring expert roofers also provides peace of mind, as most professional roof repairs come with warranties, ensuring the job is done right and protecting your investment.
Summary
Timely and effective shingle repairs are crucial for maintaining the integrity of your roof and preventing costly damage. By identifying loose shingles, using the right tools and materials, and following a systematic repair process, you can address minor issues before they escalate.
Remember, preventative measures and regular inspections are key to extending the life of your roof. And when in doubt, don’t hesitate to call in the professionals at Dream Home Roofers for their expert services and peace of mind.
Frequently Asked Questions
What is the first step in Dream Home Roofers’ process for roof repair?
The first step in Dream Home Roofers’ process for roof repair is a thorough consultation to assess the damage and determine the best course of action.
Does Dream Home Roofers offer financing options for roof repairs?
Yes, Dream Home Roofers offers flexible financing options to assist homeowners with roof repair costs. This can make managing expenses more accessible and convenient for you.
How long do most roof repairs take to complete?
Most roof repairs typically take a few hours to a full day to complete, depending on the extent of the damage. It’s important to assess the situation early to ensure timely resolution.
Can roof repairs be done in any weather?
Roof repairs are ideally done in good weather for optimal results; however, urgent repairs can be executed in challenging conditions if absolutely necessary.
What is the purpose of timely roof repairs according to Dream Home Roofers?
Timely roof repairs are essential as they extend the roof’s lifespan and prevent expensive replacements, ensuring your home remains well-protected.

