Asphalt shingles usually last 20 to 25 years, with some types exceeding 30 years. In this guide, we will explore how long does asphalt shingles last, what affects their lifespan, and how to extend it.
Key Takeaways
- Asphalt shingles generally last between 15 to 30 years, influenced by shingle type, local climate, and maintenance efforts.
- Regular maintenance, including inspections and timely repairs, is crucial for extending the lifespan of asphalt shingle roofs.
- Understanding the different types of asphalt shingles—3-tab, architectural, and luxury—helps homeowners choose the best option based on durability and aesthetic preferences.
How Long Does Asphalt Shingles Last? Your Comprehensive Guide
Asphalt shingles typically have a lifespan of 20 to 25 years, with some types, like architectural shingles, often lasting beyond 30 years. The actual lifespan of asphalt shingles can be influenced by various factors, including the specific type of shingle, local weather conditions, and maintenance practices. Knowing these lifespans helps homeowners make better decisions about roof maintenance and replacement timing.
Different types of asphalt shingles have varying lifespans, including:
- 3-tab shingles, which are more affordable and have a shorter lifespan
- Architectural shingles, which offer greater durability and style, often exceeding 30 years
- Luxury shingles, which also provide enhanced durability and aesthetic appeal
Understanding your shingles’ lifespan aids in planning regular maintenance and avoiding unexpected replacements.
Introduction
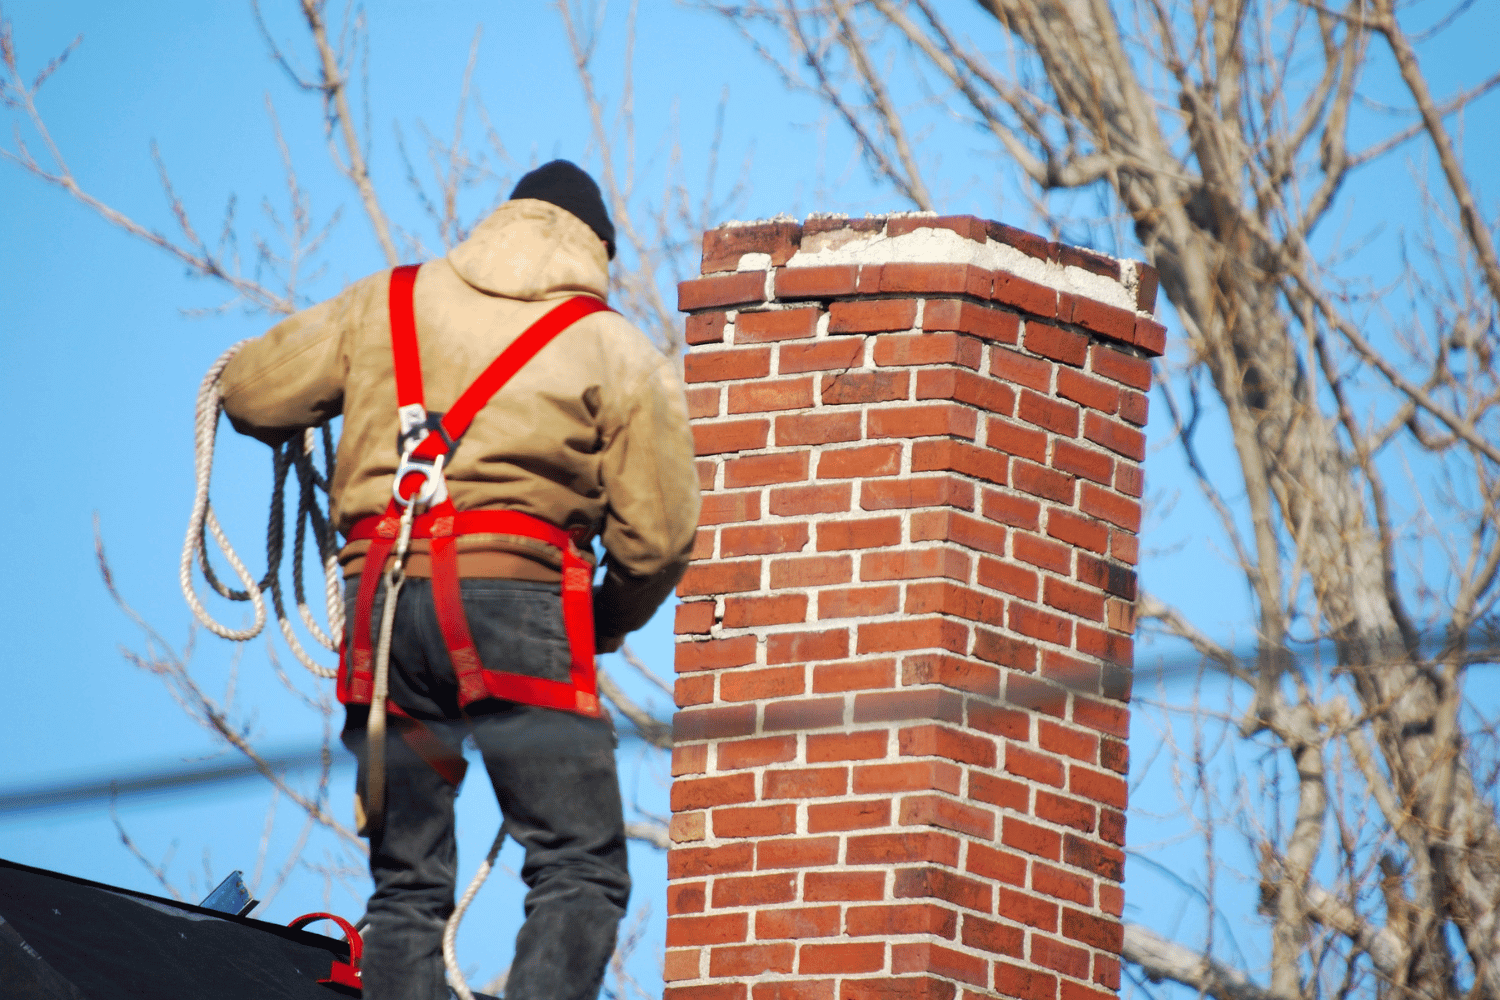
Knowing the lifespan of asphalt shingles is vital for proper roof maintenance and making wise replacement decisions. Annual maintenance prolongs the roof’s life and prevents issues that could lead to expensive repairs. While most asphalt shingles come with a manufacturer’s warranty that covers defects, these warranties typically do not cover damages caused by poor workmanship, severe weather events, or fire.
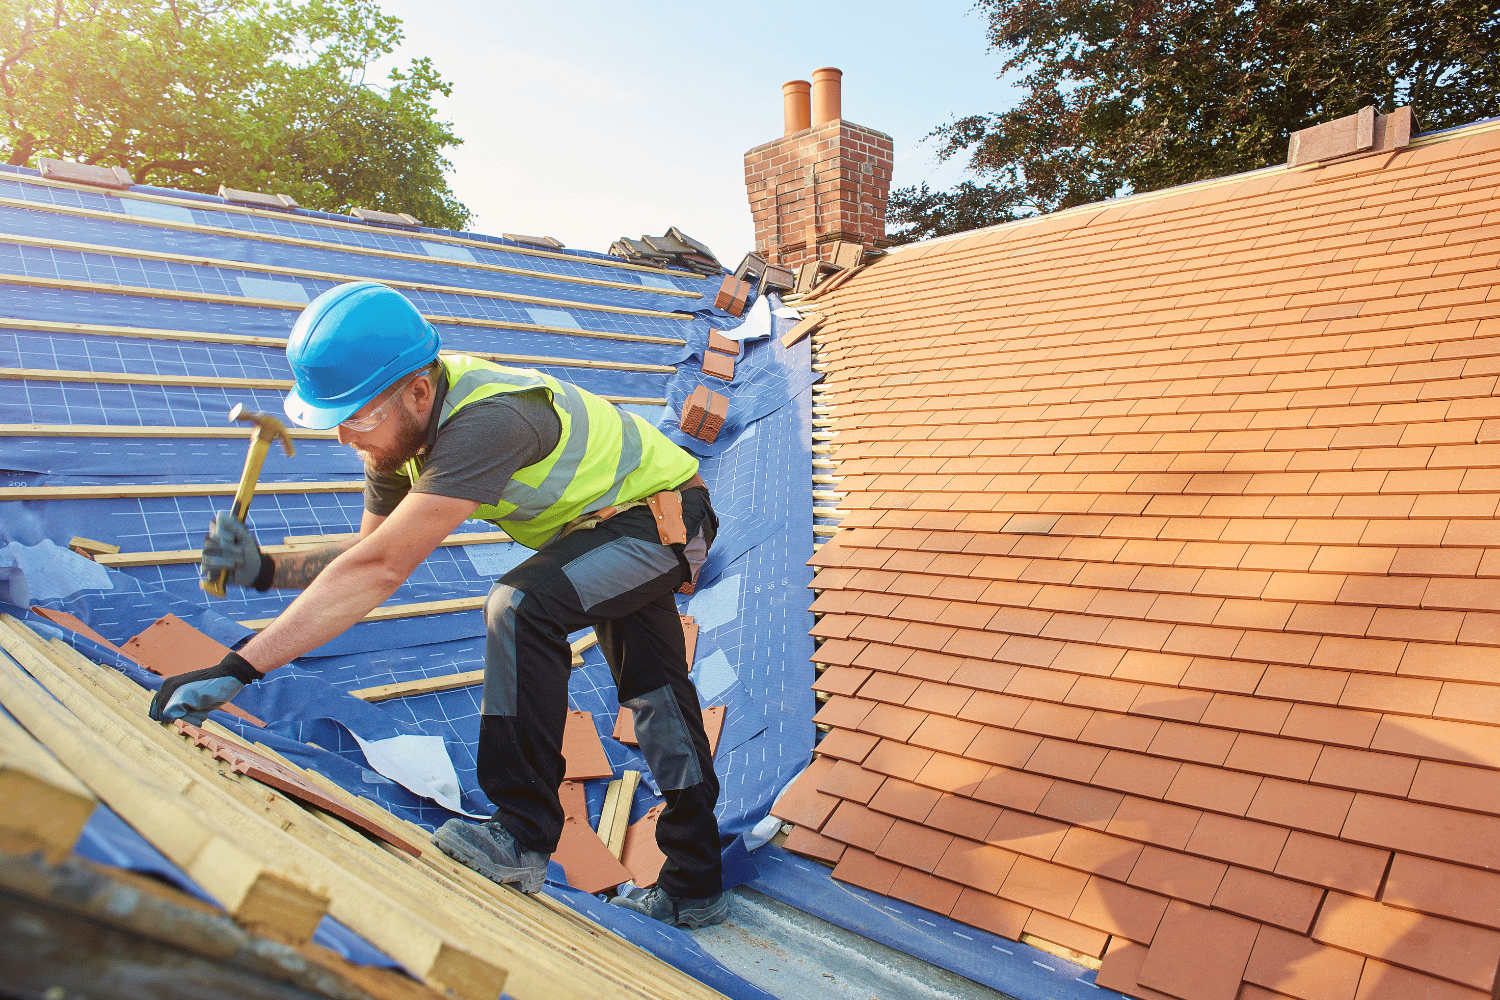
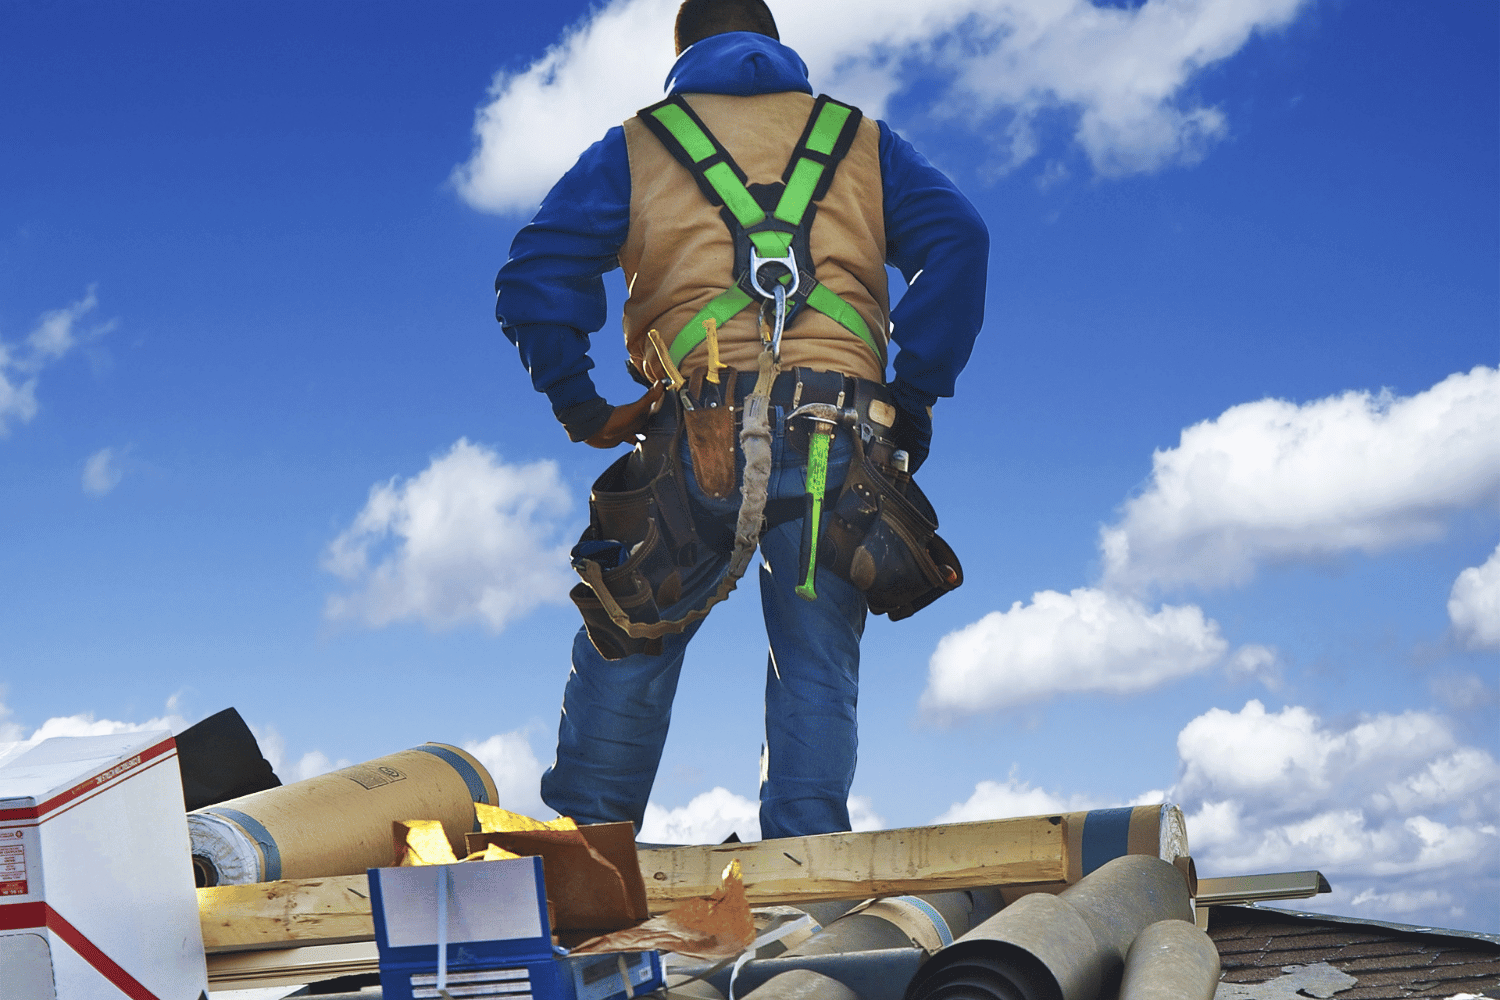
At Dream Home Roofers, we emphasize the importance of proactive roof care. Inspections, quality materials, and professional installation greatly impact the longevity of your asphalt roof. Neglecting routine maintenance or attempting DIY repairs can shorten your roof’s lifespan, even with the best materials.
Understanding the various types of asphalt shingles and factors affecting their longevity helps you take steps to extend your roof’s life. Whether you’re looking to maintain your current roof or planning for a future replacement, this guide will provide you with the knowledge you need to make informed decisions.
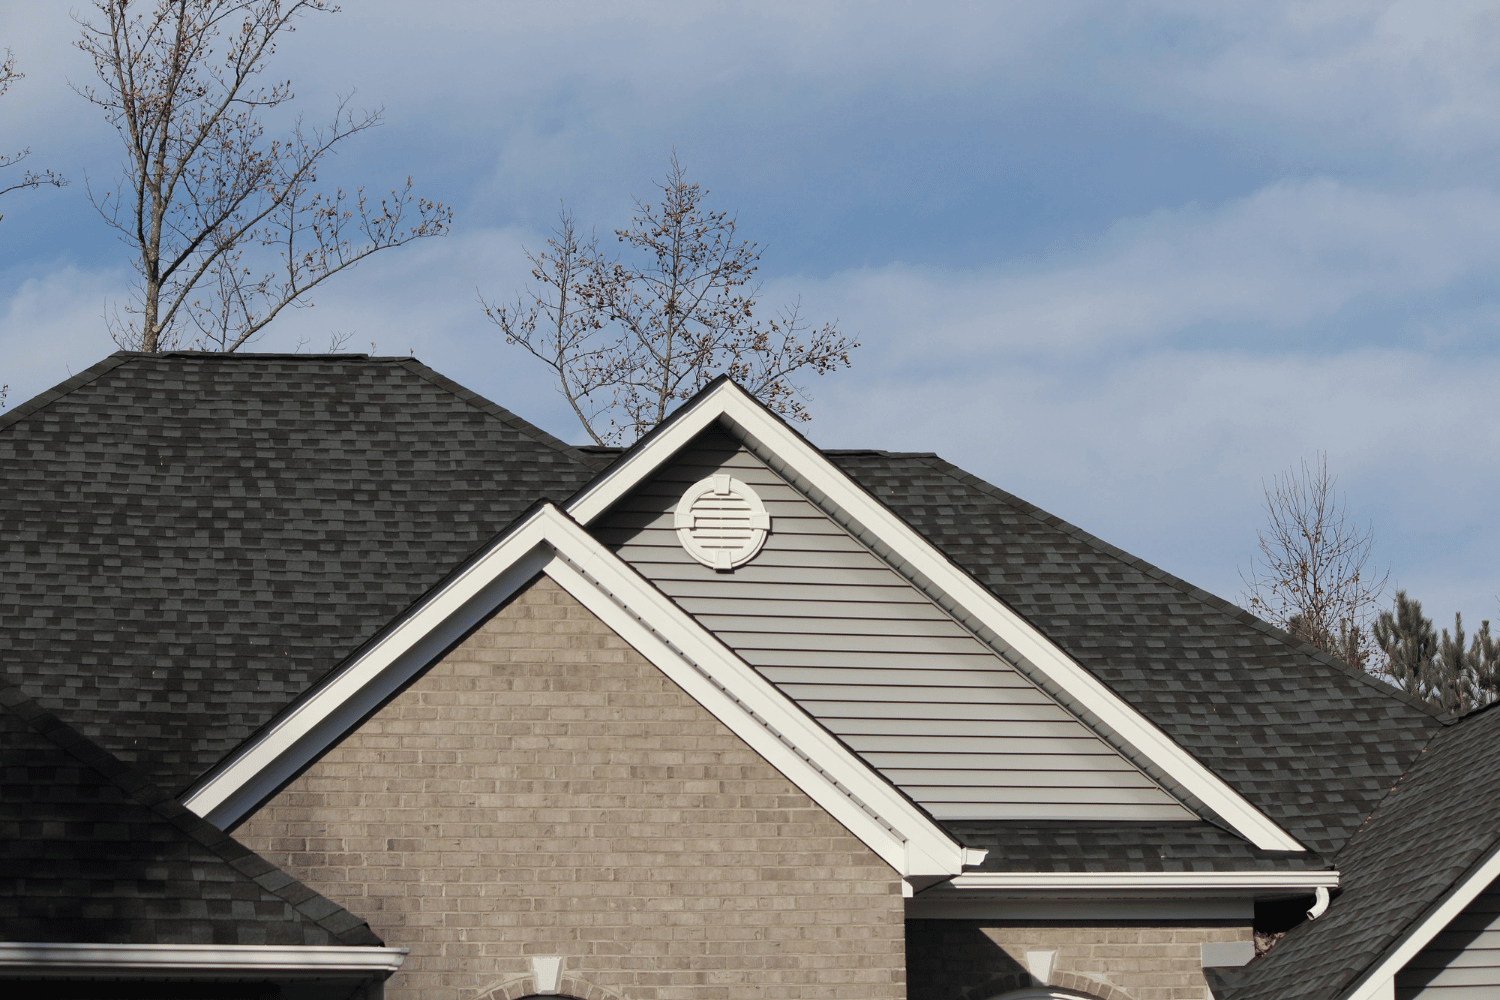
Understanding the Lifespan of Asphalt Shingles
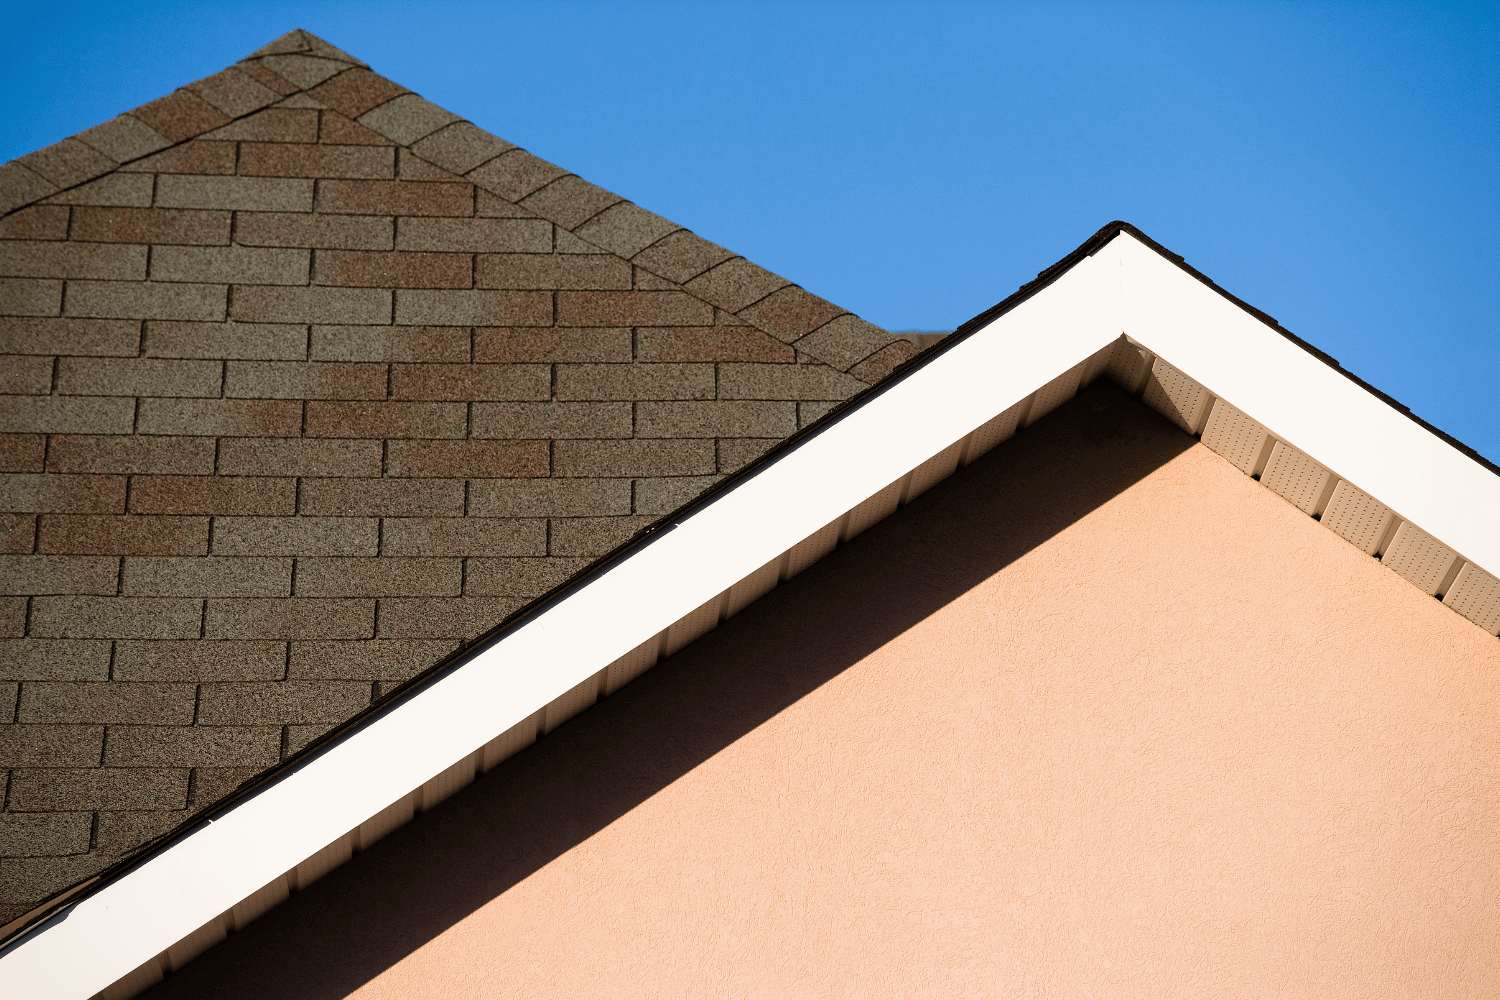
Asphalt shingles are among the most widely used roofing materials, known for their affordability and varied lifespan. Typically, an asphalt shingle roof can last between 15 and 30 years, depending on factors like climate and maintenance. Different types of shingles offer different life expectancies, which can affect overall roofing costs and decisions regarding roof replacements.
The three main types of asphalt shingles are 3-tab shingles, architectural shingles, and luxury shingles. Each type has unique characteristics and lifespan expectations. Knowing these differences helps homeowners select the right shingles for their needs and ensure proper maintenance.
Let’s dive deeper into each type.
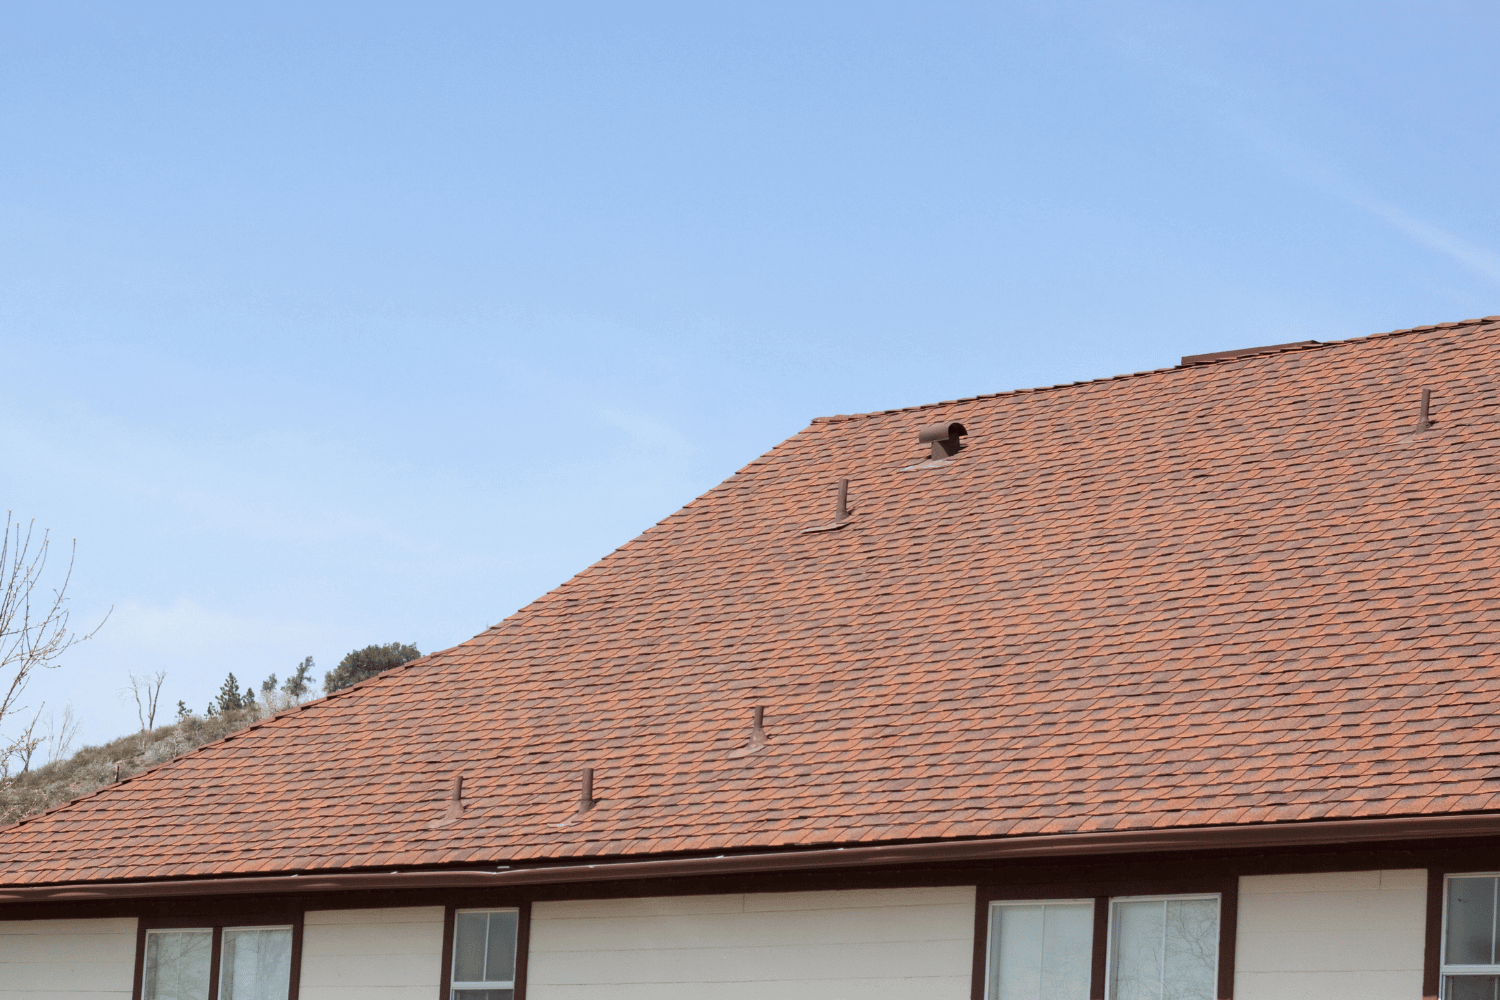
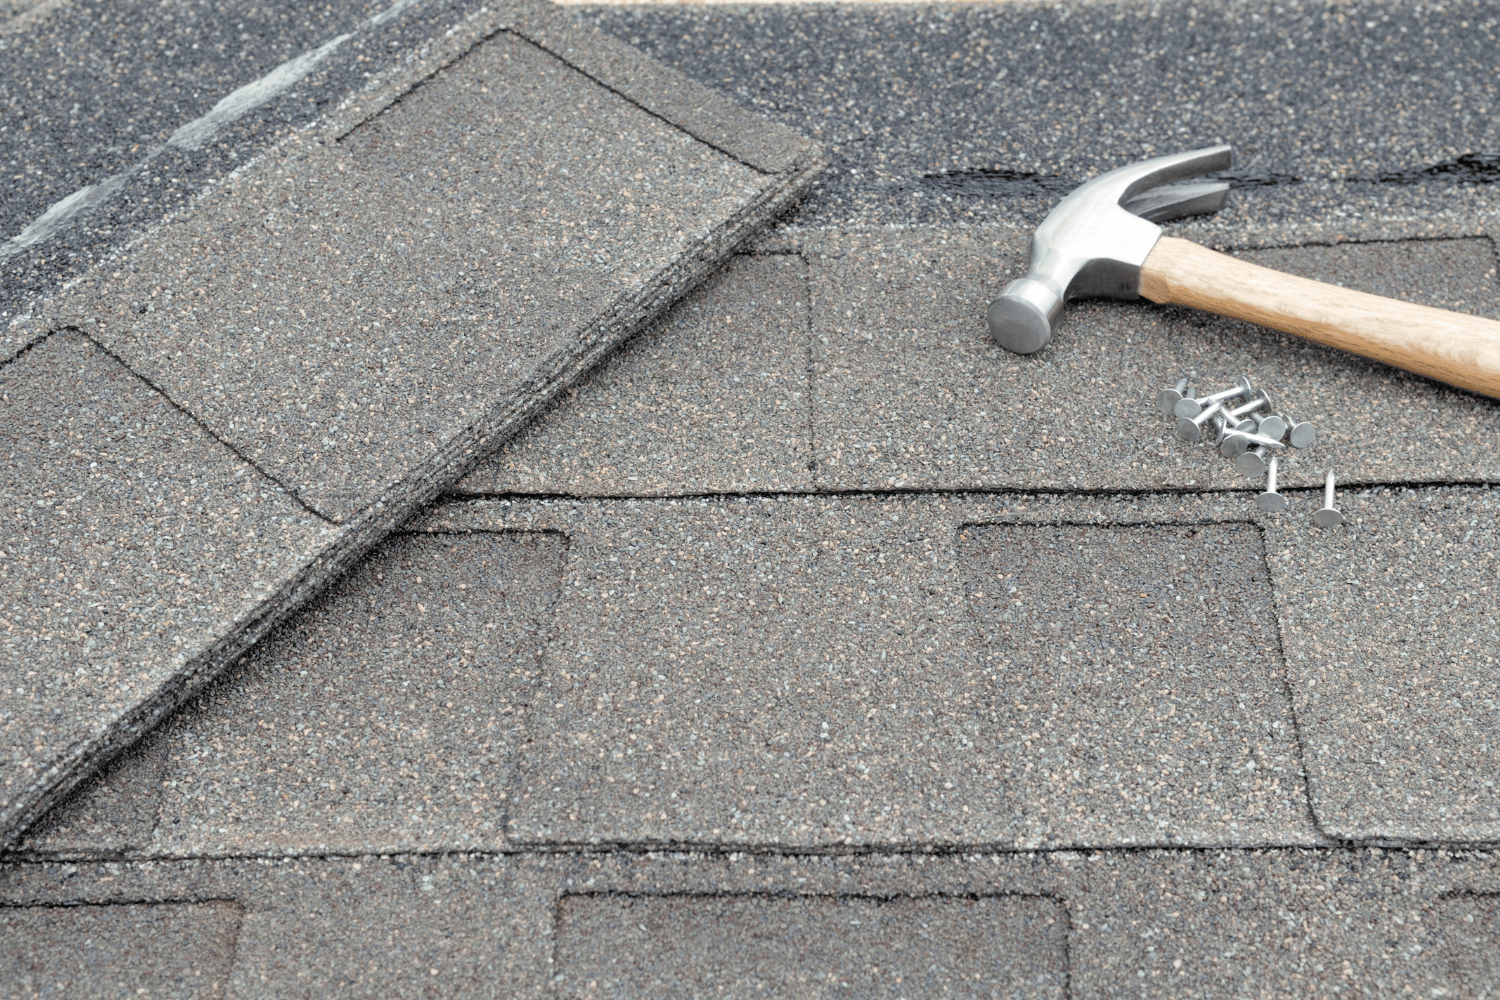
3-Tab Shingles: Affordable and Reliable
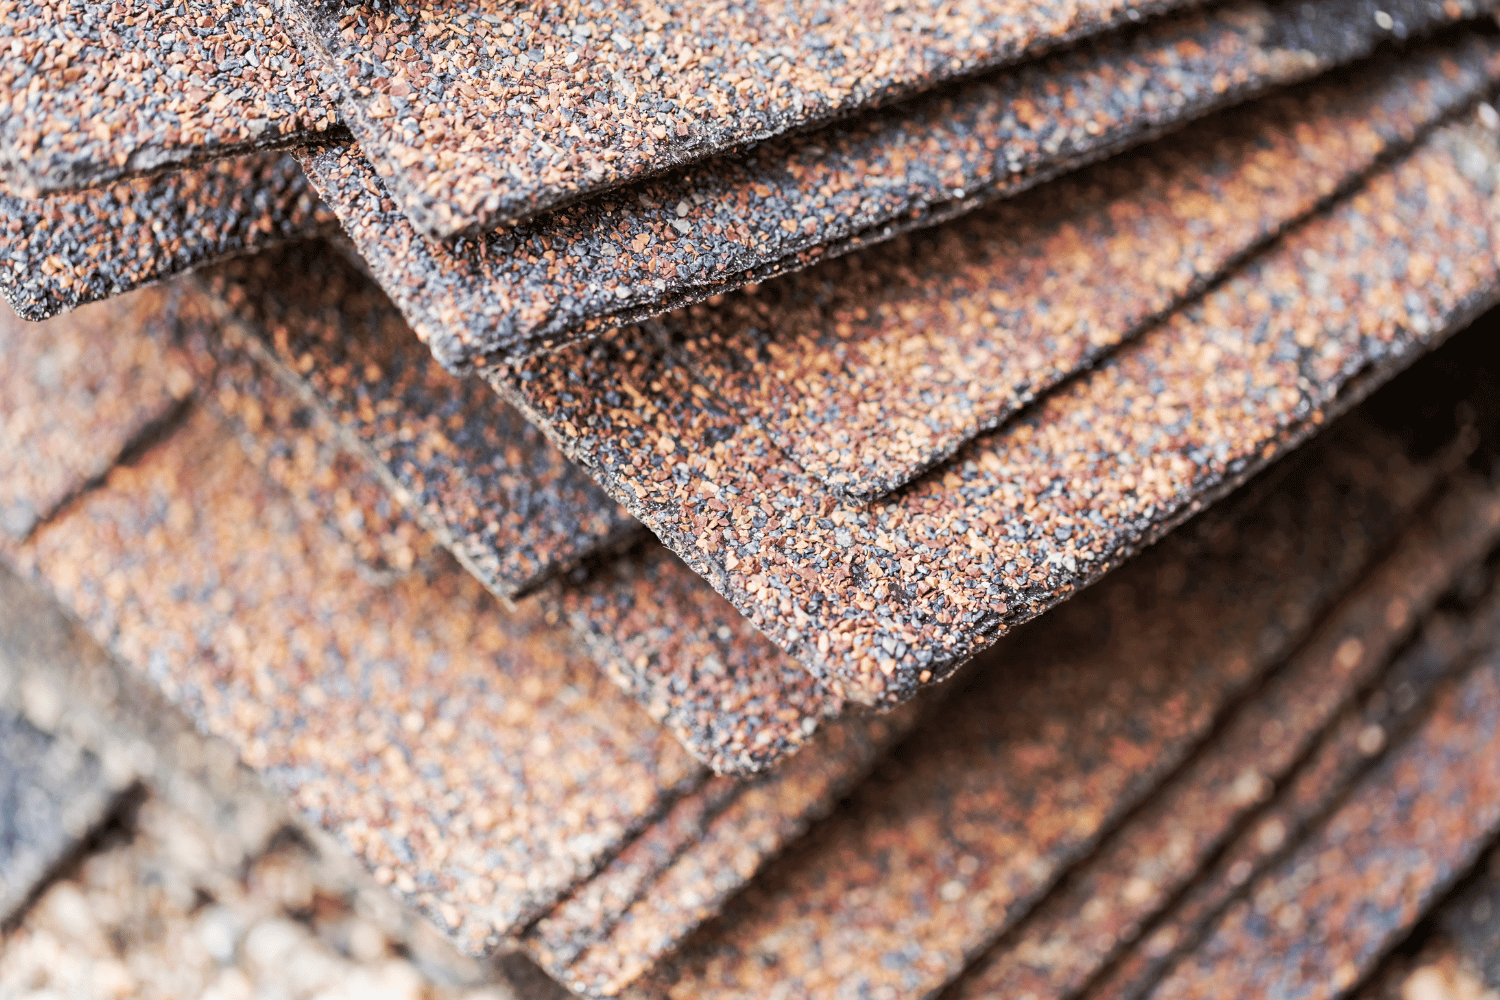
3-tab shingles are popular for their economical pricing and reliable performance, making them a common choice for residential roofing. These shingles are characterized by their simple design, featuring a fiberglass base and mineral grains that reflect sunlight, adding to their durability. Typically, 3-tab shingles have a lifespan ranging from 15 to 20 years under normal conditions.
Despite being on the lower end of the lifespan spectrum, 3-tab shingles are still a resilient choice for various climates. They can resist winds up to 60 mph, providing adequate protection for many homes. However, their simpler construction means they are less durable than other types, making regular maintenance even more critical to extend their life.
For homeowners looking for an affordable roofing option with decent longevity, 3-tab shingles offer a practical solution. Regular inspections and timely repairs can help maintain their integrity and prolong their useful life.
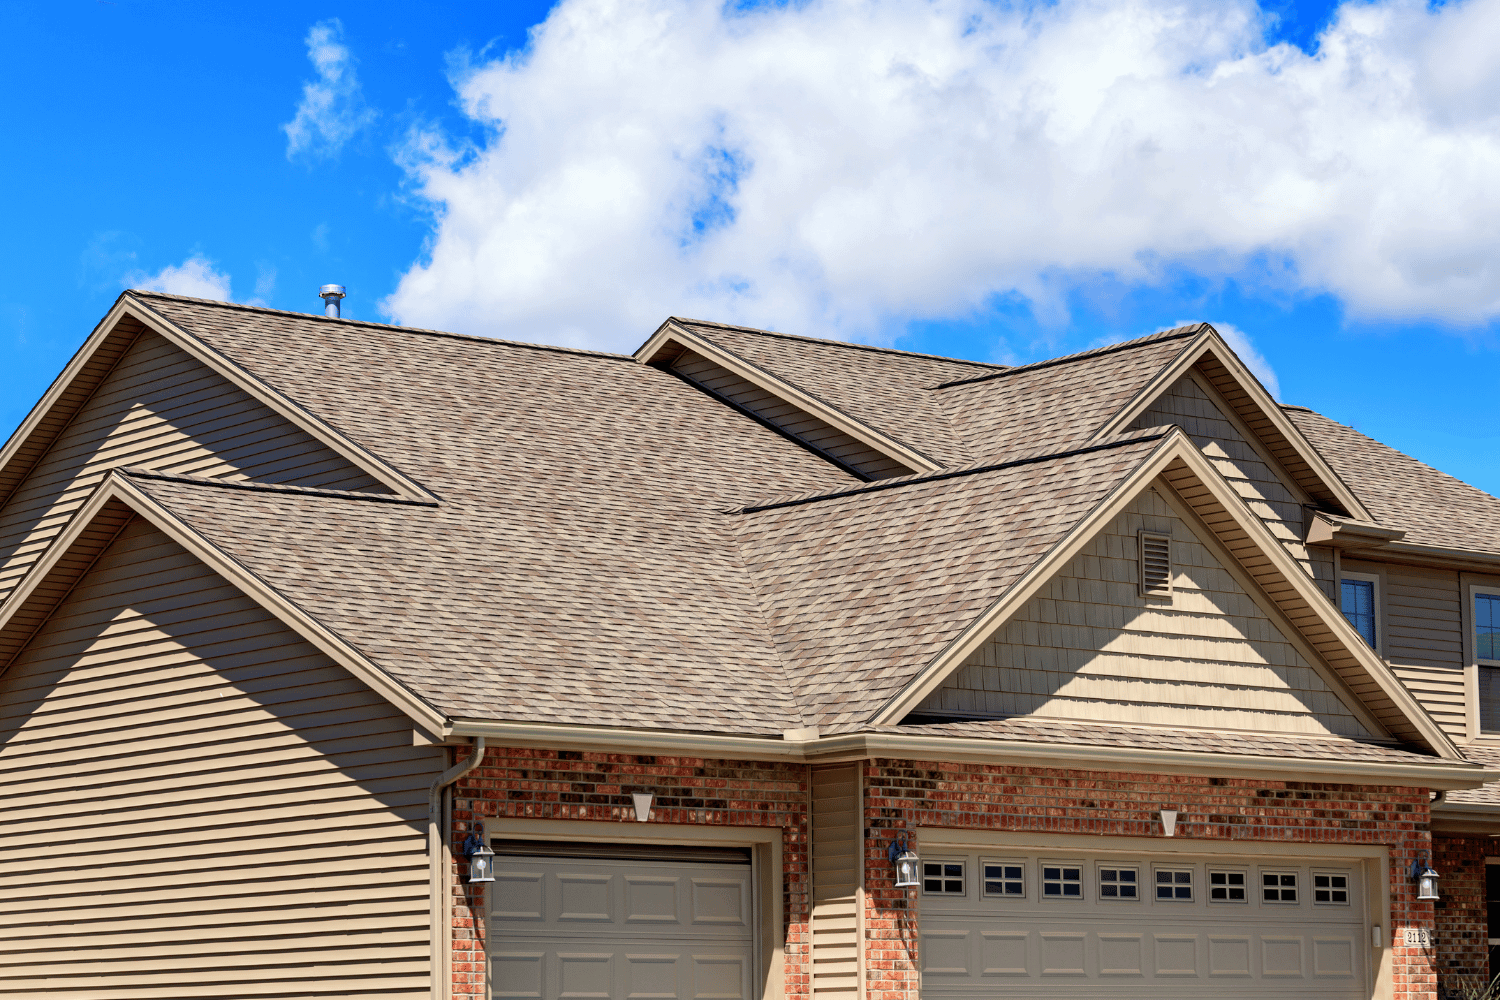
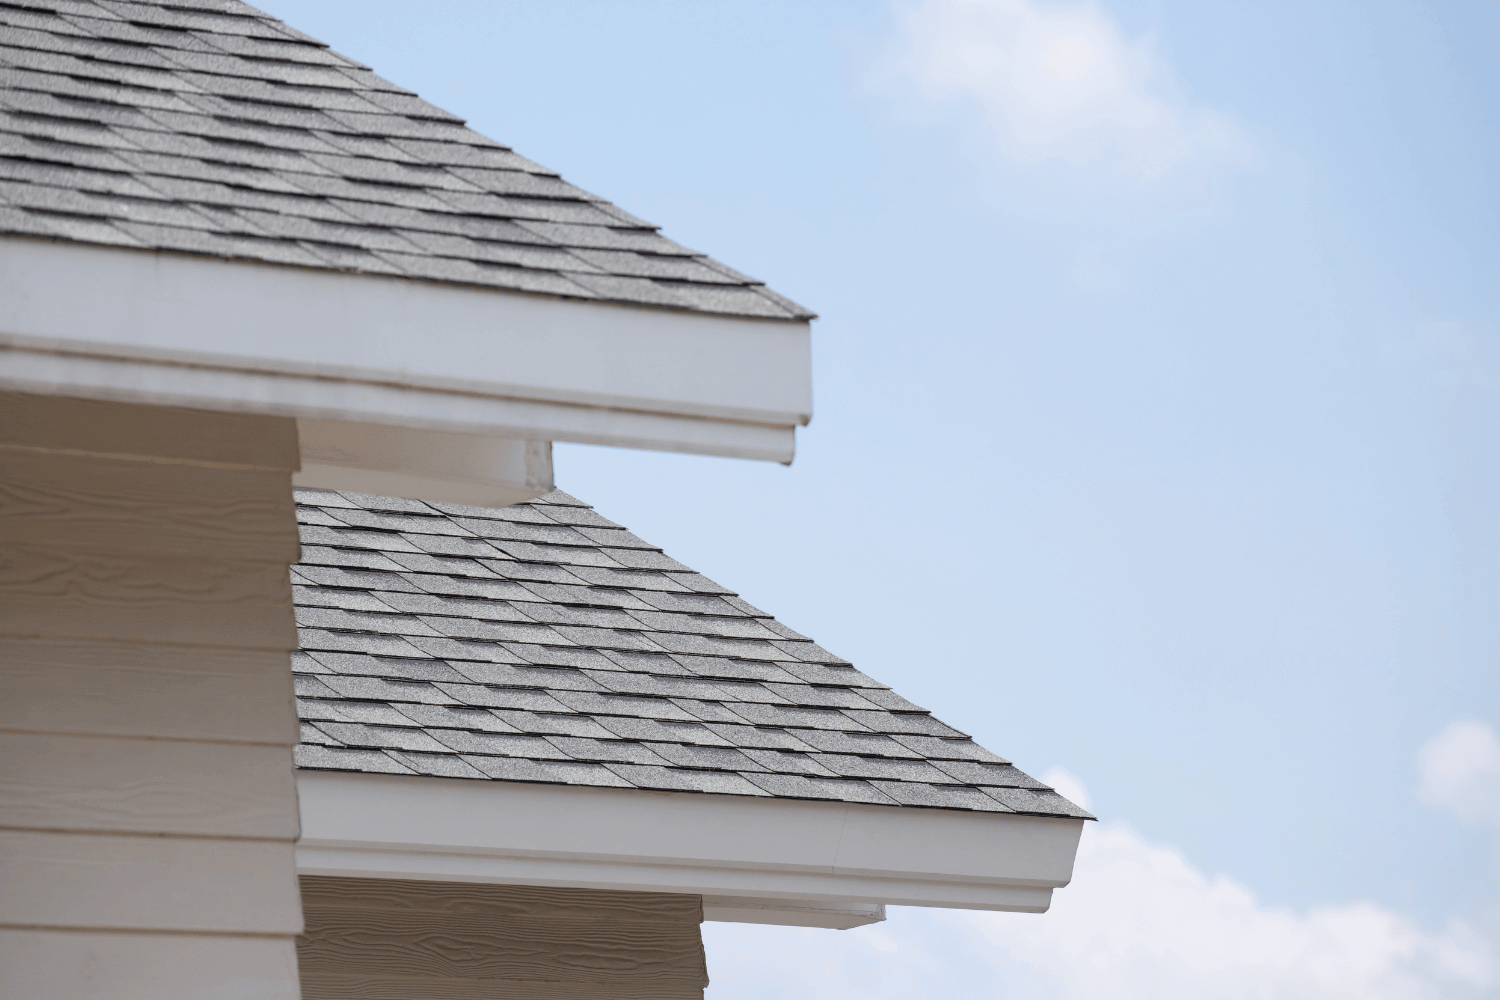
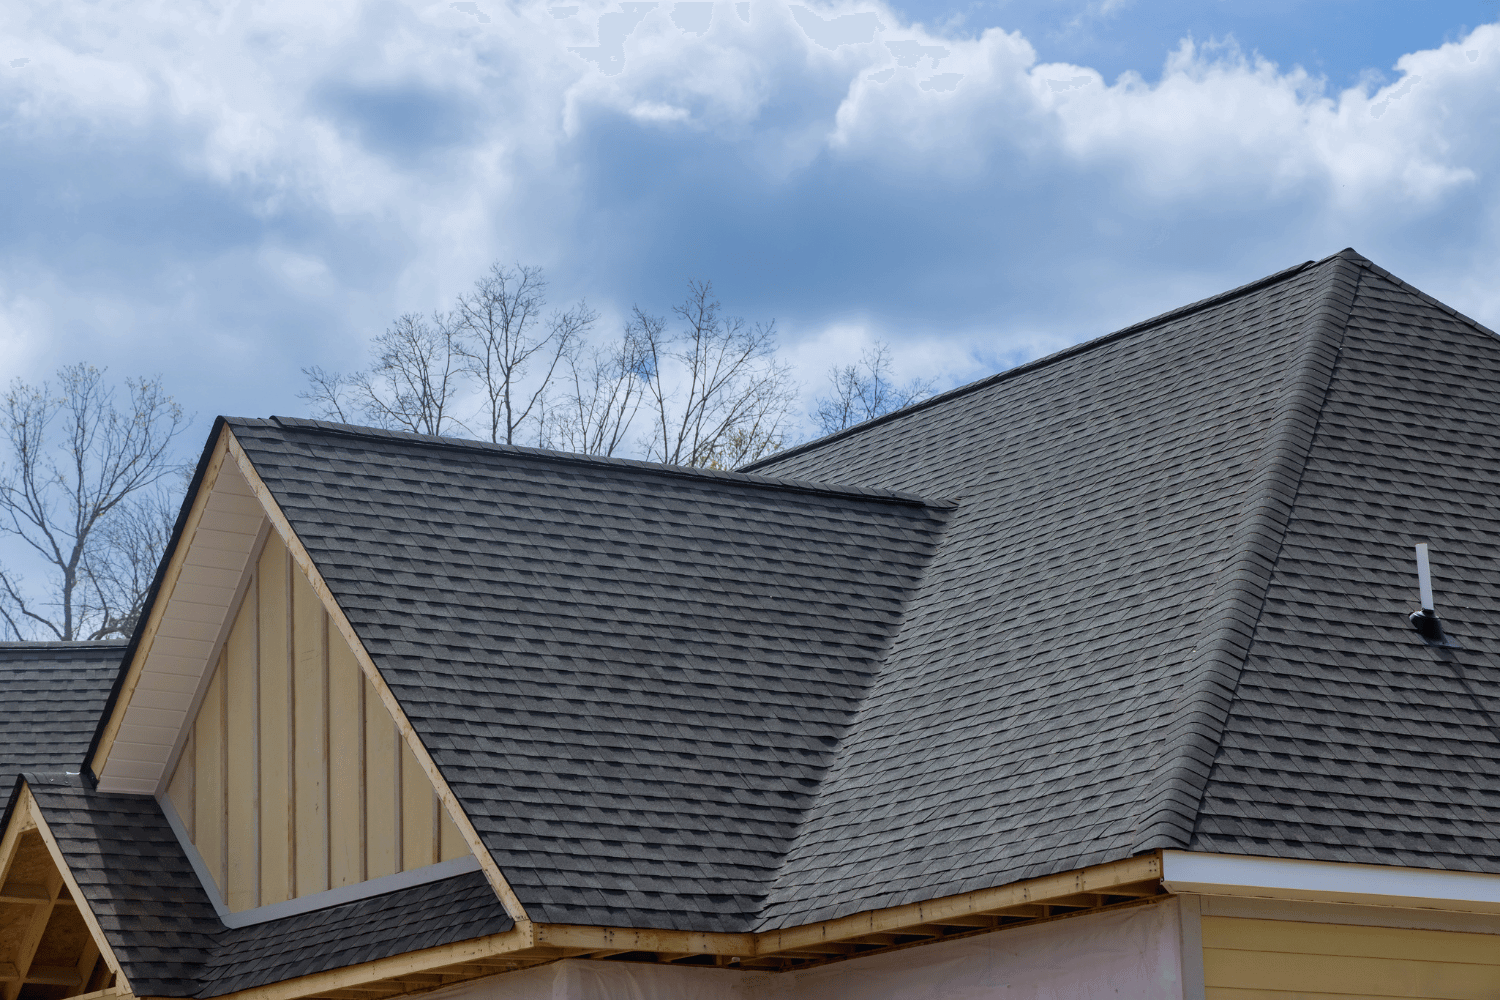
Architectural Shingles: Durability and Style
Architectural shingles, also known as dimensional shingles, are a step up from 3-tab shingles in terms of both durability and aesthetic appeal. These shingles are made from either organic materials or fiberglass and feature a multi-layered construction that enhances their strength and resilience. The expected lifespan of architectural shingles is between 25 to 30 years, making them a long-lasting option for homeowners.
One of the standout features of architectural shingles is their dimensional appearance, which adds depth and texture to the roof, enhancing the overall look of the home. They are less vulnerable to severe weather compared to traditional 3-tab shingles, providing better protection against high winds and heavy rain. High-quality architectural shingles extend a roof’s lifespan and enhance the home’s curb appeal.
If you want durability and style, architectural shingles are an excellent choice. Their robust construction and attractive design make them a popular option among homeowners looking to invest in a long-term roofing solution.
Luxury Shingles: Premium Protection
Luxury shingles represent the pinnacle of quality and performance in asphalt roofing. Designed to offer superior durability and aesthetic appeal, these premium shingles are built to withstand extreme weather conditions and provide enhanced protection for the home. The expected lifespan of luxury asphalt shingles is between 20 to 30 years, making them a reliable choice for those looking for the best in roofing materials.
These shingles are engineered to perform exceptionally well under harsh environmental conditions, which contributes to their extended lifespan and reliability. Luxury shingles ensure a durable roof and enhance the home’s value and appearance.
Their superior quality and performance make them an excellent choice for homeowners who want the best protection for their investment. If you prioritize durability and aesthetics, luxury shingles offer premium protection and long-lasting performance. By choosing these high-end materials, homeowners can enjoy peace of mind knowing their roof is built to last and withstand the elements.
Key Factors Affecting Asphalt Shingle Roof Longevity
The longevity of an asphalt shingle roof is influenced by several key factors, including the quality of roofing materials, installation expertise, weather conditions, and regular maintenance and repairs. Knowing these factors helps homeowners take steps to extend their roof’s lifespan and prevent unexpected issues.
Each factor plays a crucial role in determining how long an asphalt roof lasts. Quality materials, professional installation, and regular maintenance greatly enhance the roof’s durability. Conversely, extreme weather and neglected maintenance can shorten its lifespan.
Let’s explore these factors in more detail.
Quality of Roofing Materials
The quality of roofing materials is a fundamental factor in the longevity of an asphalt shingle roof. Premium materials, such as Owens Corning products, are essential for enhancing the roof’s durability. Using high-quality underlayments, like synthetic options that are water-resistant and durable, can significantly prolong the life of asphalt shingles.
On the flip side, subpar roofing material can lead to premature shingle failure and other issues that compromise the roof’s integrity. Starting with quality materials can save homeowners from expensive repairs and replacements later.
As roofs age, typically over two decades, they require close inspection for signs of deterioration since age significantly influences material reliability to ensure the roof last.
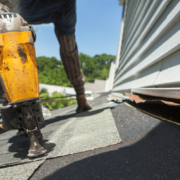
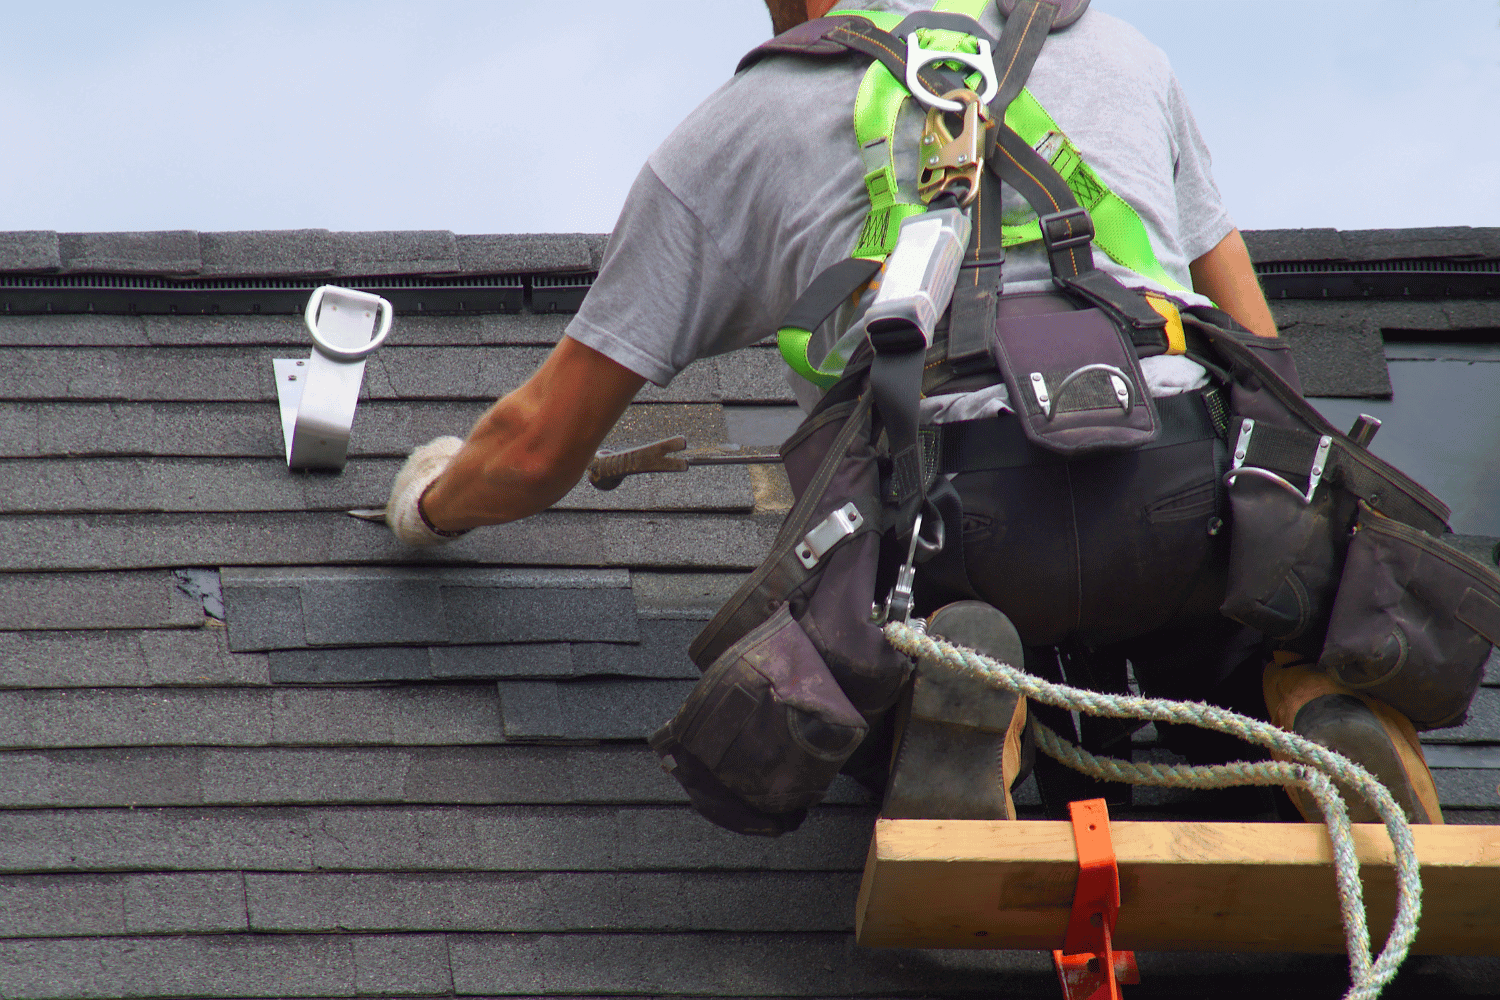
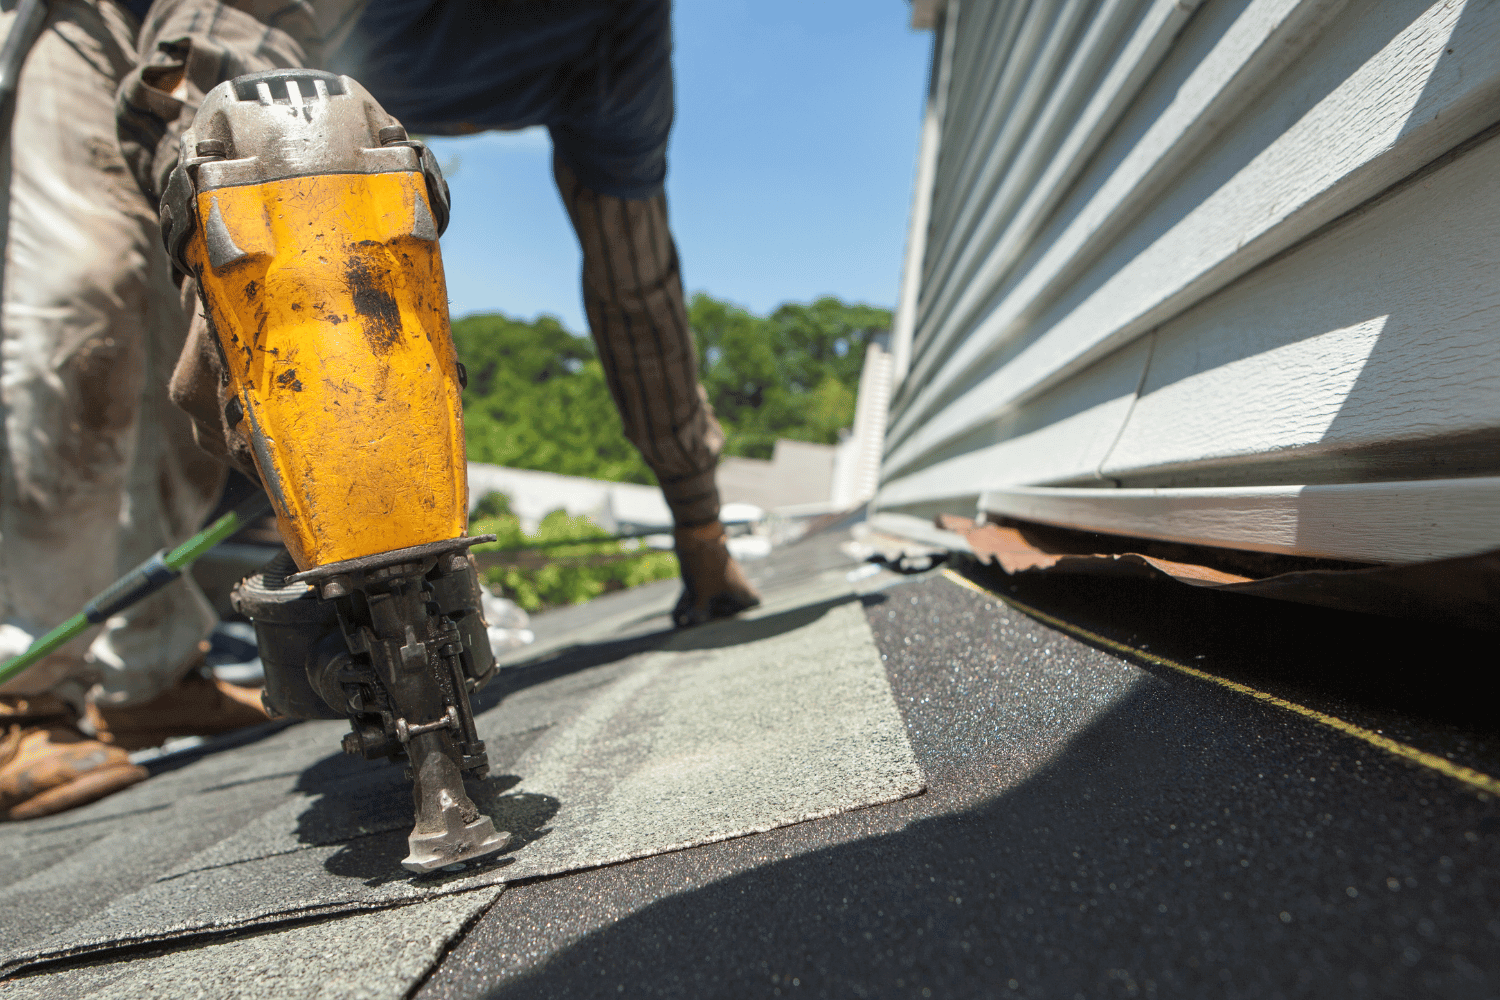
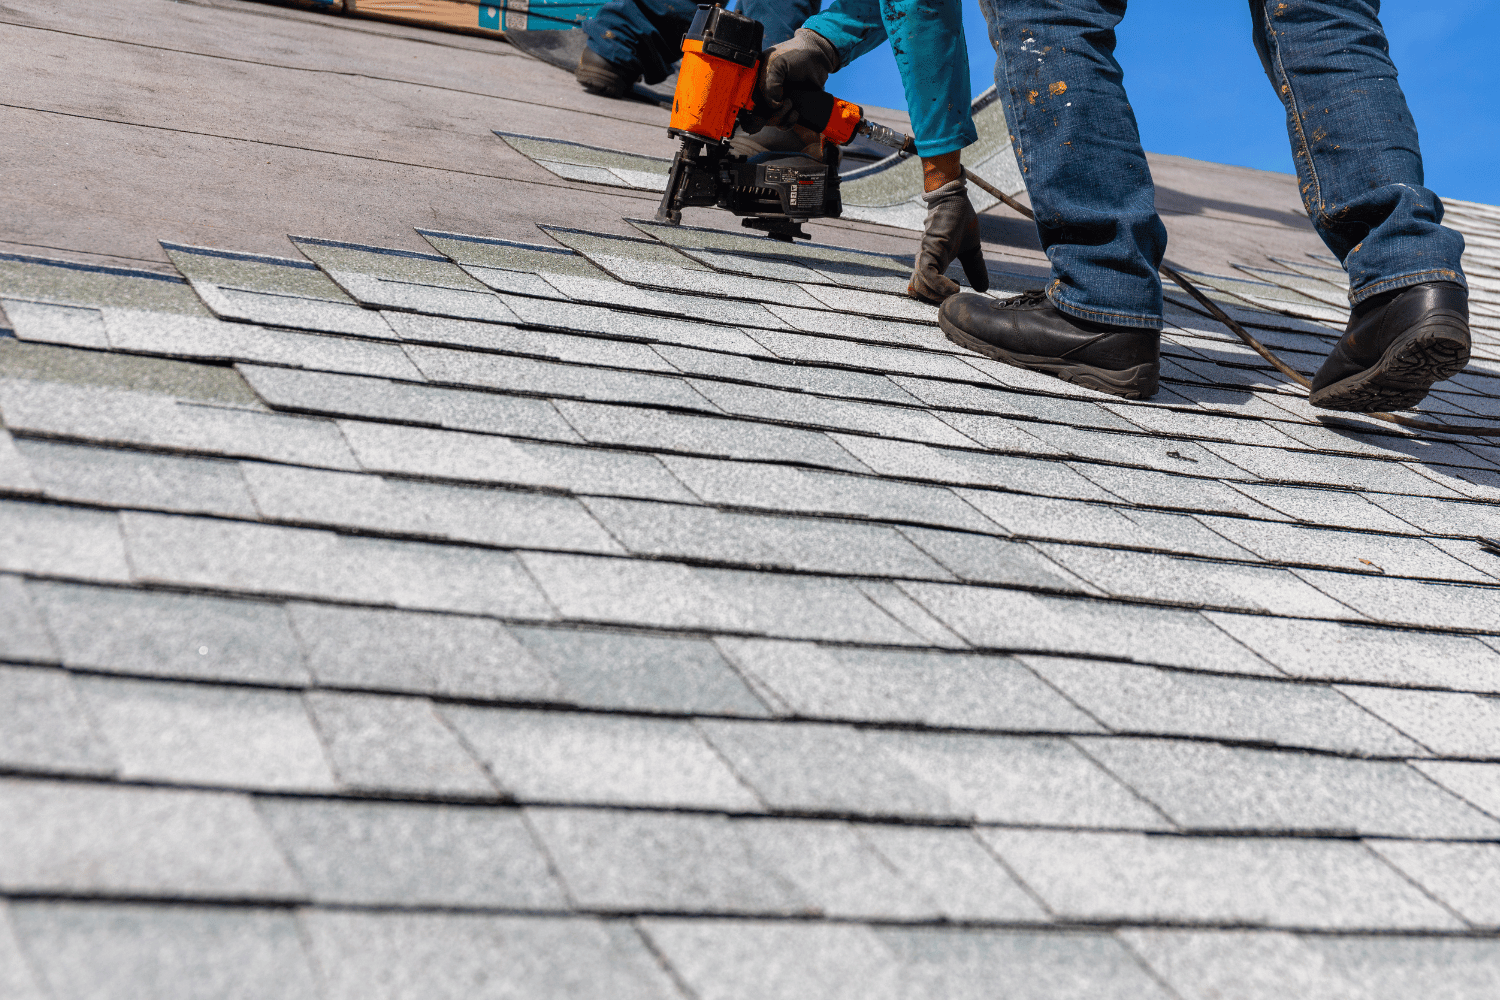
Installation Expertise
Professional installation maximizes the lifespan of an asphalt shingle roof. Poor installation practices, whether by novice roofers or through DIY efforts, can lead to significant issues that affect the roof’s durability. Improper installation can cause mold, mildew, and damaged trusses, significantly shortening the roof’s lifespan.
Correct nailing patterns and ventilation are crucial for a roof’s durability. Hiring an experienced roofing contractor, like Dream Home Roofers, ensures a long-lasting roof and peace of mind.
Weather and Environmental Conditions
Extreme weather conditions can significantly impact the durability of an asphalt shingle roof. Here are some factors to consider:
- High Winds: Can lift and damage shingles, leading to leaks and further deterioration.
- Intense Heat: Causes expansion and contraction of shingles, which can lead to cracking and shorten their lifespan.
- Heavy Rainfall: Increases the risk of leaks and water damage, especially if shingles are already compromised.
- Constant Sun Exposure: Can cause discoloration and break down protective coatings, leading to cracked or peeling shingles.
By understanding these factors, homeowners can take proactive measures to maintain their roofs and extend their lifespan.
In areas prone to severe weather, investing in high-quality, weather-resistant shingles can mitigate some of these impacts. Regular maintenance and timely repairs can also help address issues caused by environmental factors, ensuring that the roof remains in good condition despite challenging weather conditions.
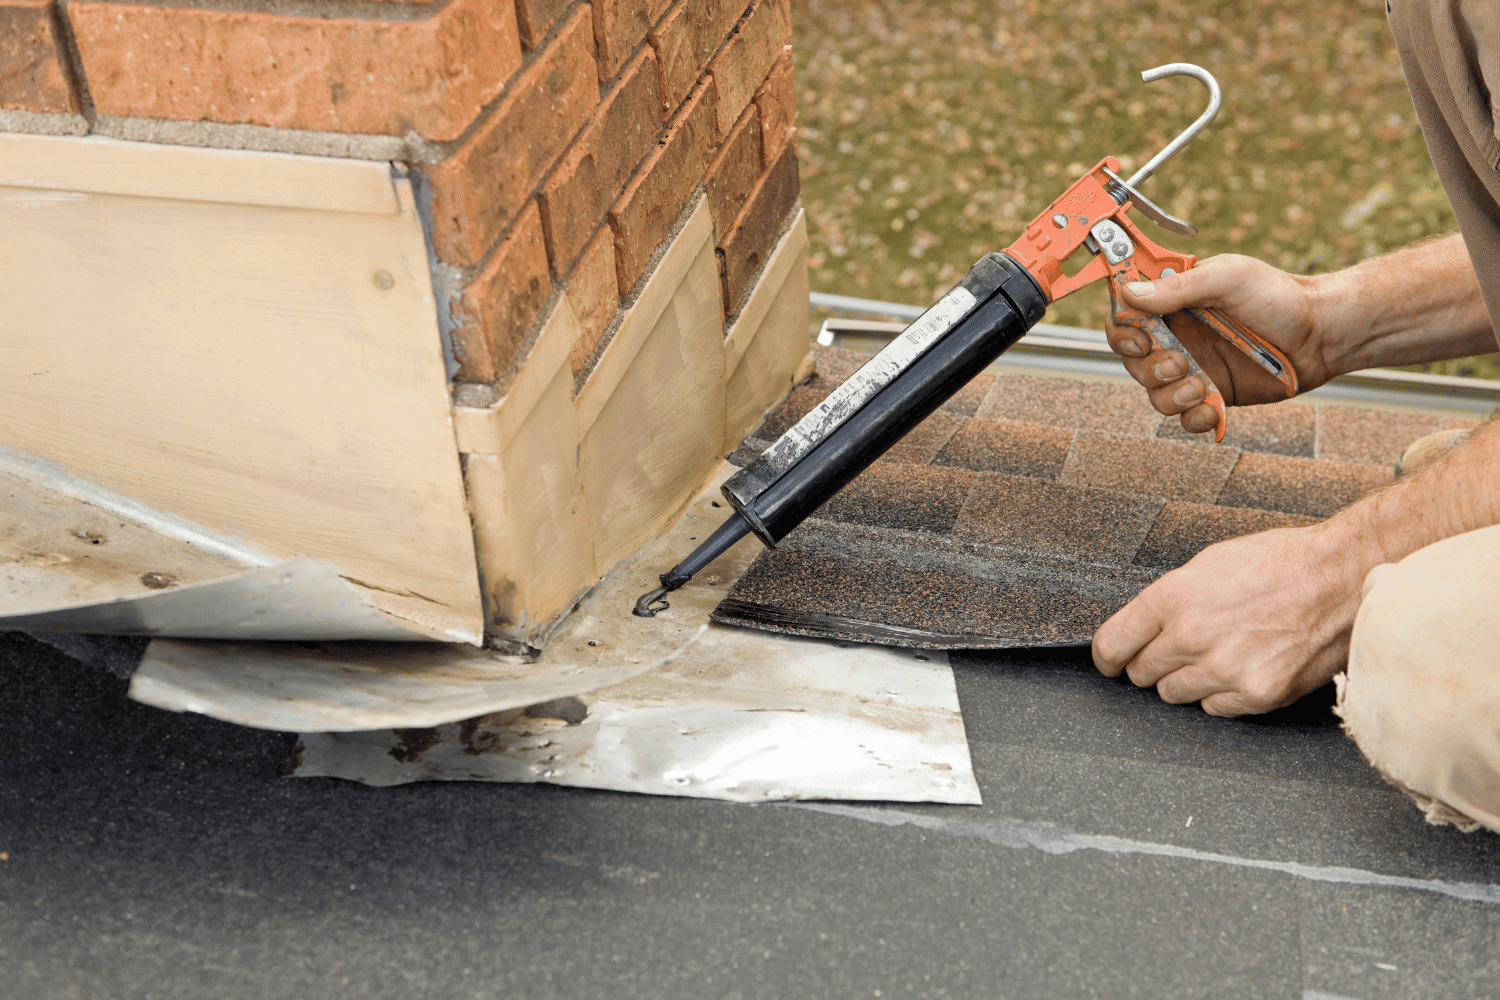
Maintenance and Repairs
Regular maintenance and timely repairs are essential to prolonging the life of an asphalt shingle roof. Inspections can identify minor issues before they become major problems. For example, the accumulation of granules in gutters often signifies excessive wear on shingles, which can lead to moisture damage and costly repairs.
Cracks in shingles can significantly weaken the roof’s structure and lead to further damage. When cracked shingles curl or crack, they can collect water, potentially leading to leaks and structural damage. Promptly addressing these issues through maintenance can maintain the roof’s integrity and extend its lifespan.
Signs Your Asphalt Shingle Roof Needs Attention
Recognizing the signs that your asphalt shingle roof needs attention is crucial for preventing significant damage and costly repairs. Common indicators include cracked, curling, or missing shingles, as well as granule loss and visible leaks or water damage. Promptly addressing these issues maintains the roof’s integrity and extends its lifespan.
Ignoring these signs can lead to serious problems like structural damage and mold growth. Inspections and maintenance can identify potential issues early and prevent them from escalating.
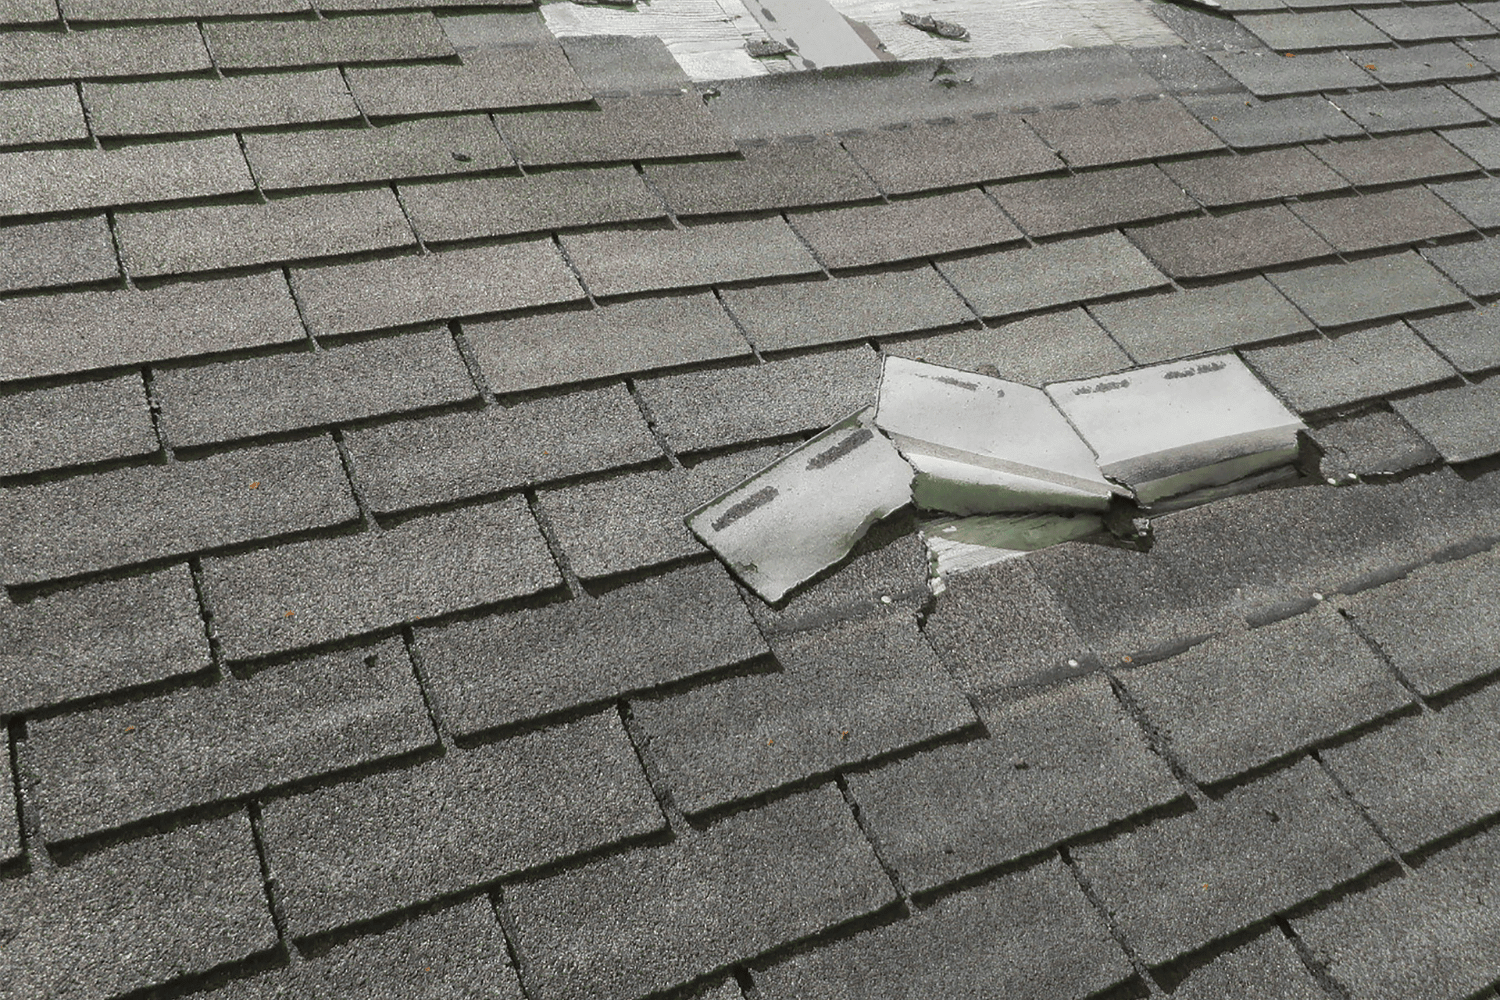
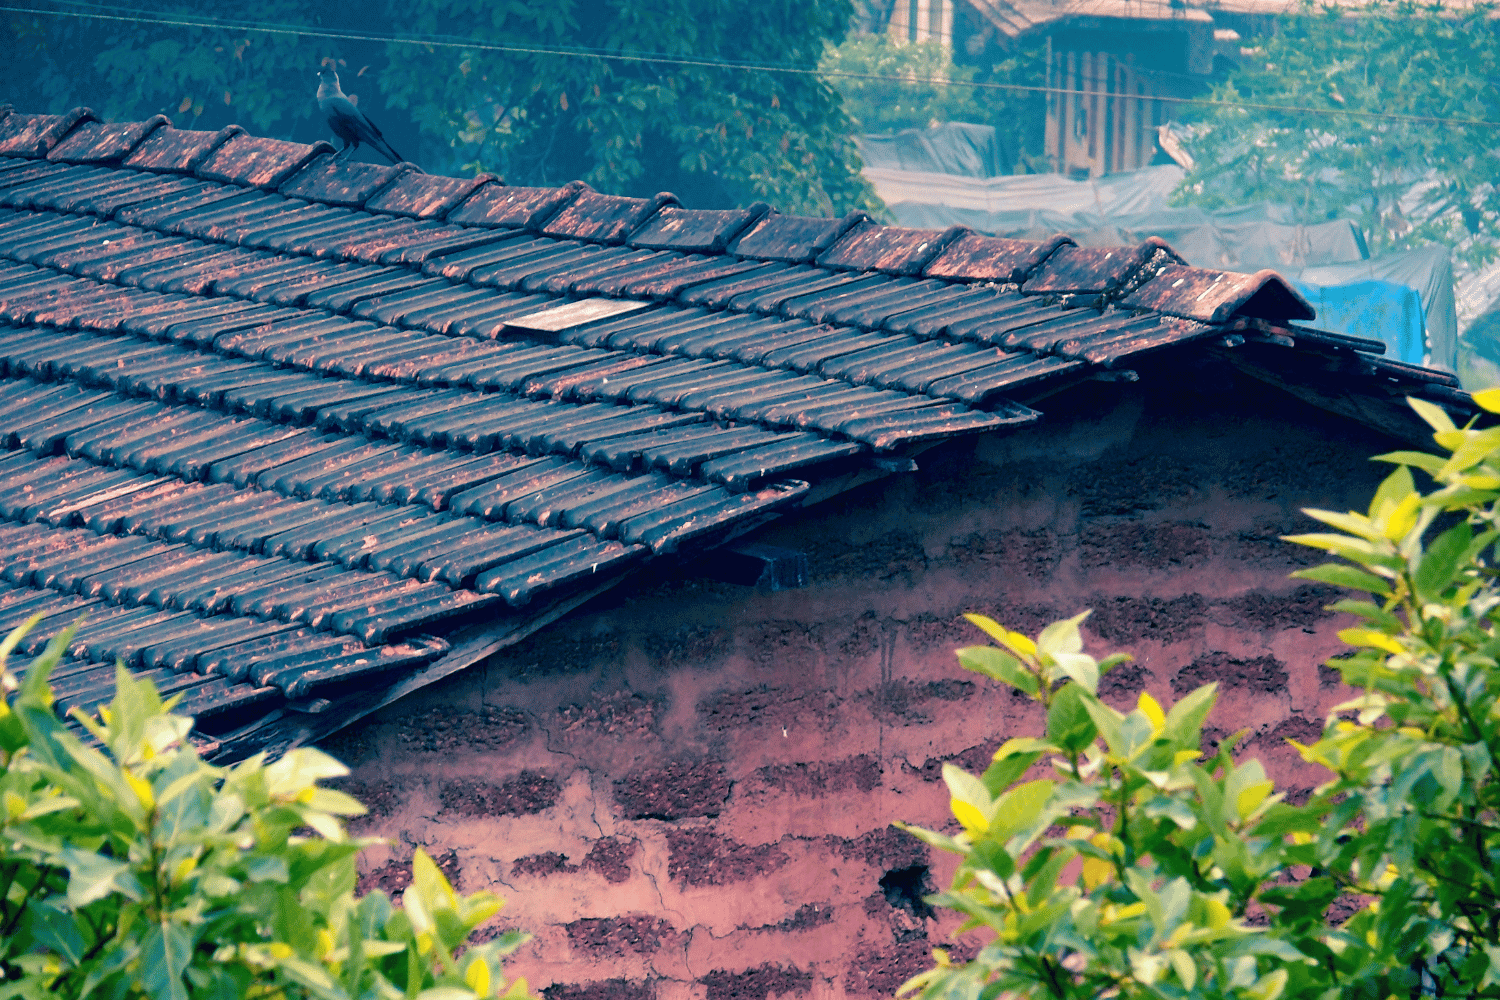
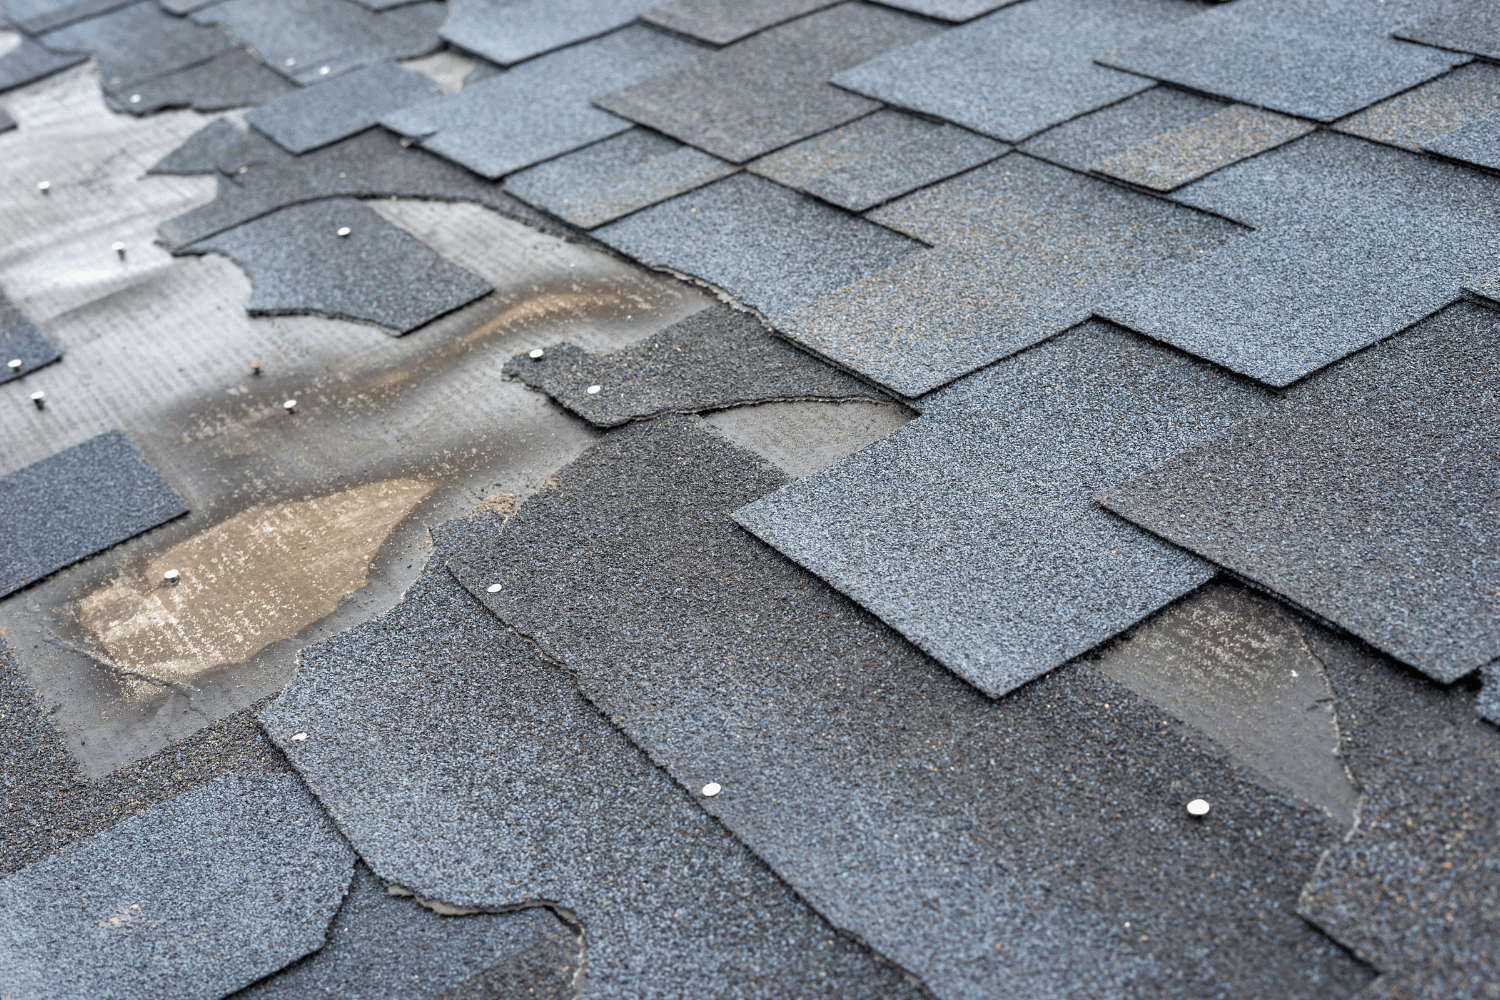
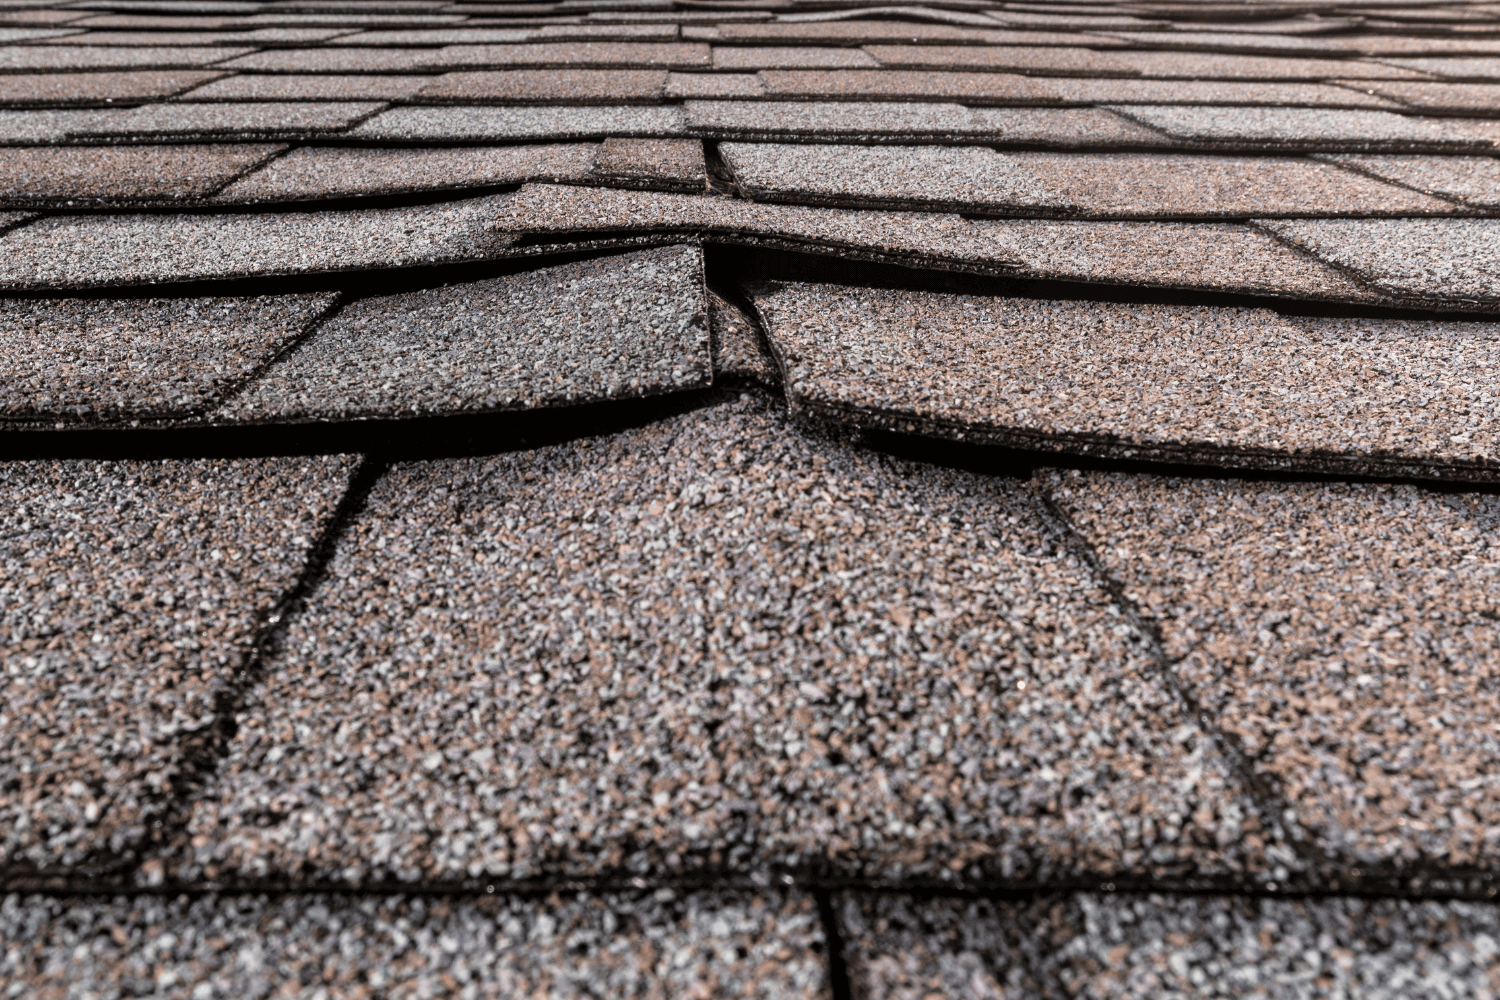
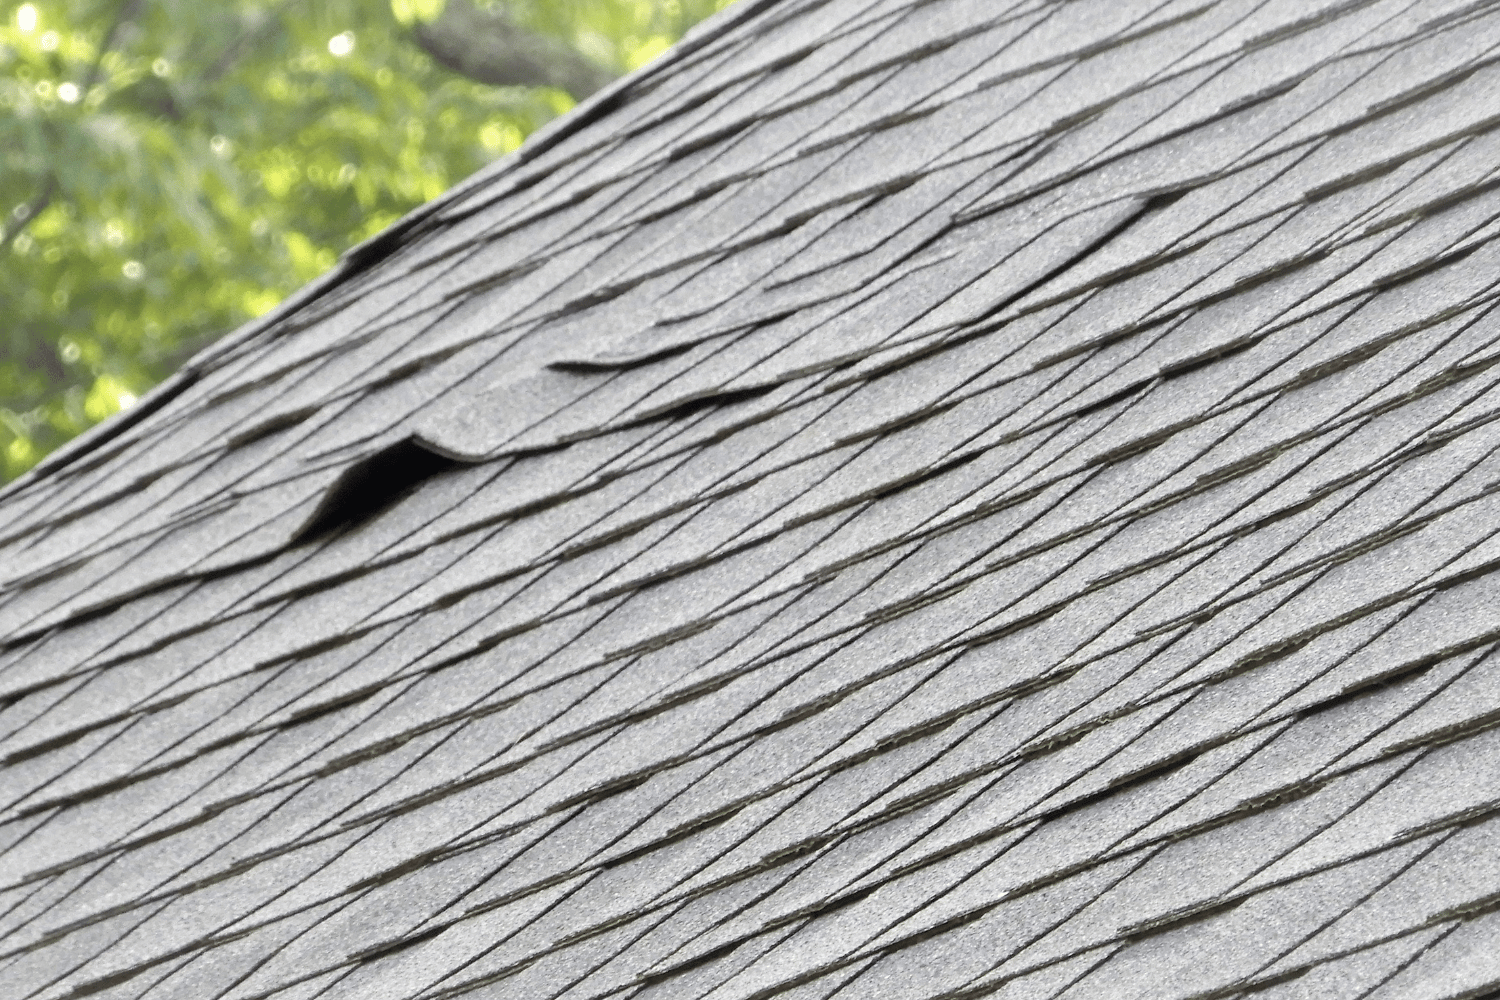
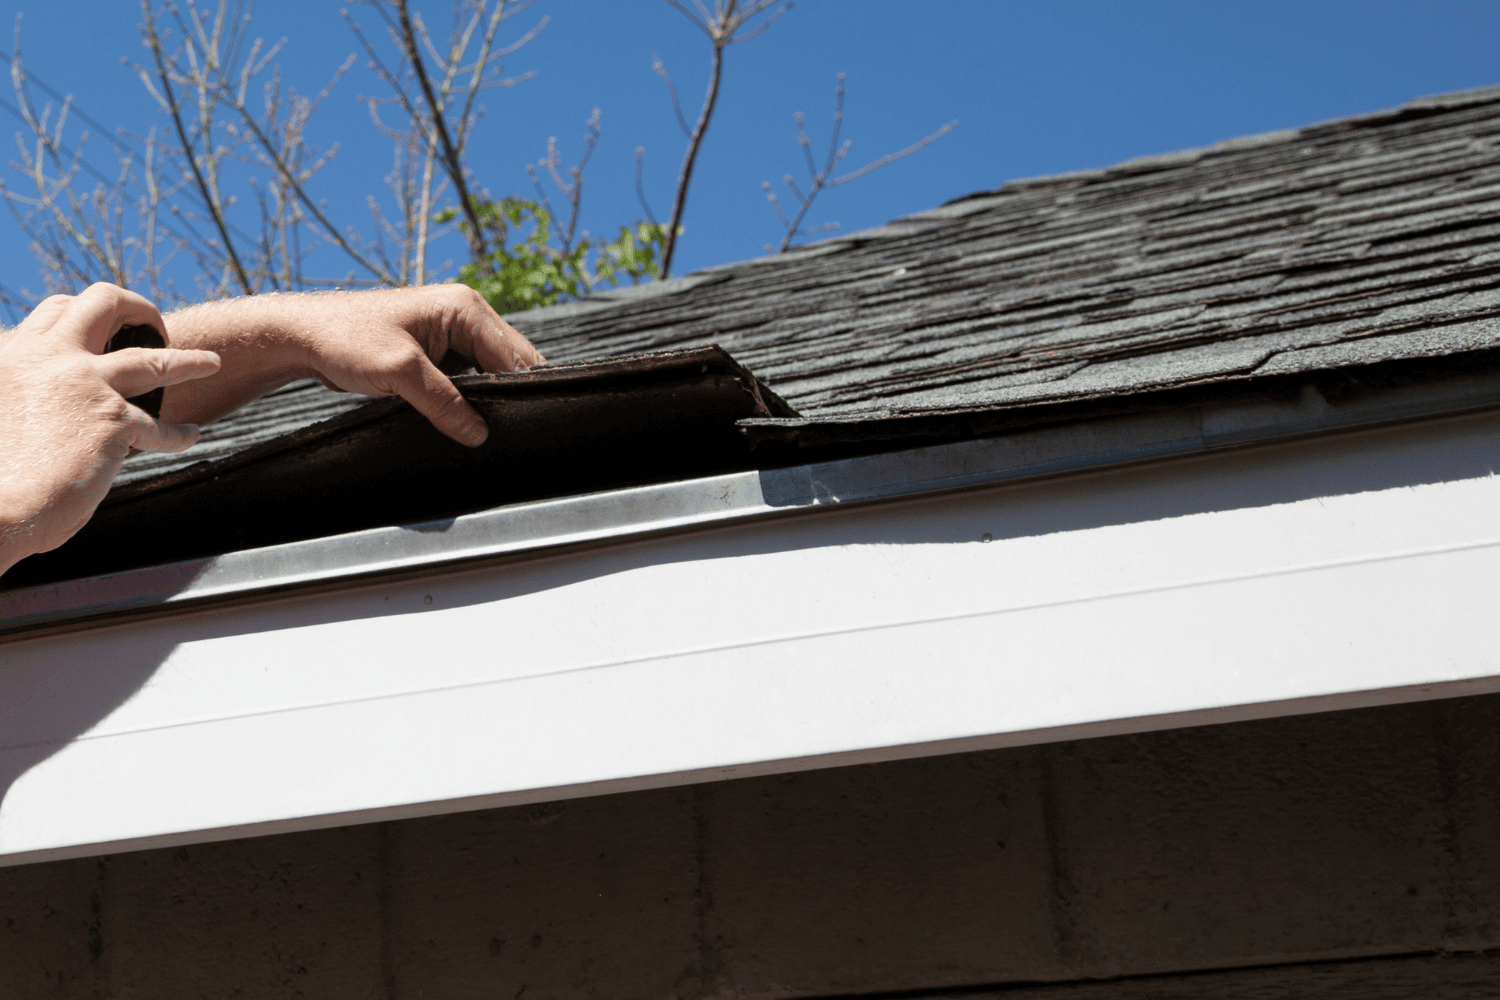
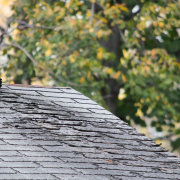
Cracked and Curling Shingles
Cracked and curling shingles are strong indicators that your roof is reaching the end of its lifespan and requires attention. These issues can expose the underlying roofing materials to water infiltration, jeopardizing the entire roof structure. Promptly addressing cracked and curling shingles can prevent further damage and extend your roof’s life.
If you see roof shingles curling or cracking, have a professional inspect your roof. This can help determine whether repairs are sufficient or if a full roof replacement is necessary.
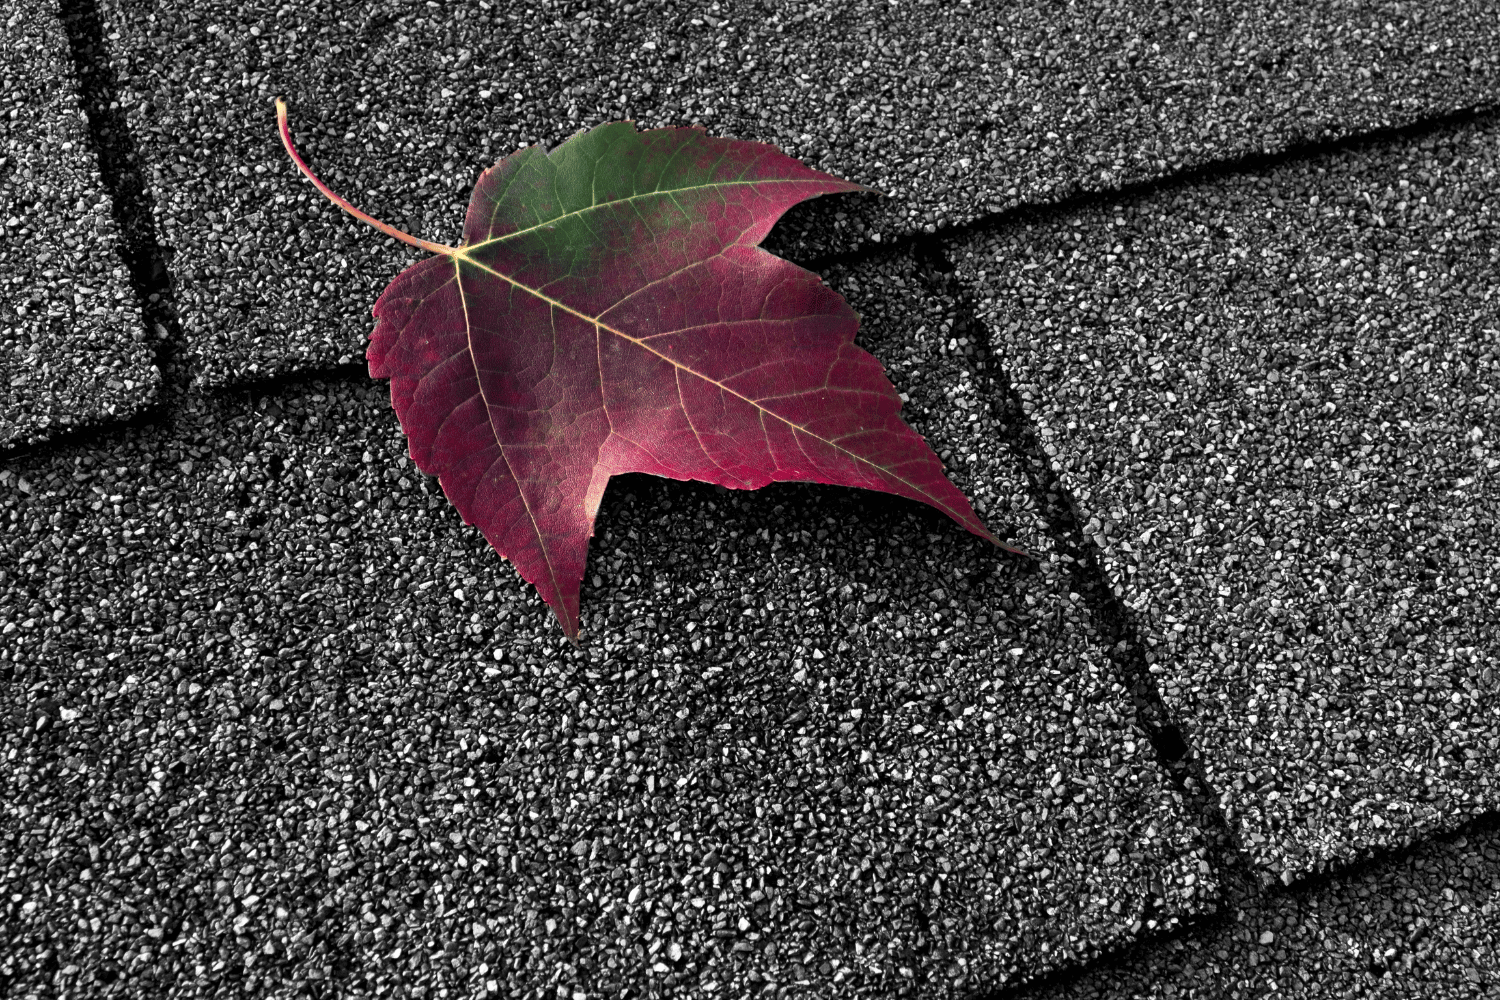
Granule Loss
Granule loss is another important sign that your asphalt shingle roof needs attention. The presence of granules in gutters indicates shingle deterioration and signals that the roof may need replacement. Granules protect the shingles from the sun’s UV rays, and their loss can lead to accelerated aging and damage.
If you consistently find granules in your yard or gutters, this suggests that the shingles are losing their protective coating and that the roof may need to be replaced soon. Promptly addressing granule loss can prevent further deterioration and extend your roof’s lifespan.
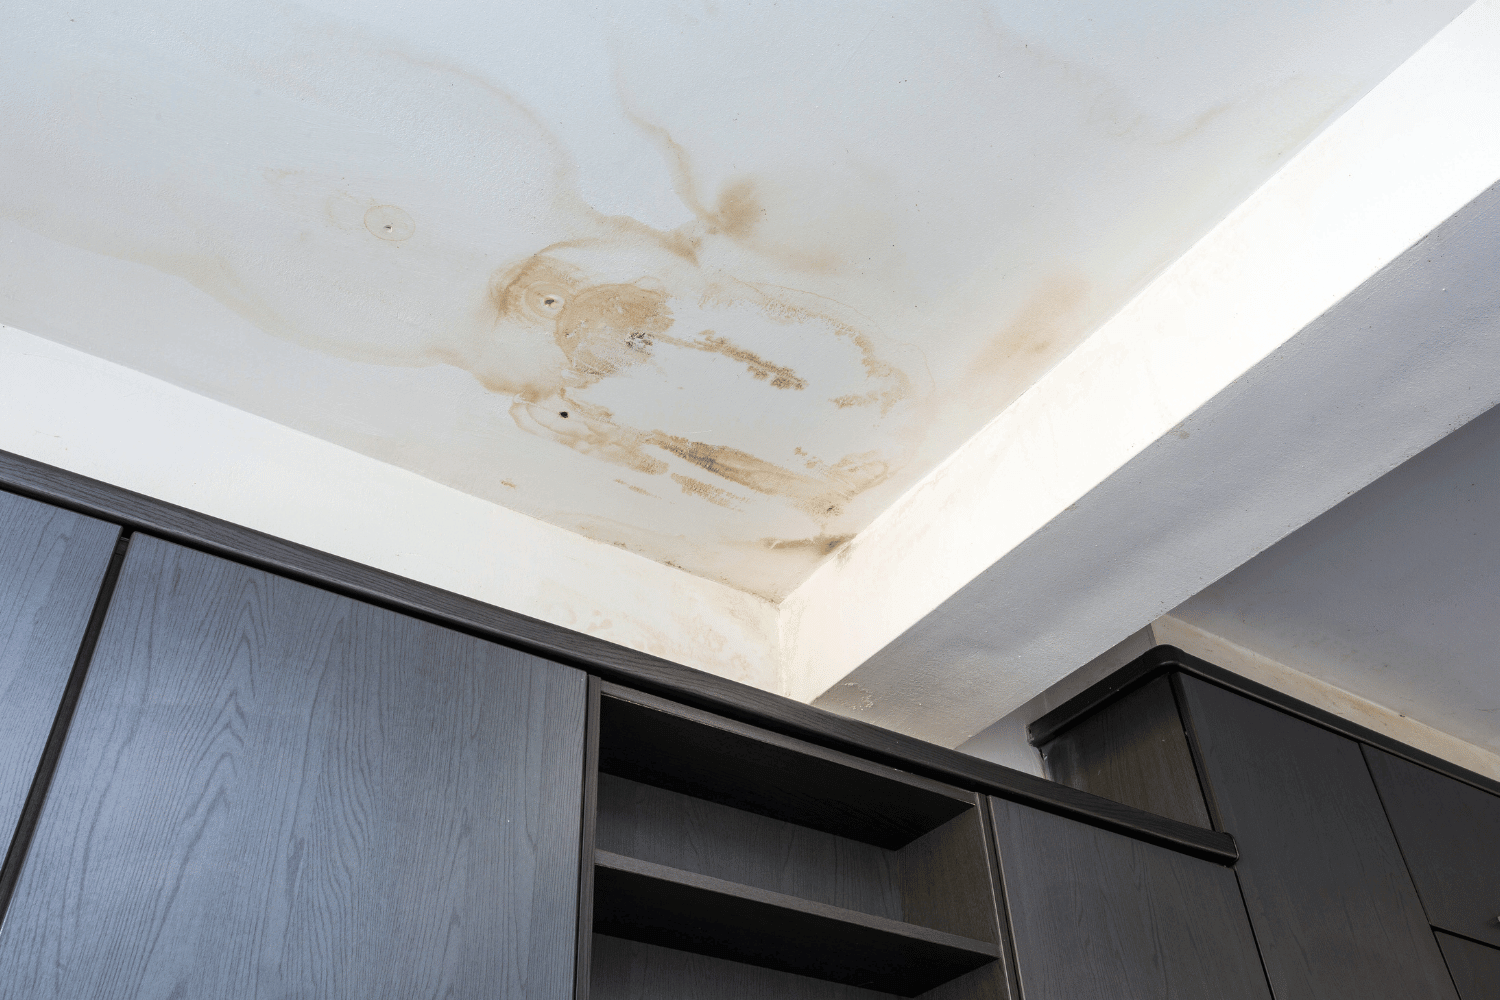
Roof Leaks and Water Damage
Roof leaks and water damage are serious issues that require immediate attention. Look out for water stains on ceilings and walls, as these can indicate leaks coming from the roof. Dark spots or mold growth inside the home are also strong signs of moisture issues caused by roof leaks.
Persistent water damage can lead to serious structural issues, including weakened wooden beams and an increased risk of mold growth, which can compromise the safety of the occupants.
Promptly addressing roof leaks and water damage can prevent costly roof repair and ensure your home’s safety.
How to Prolong the Life of Your Asphalt Shingle Roof
Extending the life of your asphalt shingle roof requires regular inspections, proper attic ventilation, and routine maintenance. These practices identify potential issues early and prevent them from becoming major problems. Preventative repairs by a professional contractor can also contribute to a longer lifespan for asphalt roofs.
Proactive steps and regular maintenance can extend the life of asphalt shingle roofs by up to ten years. Let’s explore some of the best practices for maintaining your roof in more detail.
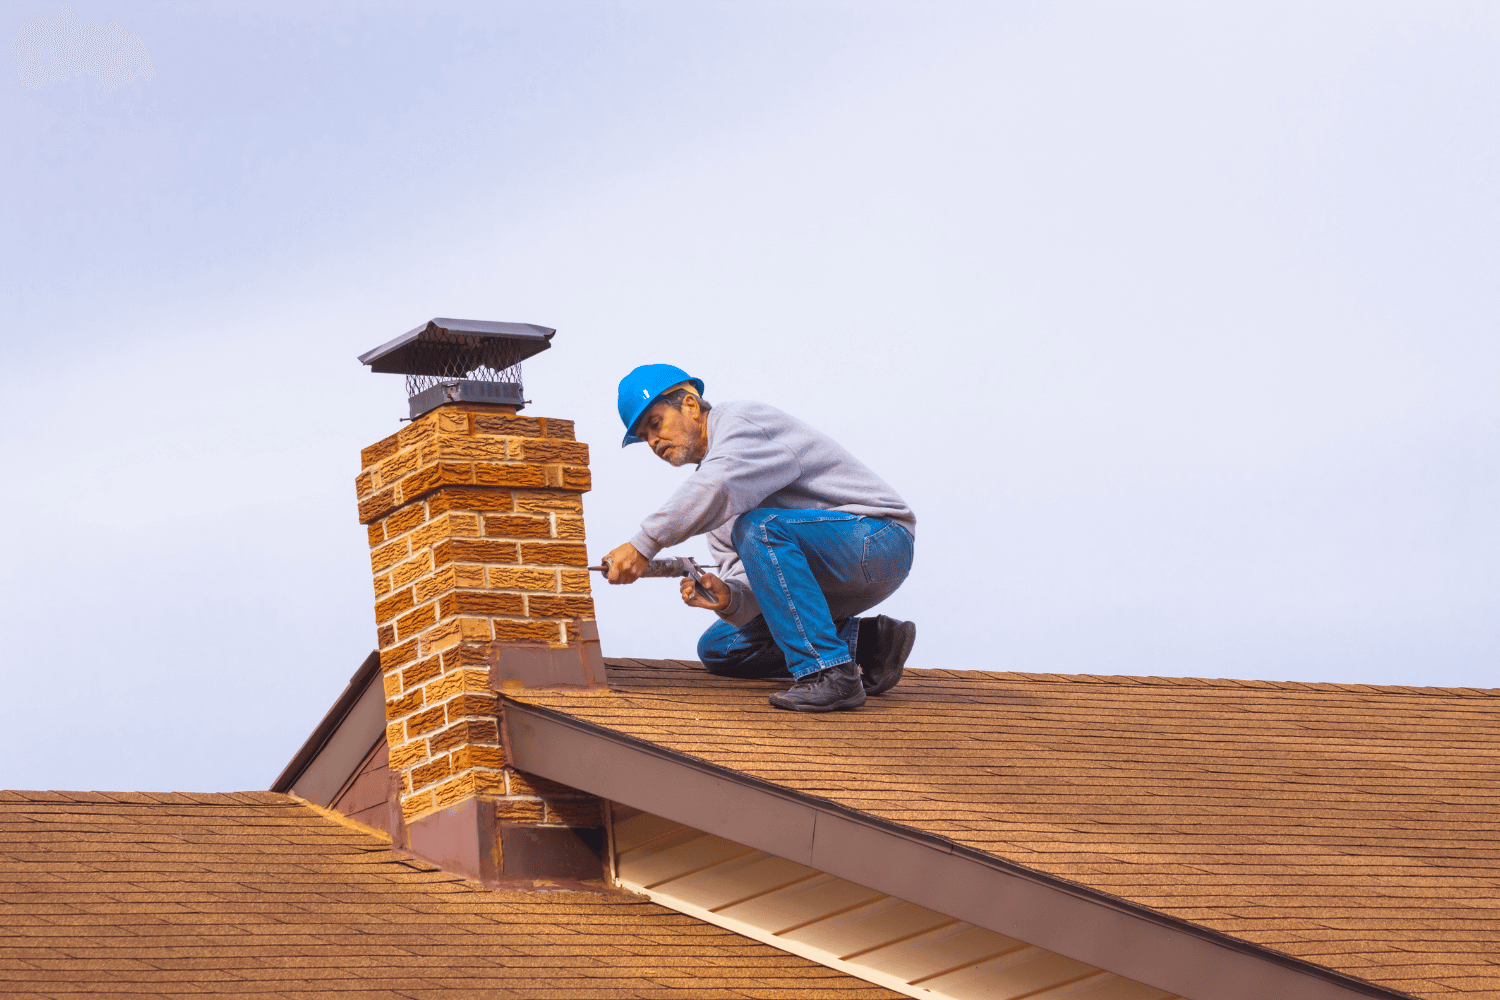
Regular Roof Inspections
Regular roof inspections are essential for identifying potential problems before they escalate. An expert should conduct a thorough inspection of the roof at least once a year. Scheduling these inspections can save homeowners significant costs by addressing minor issues early.
Regular inspections maintain the roof’s integrity and ensure prompt repairs. This proactive approach can significantly extend the lifespan of your asphalt shingle roof and prevent costly repairs or replacements down the line.
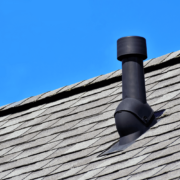
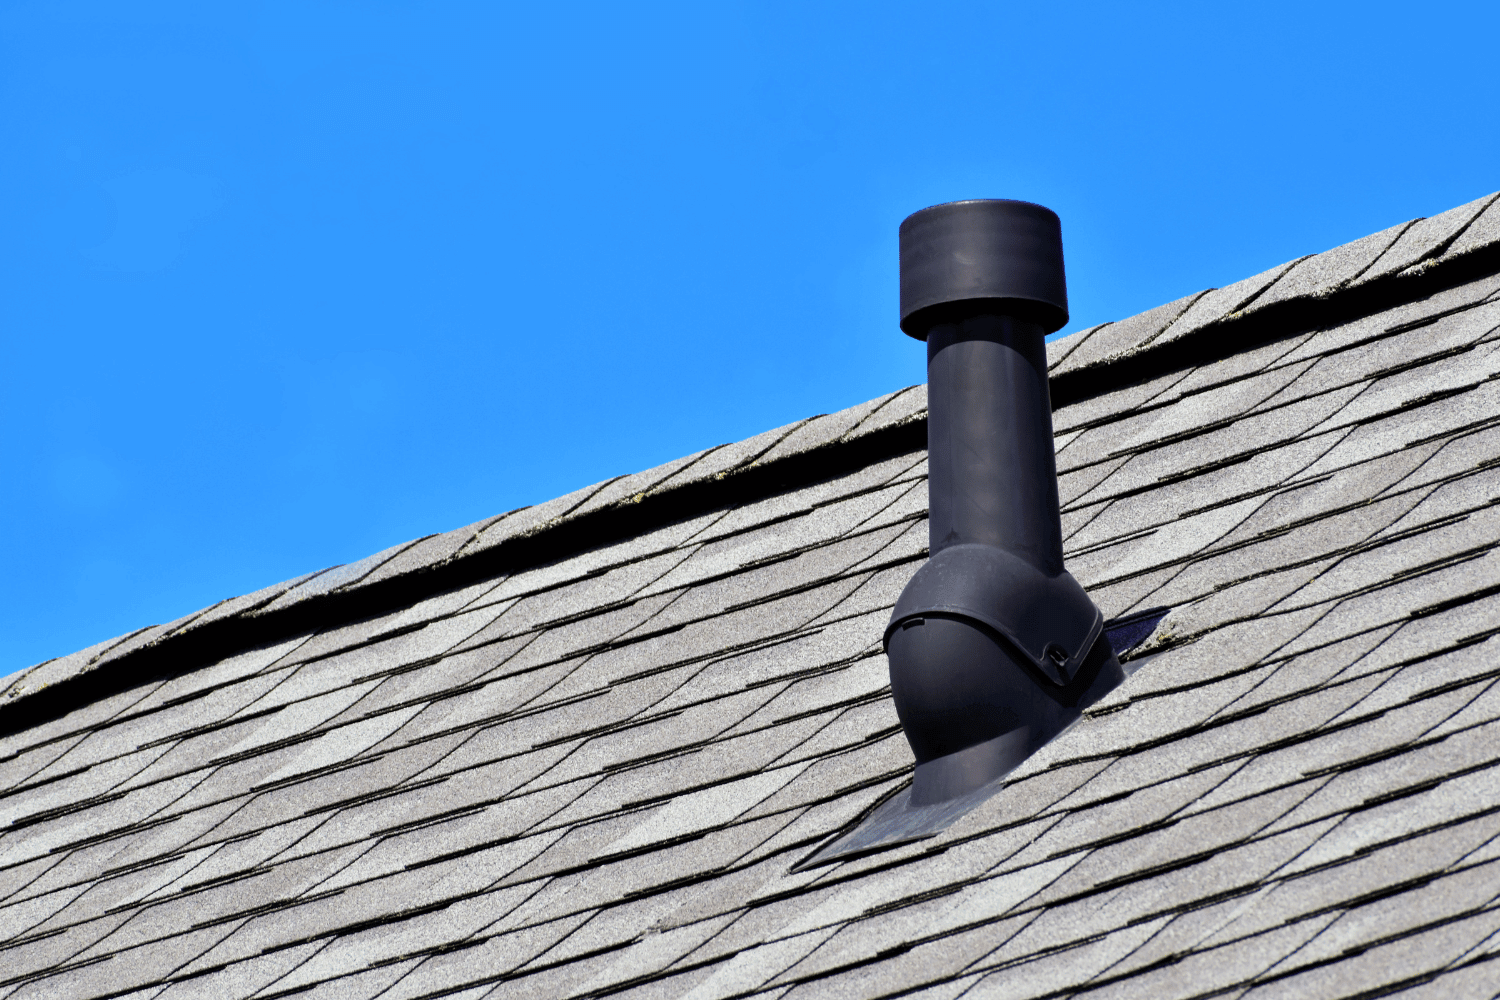
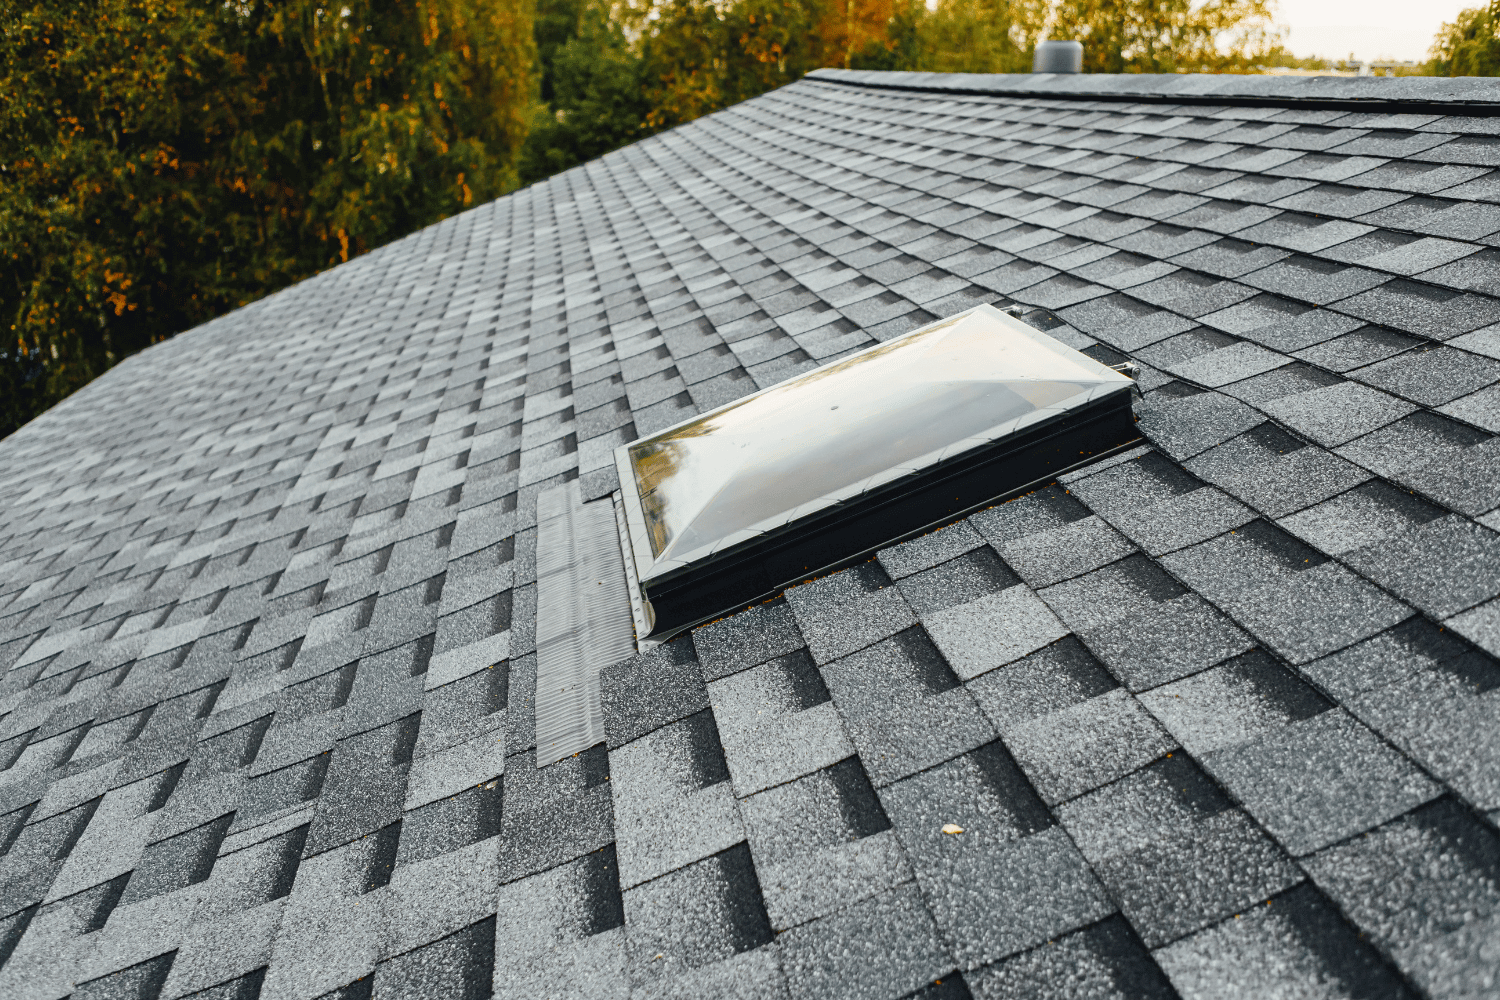
Proper Attic Ventilation
Proper attic ventilation extends the lifespan of asphalt shingle roofs by reducing heat and moisture build-up. Proper ventilation prevents moisture accumulation, reducing the risk of mold growth and swollen trusses.
Installing both soffit vents and roof vents promotes effective air circulation in the attic, ensuring that the roof remains properly ventilated and free from moisture-related issues. This measure can significantly extend your roof’s life.
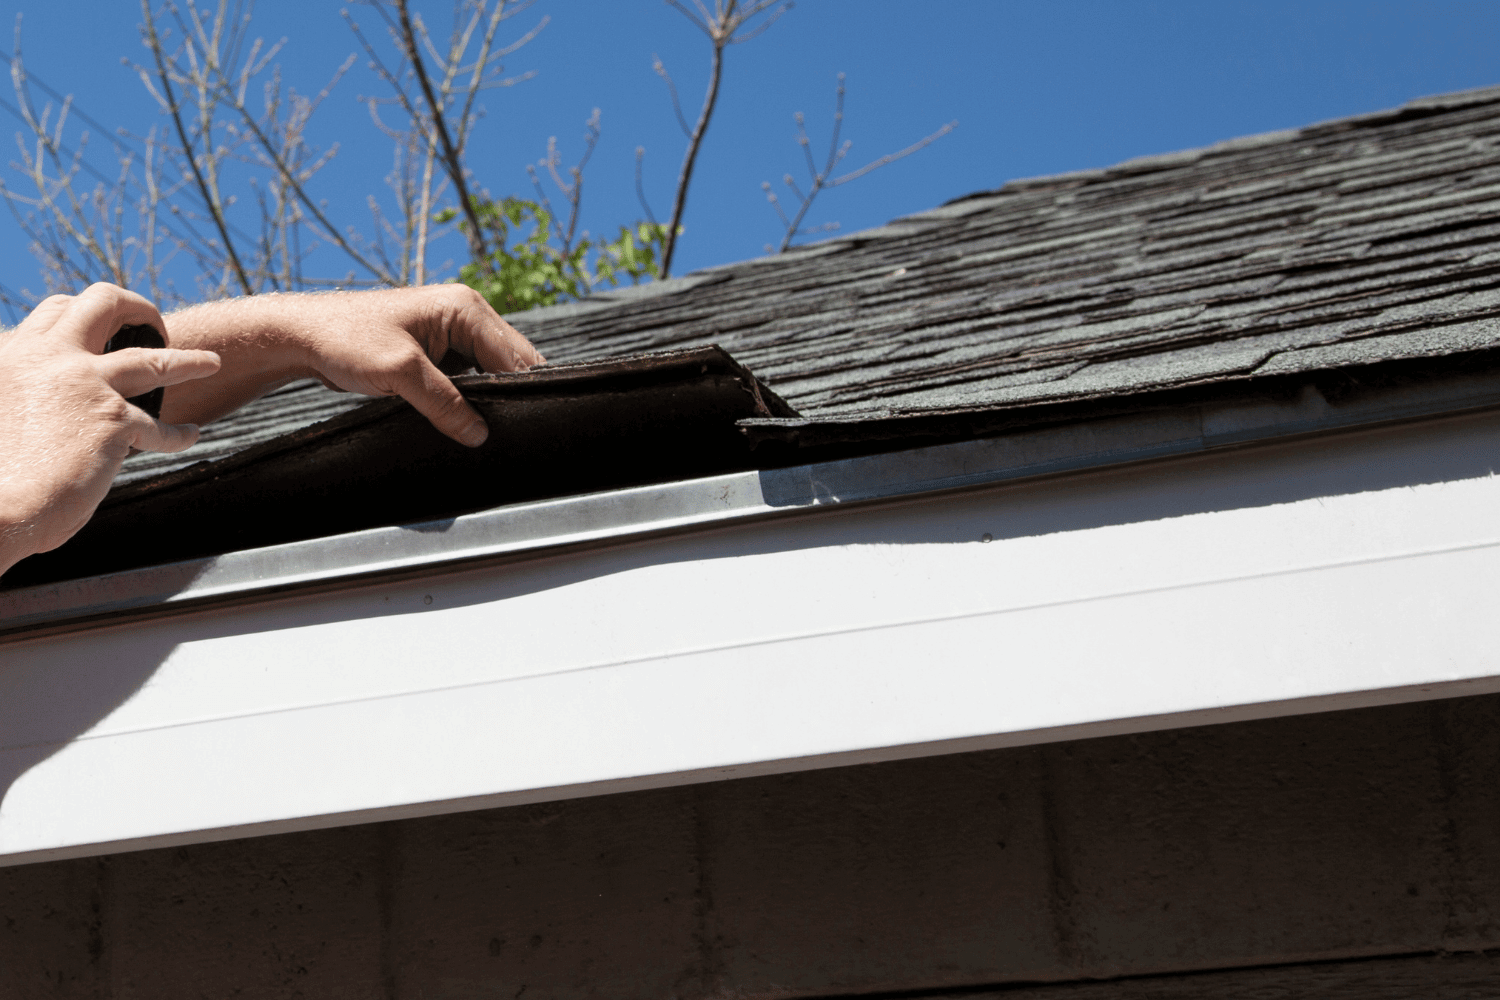
Routine Cleaning and Gutter Maintenance
Routine cleaning and gutter maintenance prevent water pooling at the roof’s edge, which can cause damage. Regularly clearing gutters ensures that water flows away from the roof, preventing issues like leaks and structural damage.
Keeping the roof clean and free from debris prevents moisture retention and reduces shingle damage risk. This routine maintenance can help prolong the life of your asphalt shingle roof and keep it in optimal condition.
When to Consider a Full Roof Replacement

Knowing when to consider a full roof replacement is essential for maintaining the safety and integrity of your home. Consider a full roof replacement when your roof shows extensive damage or age-related decline. If the roof is over 20 years old, it’s time to evaluate its condition and consider replacement.
Significant storm damage, like missing shingles or pervasive leaks, may require a full roof replacement instead of repairs. Consulting a roofing expert can provide insights on whether repairs or a full replacement is the most effective solution for your roofing issues.
Assessing Roof Age and Condition
Evaluating your roof’s age and condition is crucial for home safety and preventing costly repairs. A roof that is over 20 years old should be evaluated, as it may be nearing the end of its useful life. Factors such as storm damage, shingle failures before their expected lifespan, or visible wear and tear are critical signs to assess your roof’s condition.
Timely evaluations can prevent further damage and extend the roof’s life. Regular assessments help make informed decisions about repairing or replacing the roof, ensuring your home’s longevity and safety.
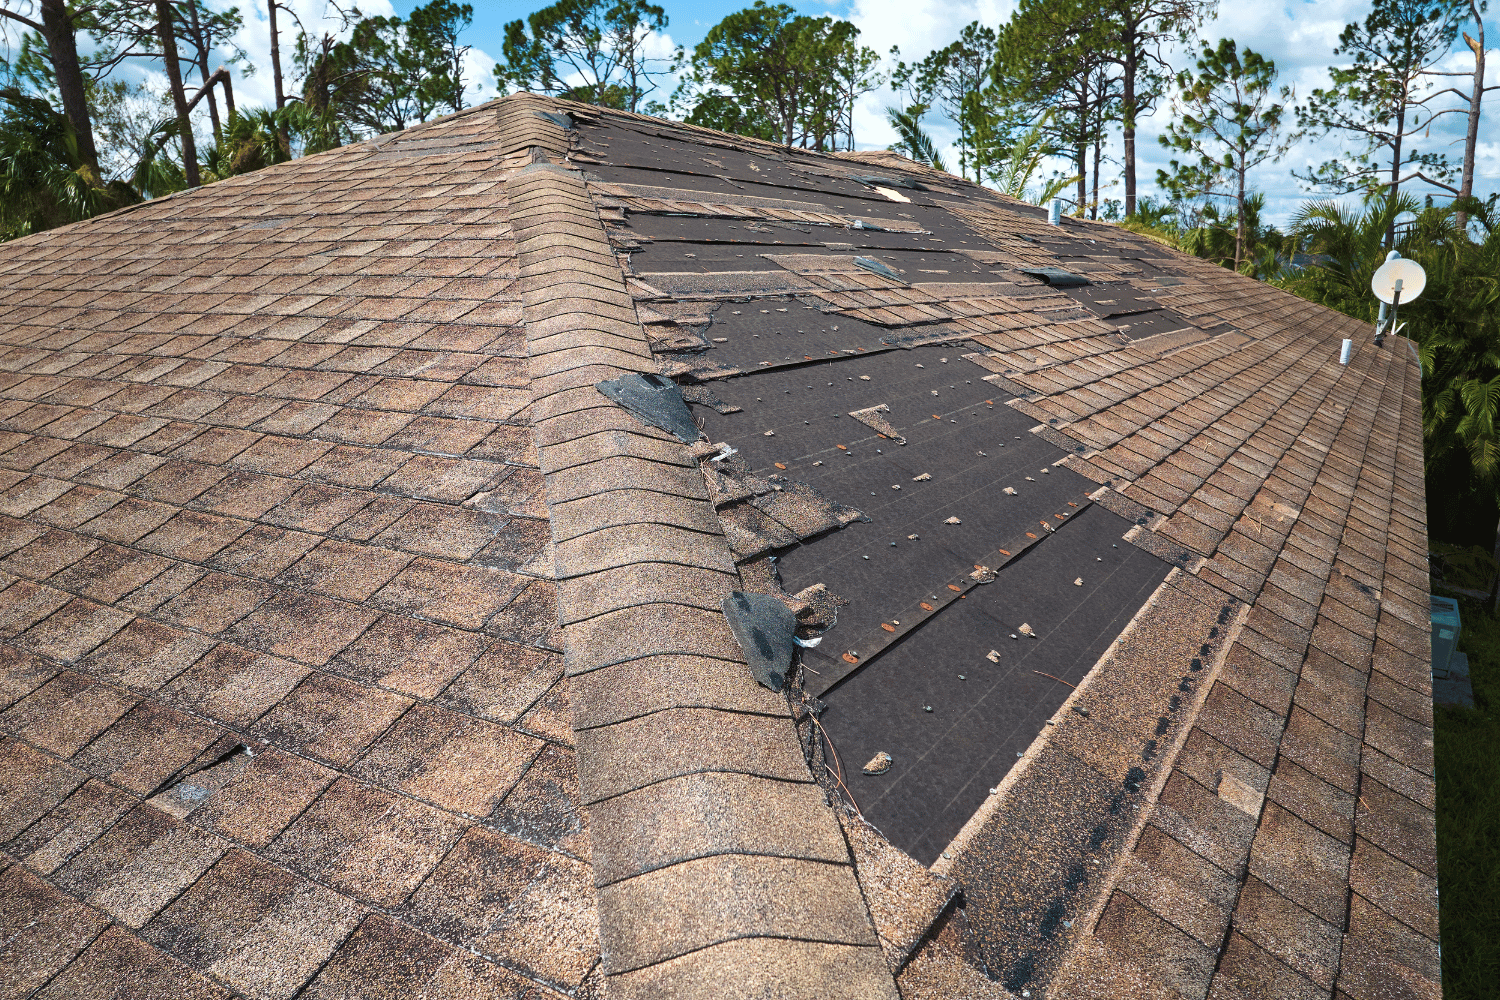
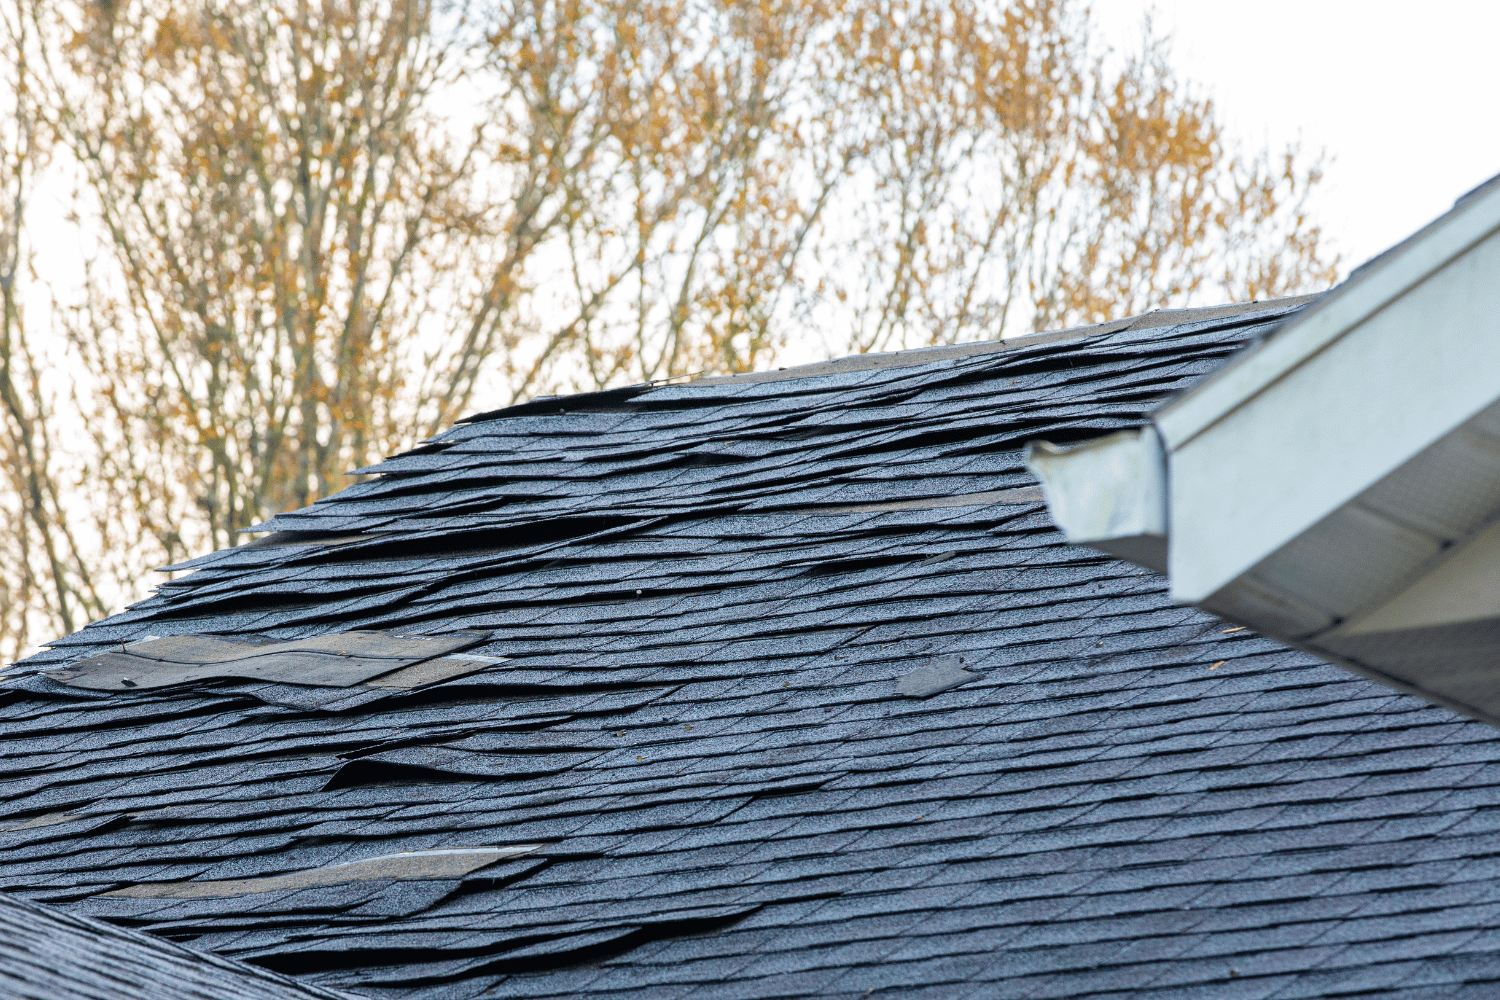
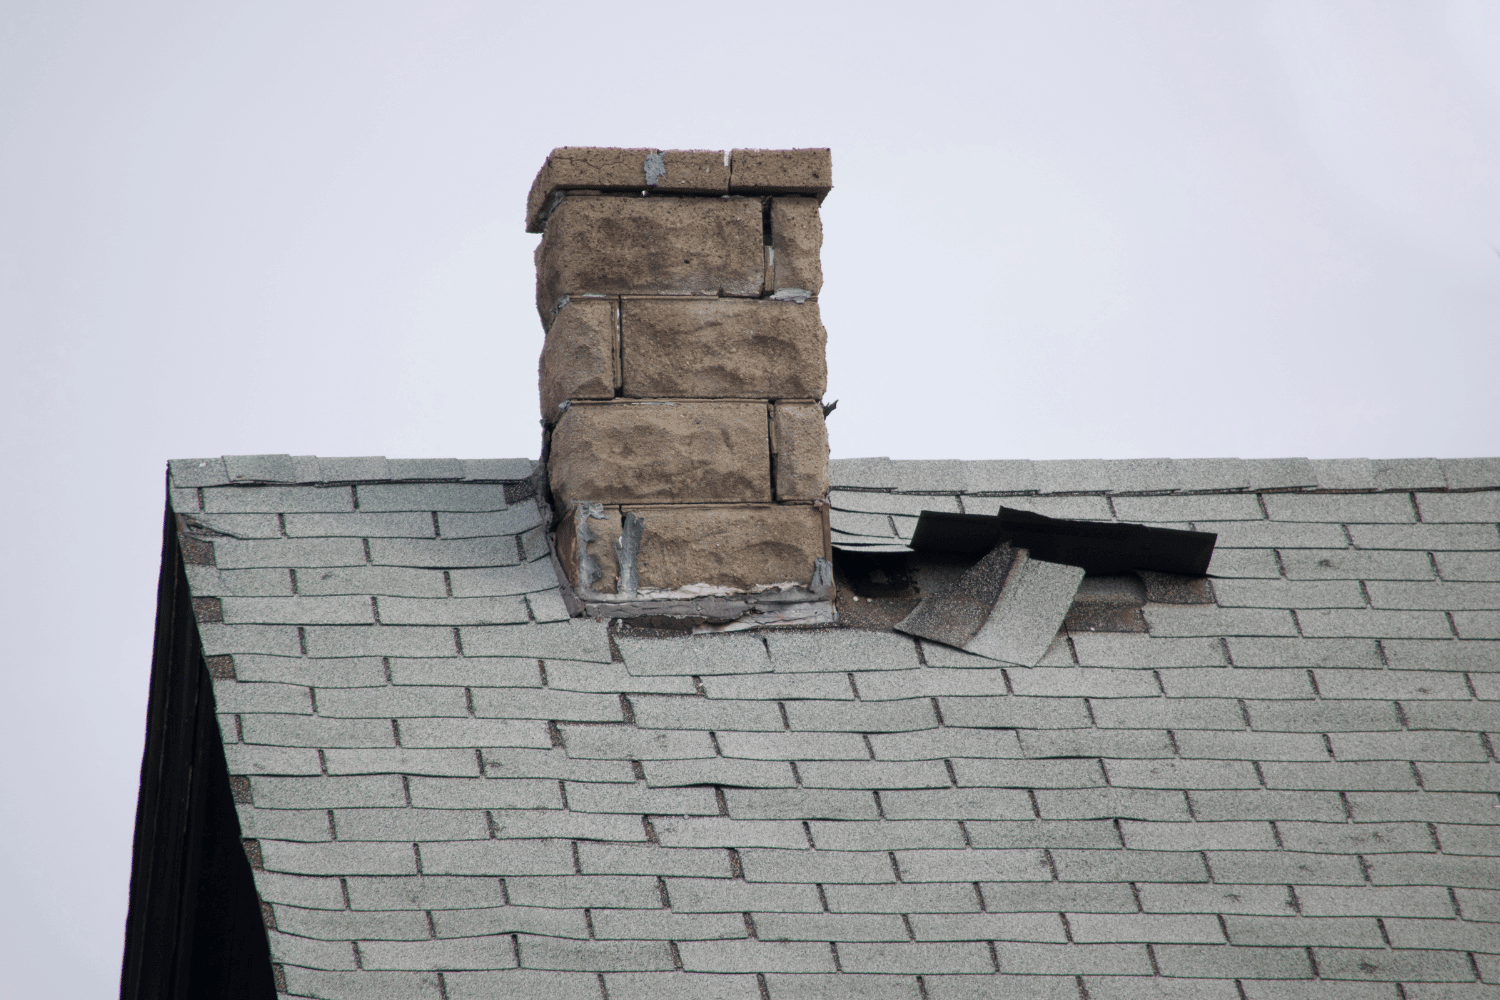
Evaluating Storm Damage
Storm damage can greatly impact the integrity of an asphalt shingle roof. If a roof has endured severe weather events, substantial damage may require immediate consideration for a full replacement. Promptly assessing storm damage can determine if repairs suffice or replacement is necessary.
Acting quickly after storm damage can prevent further complications and replacement costs. Evaluating storm damage helps in making informed decisions and ensuring the safety and longevity of your roof.
Consulting a Roofing Professional
Consulting a reputable roofing contractor and other roofing contractors is vital to determine the best course of action for repair or replacement. Research, interview multiple contractors, and ask about their experience with similar projects. Homeowners should seek a roofing contractor who has a proven track record and positive reviews.
Professional advice ensures homeowners make informed decisions about their roofing needs. Experienced roofing professionals provide expert assessments and recommendations, helping homeowners choose the best options.
Summary
In summary, understanding the lifespan of asphalt shingles and the factors that influence it is crucial for maintaining a durable and reliable roof. Regular maintenance, quality materials, professional installation, and timely repairs are key to extending the life of your asphalt shingle roof. By recognizing the signs that your roof needs attention and taking proactive steps, you can prevent costly repairs and ensure the safety and integrity of your home.
At Dream Home Roofers, we are committed to helping homeowners maintain their roofs and make informed decisions about repairs and replacements. With proper care and maintenance, your asphalt shingle roof can provide long-lasting protection and enhance the value of your home. Take the time to invest in your roof today, and enjoy the peace of mind that comes with a well-maintained, durable roof.
Frequently Asked Questions
How long do asphalt shingles typically last?
Asphalt shingles usually last between 20 to 25 years, and certain architectural shingles can last over 30 years. Investing in higher-quality shingles can extend your roof’s lifespan.
What are the signs that my asphalt shingle roof needs attention?
Your asphalt shingle roof needs attention if you notice cracked, curling, or missing shingles, significant granule loss, or any visible leaks and water damage. Addressing these signs promptly will help prevent further issues.
How can I prolong the life of my asphalt shingle roof?
To prolong the life of your asphalt shingle roof, ensure regular inspections, maintain proper attic ventilation, and keep gutters clean. Taking these preventative steps will help protect your investment and enhance roof durability.
When should I consider a full roof replacement?
A full roof replacement is advisable if your roof is over 20 years old, has sustained significant storm damage, or shows extensive signs of wear and tear. Addressing these issues promptly can prevent further damage to your home.
Why is professional installation important for asphalt shingle roofs?
Professional installation is crucial for asphalt shingle roofs as it guarantees proper application, helping to prevent problems such as mold and structural damage while maximizing the roof’s lifespan.