The Best Guide to Perfect Roof Shingle Overlap: Tips & Techniques
Ensuring the correct roof shingle overlap is key to a durable, leak-free roof. This guide will help you understand the right techniques, avoid common mistakes, and achieve the perfect overlap for lasting protection.
Key Takeaways
-
Proper shingle overlap is critical for preventing leaks and enhancing the durability of a roof, as it ensures effective water drainage and protects against weather elements.
-
Preparing the roof deck, including inspecting for damage and installing protective components like drip edges and ice shields, is essential for successful shingle installation.
-
Common mistakes, such as misalignment and inadequate nailing during shingle installation, should be avoided to ensure optimal roof performance; professional help is recommended for complex roofing issues.
Understanding Roof Shingle Overlap
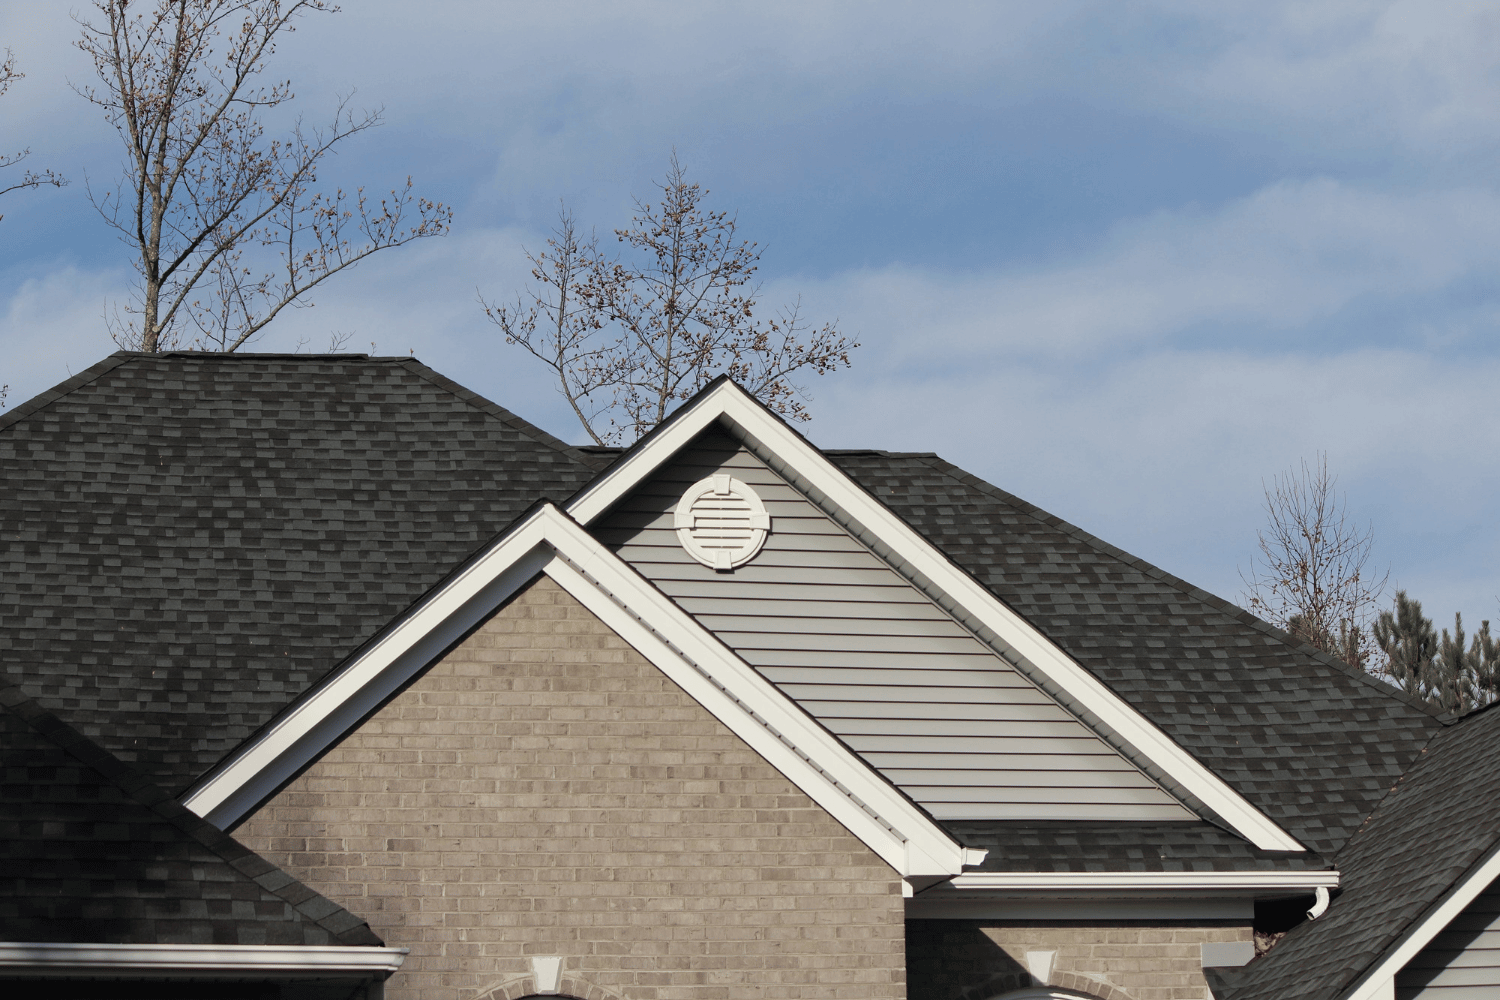
Proper shingle overlap maintains the integrity of a roof. Each course of shingles should maintain a consistent overlap to ensure effective drainage and prevent leaks. Optimal shingle overlap enhances the roof’s durability against weather elements, making it vital for any roofing project. Correctly installed shingles protect the roof deck from water infiltration, preventing significant damage.
However, many homeowners and even some roofing contractors make common mistakes during shingle installation that compromise the roof’s effectiveness. Recognizing the role of gravity in shingle overlap and avoiding common mistakes are vital for a long-lasting roof.
The Role of Gravity in Shingle Overlap
Gravity plays a crucial role in roof design, guiding water down the slope of the roof. With the force of gravity, water flows easily off the roof when shingles are properly installed. Proper overlap ensures water flows over the shingles, preventing potential water damage. Staggering the seams of the shingles prevents water leakage and creates a visually appealing pattern.
Imagine a steep roof where gravity draws water swiftly downwards; if the roof shingles aren’t overlapping correctly, water can seep into the shingle joints, leading to leaks and structural damage. Properly overlapping shingles protects your investment and ensures the longevity of your roofing project.
Common Mistakes in Shingle Overlap
Homeowners often encounter mistakes during shingle installation that compromise the roof’s effectiveness. One of the most frequent errors is failing to achieve proper overlap between asphalt shingles, which can lead to water infiltration and reduced longevity of the roof. Proper alignment of the first row of shingles is critical to achieving the desired aesthetic and functional outcome.
Addressing these mistakes ensures a durable and effective roofing system. Misaligned shingles, inadequate overlap, and improper nailing are pitfalls that can turn a simple roofing project into a costly repair job. Understanding and avoiding these mistakes ensures roofs look great and perform optimally.
Preparing Your Roof Deck for Shingle Installation
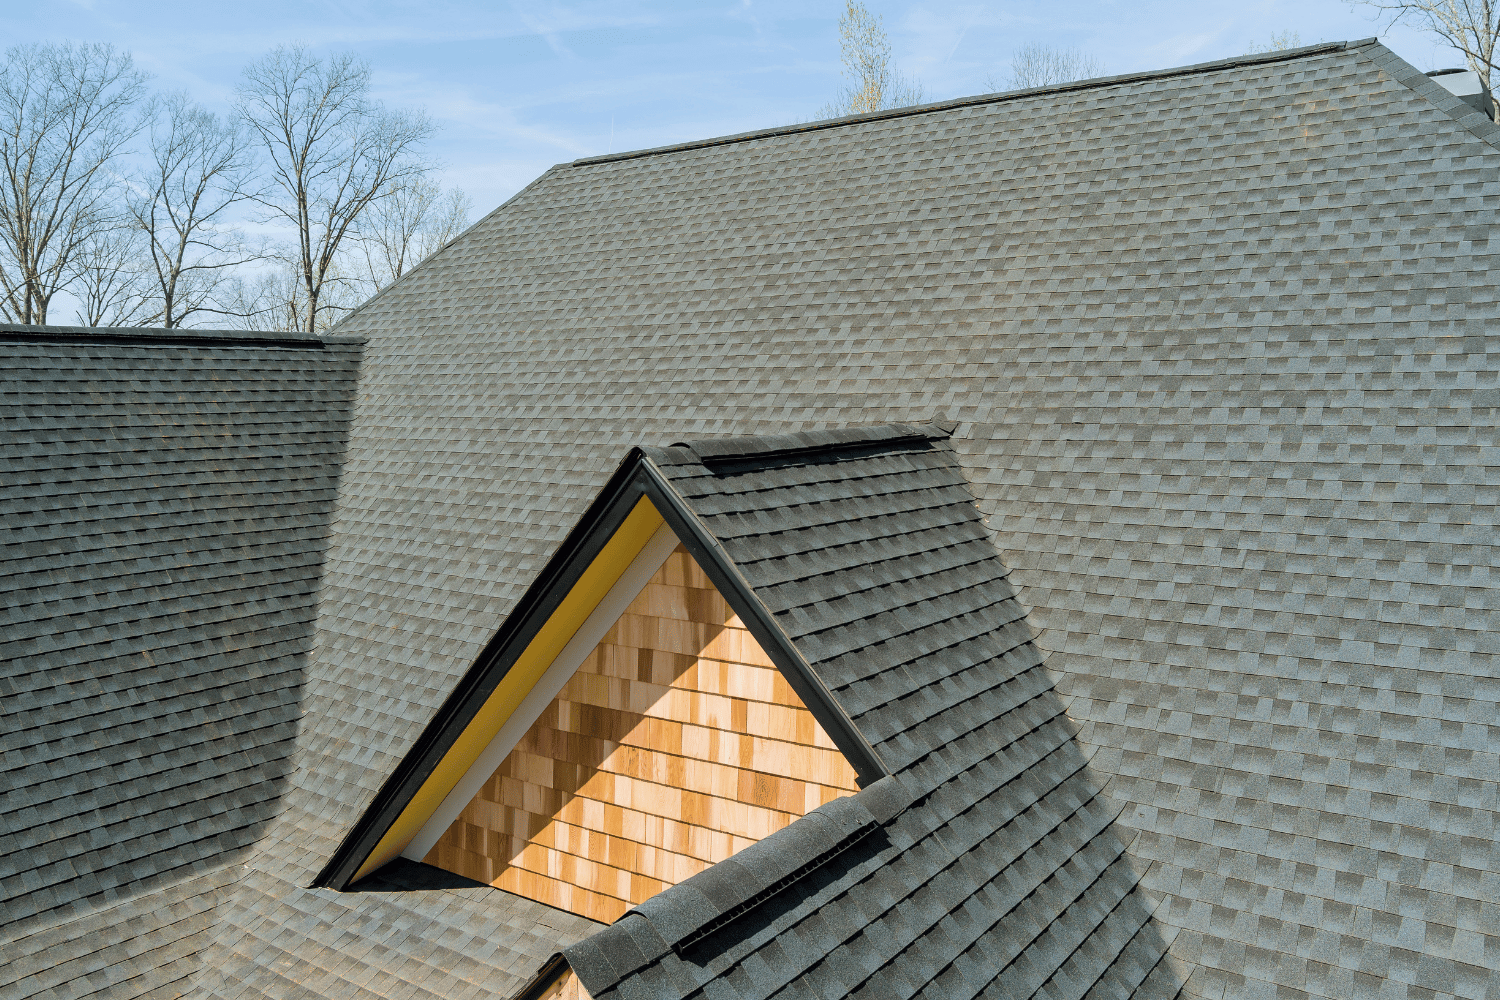
Before starting shingle installation, properly prepare your roof deck. Inspect the roof deck for any damaged or rotted areas and repair or replace them as needed. If your roof is over 20 years old, it’s advisable to consult a roofing expert to assess its condition. Visible shingle granules in gutters may indicate that your roof’s lifespan is nearing its end and requires professional evaluation.
A smooth and secure roof deck is vital for optimal shingle installation and longevity. A clean and flat deck surface ensures a smooth appearance of the finished roof. Installing a drip edge and ice and water shield enhances the roof’s durability against weather elements.
Ensuring a Smooth and Secure Roof Deck
A well-prepared roof deck is the foundation of a successful roofing project. Corrosion-resistant nails maintain the roof’s durability. Inspecting the roof deck beforehand identifies gaps and prevents future leaks during rain. A smooth and secure roof deck not only secures shingles but also enhances the overall protection of the home.
A smooth, securely fastened, dry roof deck free of gaps or holes is crucial. This preparation step achieves a seamless and aesthetically pleasing roof. A well-prepared deck ensures each component of the shingle installation performs effectively.
Applying Drip Edge and Ice and Water Shield
A drip edge is a metal flashing installed at the roof edges to prevent water damage and prolong the roof’s life by directing water away from the fascia into the gutter. The drip edge should be installed on top of the underlayment at the roof’s edges and rakes, creating a clean roof edge and providing increased resistance against wind uplift.
Applying an ice and water shield is another vital step. Felt underlayment should be laid out in horizontal courses, overlapping the ice and water protector by 4 inches. This creates a barrier against water infiltration, especially in cold climates where ice dams can form. Proper installation ensures a watertight seal and enhances the roof’s overall durability.
Step-by-Step Guide to Installing Shingles with Proper Overlap
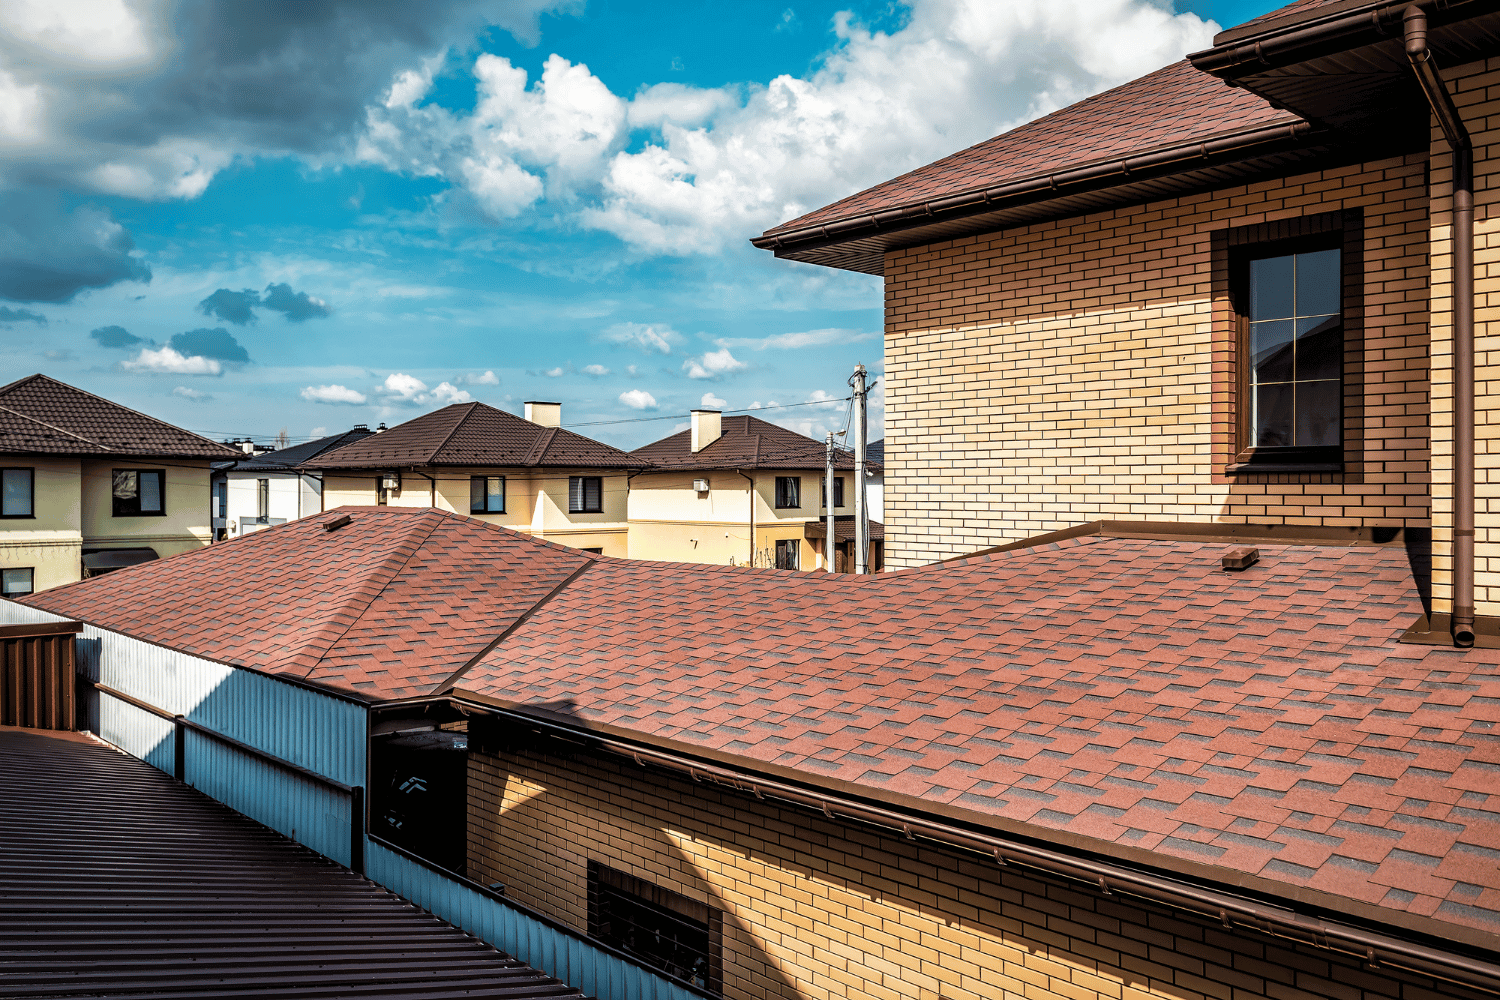
Installing shingles with the correct overlap requires meticulous attention to detail. Proper shingle overlap directs water away from the roof’s edges, reducing leak risk. Insufficient overlap during shingle installation can expose vulnerable areas to water damage.
A step-by-step approach is advisable for perfect shingle installation. This includes using starter shingles, laying the first row, and continuing shingle courses. Chalk lines ensure rows of shingles remain straight, enhancing the roof’s appearance.
Starting with Starter Shingles
Starter shingles enhance wind resistance and create a uniform appearance at the roof’s edge. Install starter strip shingles with the adhesive side facing up for a secure base. Starter shingles should overhang the roof edge by ¼ to ¾ inch for effective water management. Using six nails per shingle enhances wind resistance and provides better protection.
Nails should penetrate the wood deck at least ¾ inch to ensure effective holding power. Fastener placement is critical for maximizing wind-resistance performance. Good nailing technique significantly affects the longevity and performance of nail shingles.
Laying the First Row of Shingles
A clean, dry, debris-free roof deck is crucial for successful shingle installation. Cover the starter row with the first full row of shingles. Staggering shingles avoids a straight line vertically across the roof. This distributes the load and prevents water from infiltrating the shingle joints.
Proper alignment of the first row sets the stage for the rest of the shingle courses. Correct placement and secure fastening of the first row are vital for the roof’s integrity and appearance.
Continuing Shingle Courses
Lay shingles horizontally up the roof, ensuring each course overlaps the one below properly. Starter strips provide a straight edge for field courses and enhance wind resistance. This method ensures consistent overlap and uniform appearance.
Maintain a consistent pattern and proper nailing for secure shingle installation. Though repetitive, this process is crucial for a durable and aesthetically pleasing roof.
Special Techniques for Hip and Ridge Cap Shingles
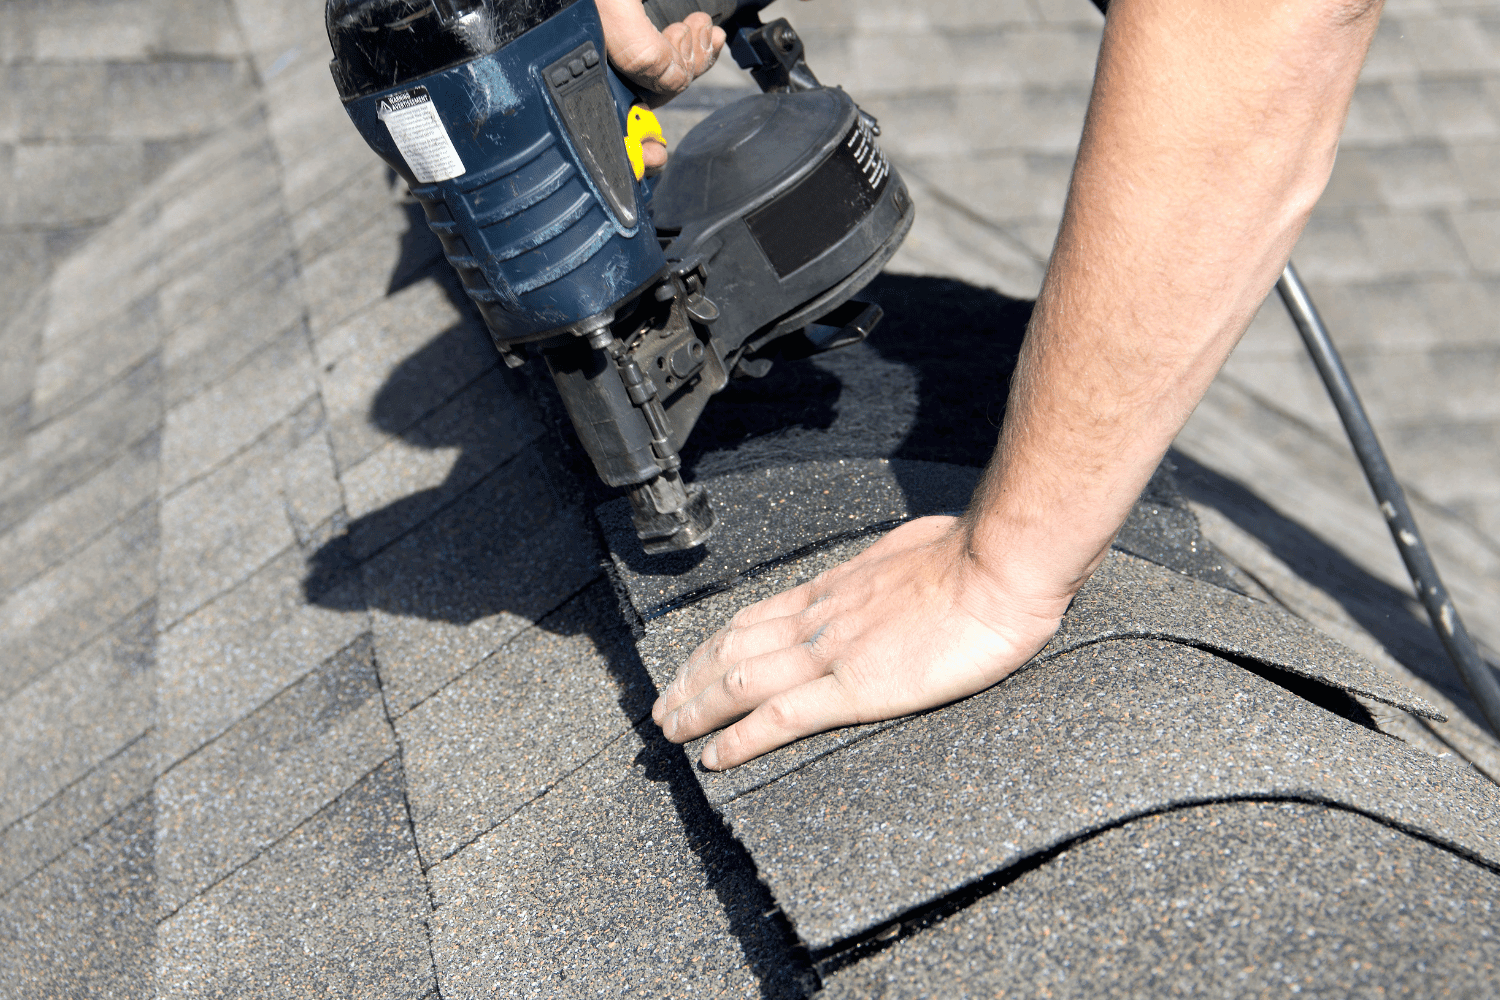
Hip and ridge cap shingles require special techniques for a watertight seal and wind resistance. Install hip shingles from the bottom up, ensuring each overlaps the one below to prevent water penetration. Install ridge cap shingles in a staggered pattern with securely fastened edges to resist wind uplift and provide a finished look.
These techniques are essential for the overall performance and appearance of the roof. Proper installation of hip and ridge cap shingles enhances the roof’s durability and visual appeal.
Installing Hip Shingles
Apply hip shingles starting from the bottom of the hip. Begin hip shingle installation at the bottom, ensuring corners do not extend into the gutter. This method ensures that each shingle overlaps the one below, creating a barrier against water infiltration.
Proper alignment and securing of hip shingles prevent leaks and ensure structural integrity. This approach ensures hip shingles perform effectively.
Installing Ridge Cap Shingles
Cut ridge cap shingles to fit the ridge line and install for a watertight seal. Use longer nails that penetrate deeper into the roof layers, ideally multiple nails per shingle for secure fastening. Seal nail heads and cover with asphalt roofing cement for a watertight seal.
Enhance wind resistance by installing ridge cap shingles from the end opposite the prevailing wind direction. This technique ensures ridge cap shingles provide maximum protection against wind uplift and water infiltration.
Pro Tips for Perfect Shingle Overlap
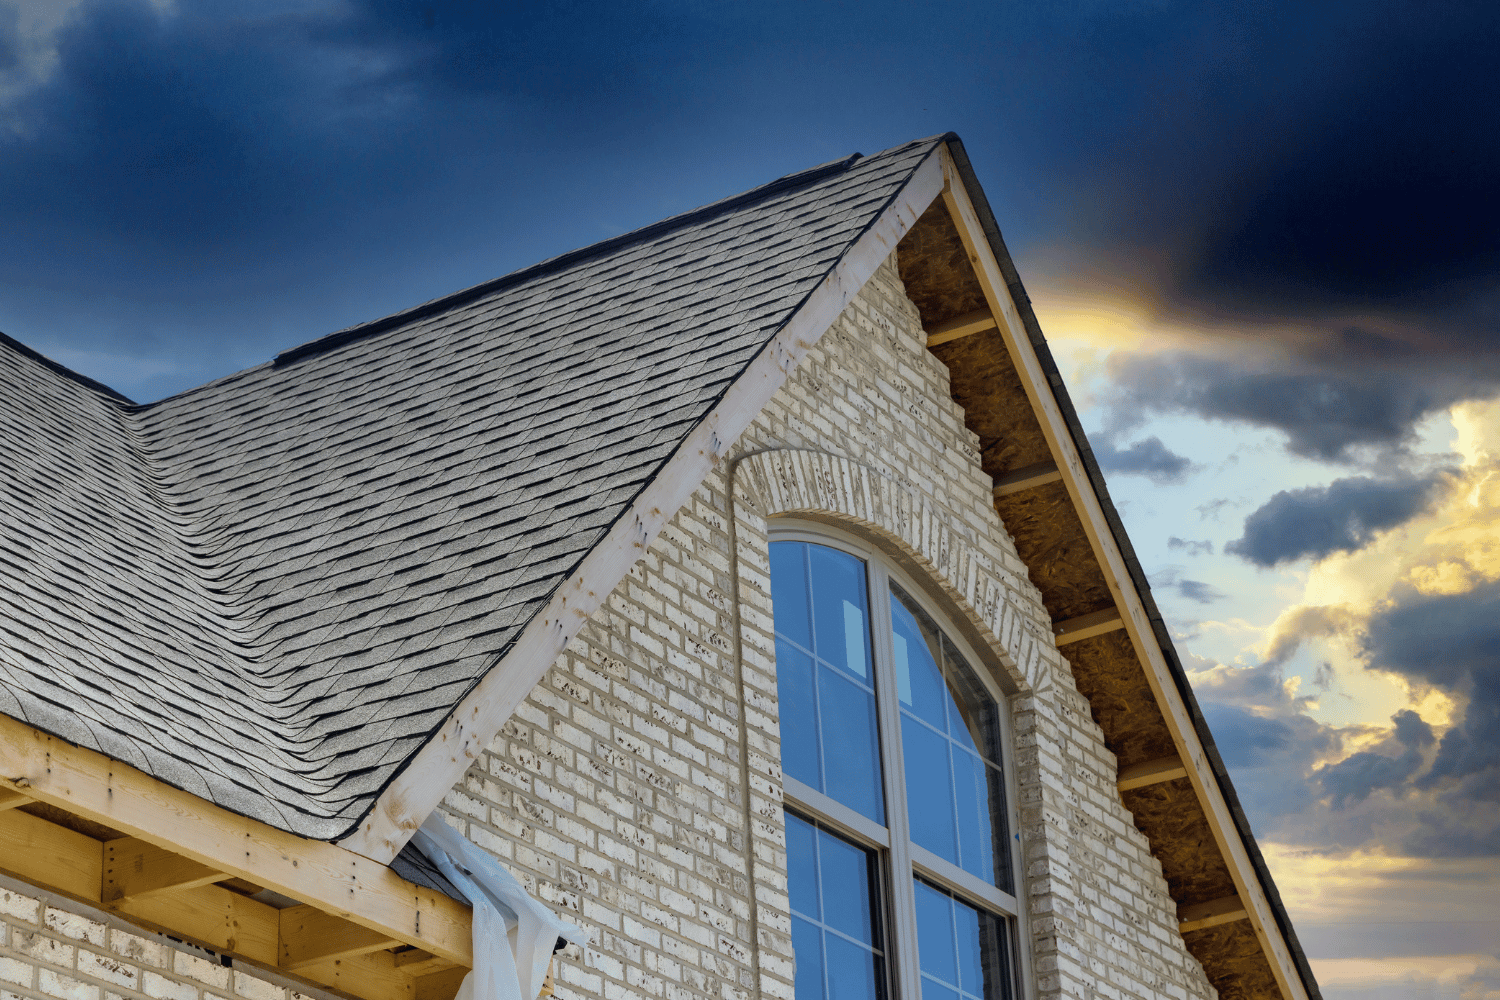
Perfect shingle overlap requires attention to detail and adherence to best practices. Architectural shingles typically require four nails—two at the top and two at the bottom. Use fasteners that penetrate at least 3/4 inches into the roof deck for ridge cap shingles.
Use chalk lines to guide the placement of ridge cap shingles for a tidy installation. These tips ensure shingles are securely fastened and properly aligned, enhancing the roof’s performance and appearance. Chalk lines and proper nailing techniques are essential for a successful roofing project.
Using Chalk Lines for Precision
Chalk lines are essential to maintain straight lines in roofing projects. Use a chalk line to mark straight lines for shingle rows. Maintaining straight lines ensures proper overlap, preventing leaks and ensuring roof longevity.
Chalk lines serve as a visual guide for consistent straightness across shingle rows. This simple tool significantly enhances the quality of your shingle installation.
Nailing Techniques for Secure Shingles
Nailing placement is critical for wind resistance and warranty coverage. Use four nails per 3-tab shingle for secure fastening. Nail at the thickest part of the shingles for secure fastening. This technique prevents shingles from being lifted by strong winds and ensures they remain attached to the roof deck.
Proper nailing techniques involve using the right type and length of nails. Roofing nails should penetrate at least 3/4 inches into the roof deck for a strong hold. In high-wind areas, using six nails per shingle provides additional security and peace of mind.
When to Call a Roofing Professional
Even the most skilled DIY enthusiast should sometimes call a roofing professional. Recognizing signs that indicate the need for a roofing contractor can save time, money, and prevent safety hazards. Professional assistance is advisable for intricate tasks like installing flashing or working on steep roofs. If uncertain or uncomfortable working on a sloped roof, hire a professional.
In cases of doubt regarding roofing work, consulting a professional ensures safety and quality. Dream Home Roofers, as Owens Corning Platinum Preferred Contractors, offer expertise and commitment to quality, ensuring your roofing project is in capable hands.
Recognizing Complex Roofing Projects
A sagging roof often signifies serious structural issues needing immediate professional attention. Missing or broken shingles create vulnerability to water damage, indicating the need for professional repair. Use safety harnesses, straps, cables, and scaffolding on high-sloped roofs to ensure safety.
Complex roofing projects involving significant structural repairs or high-sloped roofs require specialized skills and equipment. Adhering to local building codes and safety regulations is crucial; a professional roofing contractor ensures compliance and quality workmanship.
Benefits of Hiring Owens Corning Platinum Preferred Contractors
Hiring certified contractors like Dream Home Roofers ensures quality workmanship and access to premium materials, leading to a durable roofing solution. Dream Home Roofers, as Owens Corning Platinum Preferred Contractors, bring a high level of expertise and commitment to quality in roofing service. They work with a variety of premium Owens Corning roofing materials, offering homeowners confidence in their roofing project.
Choosing a Platinum Preferred Contractor means you benefit from top-notch craftsmanship, reliable service, and a roof that not only looks great but also stands the test of time. With Dream Home Roofers, you can rest assured that your new roof will provide lasting protection and peace of mind.
Summary
In this comprehensive guide, we’ve explored the essential steps and techniques for achieving perfect roof shingle overlap. From understanding the role of gravity and common mistakes to preparing your roof deck and installing shingles, each step is crucial for ensuring a durable and effective roofing system. Proper shingle overlap not only enhances the visual appeal of your home but also provides critical protection against water infiltration and weather damage.
Whether you’re tackling a DIY roofing project or hiring a professional, following these guidelines will help you achieve a flawless and long-lasting roof. Remember, when in doubt, consulting a professional like Dream Home Roofers can ensure your roofing project is executed with expertise and precision. With the right approach and attention to detail, you can enjoy a beautiful, resilient roof for years to come.
Frequently Asked Questions
Should shingles overlap side to side?
Shingles should not overlap side to side; instead, they should be butted together to allow water to run down without entering the joints. This method ensures effective shedding of water by the preceding course of shingles.
Is overlaying a roof bad?
Overlaying a roof can compromise your home’s structural integrity due to the added weight and may mask underlying issues that could lead to higher long-term costs. Therefore, it is advisable to carefully consider this approach and weigh the potential risks.
How does gravity affect shingle overlap?
Proper shingle overlap is essential as gravity directs water down the roof slope, ensuring it flows over the shingles and preventing water from seeping underneath, which could lead to damage.
What are starter shingles, and why are they important?
Starter shingles are essential for improving wind resistance and ensuring proper water management by overhanging the roof edge, while also providing a uniform appearance. Their installation is crucial for maintaining the integrity and aesthetics of the roofing system.
When should I call a roofing professional?
You should call a roofing professional when facing complex issues, such as structural problems or high-sloped roofs, or if you feel uncertain about handling the project. This ensures safety and quality workmanship.

